The challenge of dressing a bay window
|
Following on from my last blog post about the challenges of dressing a bay window, (which you can read here) I wanted to show you how I decided to dress my own bay windows, why I chose to do it that way, and how much it cost me. |
|||
|
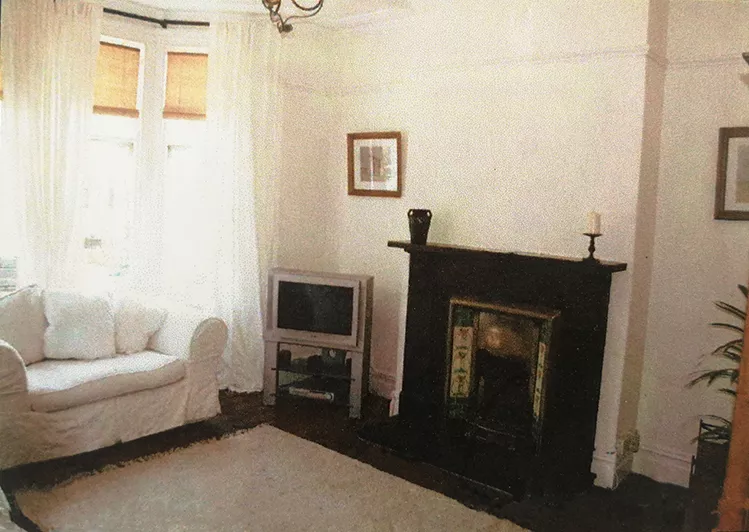
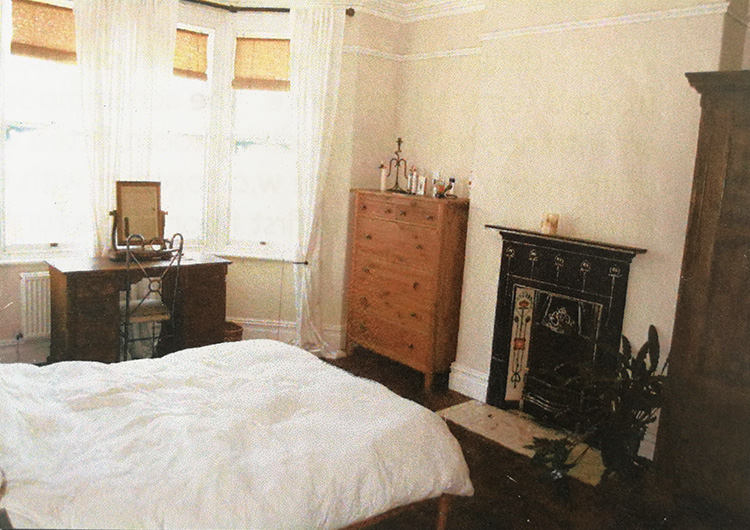
When we moved in to the house the window dressings were left behind by the previous owners, and looked like this (please excuse the photo as it’s taken from the estate agent’s details - for some reason taking pictures when we’d just moved house with a 2 year old and a 9 month old wasn’t a top priority!) |
|||
 |
|||
|
The curtains were from Ikea (nothing wrong with that, but they didn’t fit) and were made from an unlined off white fabric in a tab top style (meaning they had loops of fabric which slotted on to the curtain pole). The problem with putting this style of curtain heading on to a pole in a bay window is that they can’t be drawn along the pole very easily, or go around the corners, so the curtains had to pretty much stay put. The looked lovely and very floaty, but because they couldn’t be closed and the thin fabric didn’t keep the heat in, they weren’t very practical. We had the same curtains and blinds in both the living room and our bedroom, so I had to think about how I could dress both of these big windows (there are worse problems to have, I know). |
|||
 |
|||
|
The blinds were also not right for us either - they were the bamboo roll up type (the type that all student flats in the early ‘90s had) and not only did they give no privacy when rolled up, they blocked out the light when rolled down, and could be seen through at night when the light was on - remember we couldn’t close the curtains, so not great for a bedroom! So, what should we do? As my house has high ceilings and large (draughty) windows, I felt that full length curtains would be the best option. When closed, the curtain fabric would create a kind of barrier to stop the cold air coming straight into the room, and the almost floor to ceiling fabric would be in proportion to the height of the room. I also decided to have my curtains lined with blackout fabric as opposed to the usual cotton sateen - blackout fabric has thermal properties and so would keep out the cold even more (as anyone who’s lived in a draughty old house will know, every little helps). |
|||
 |
|||
|
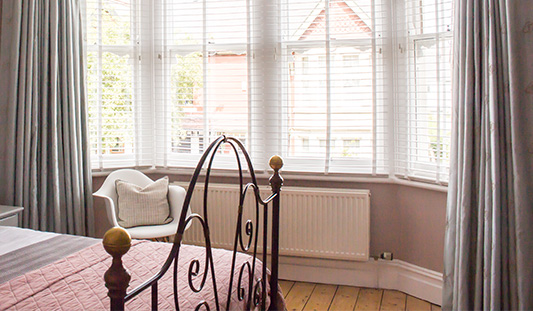
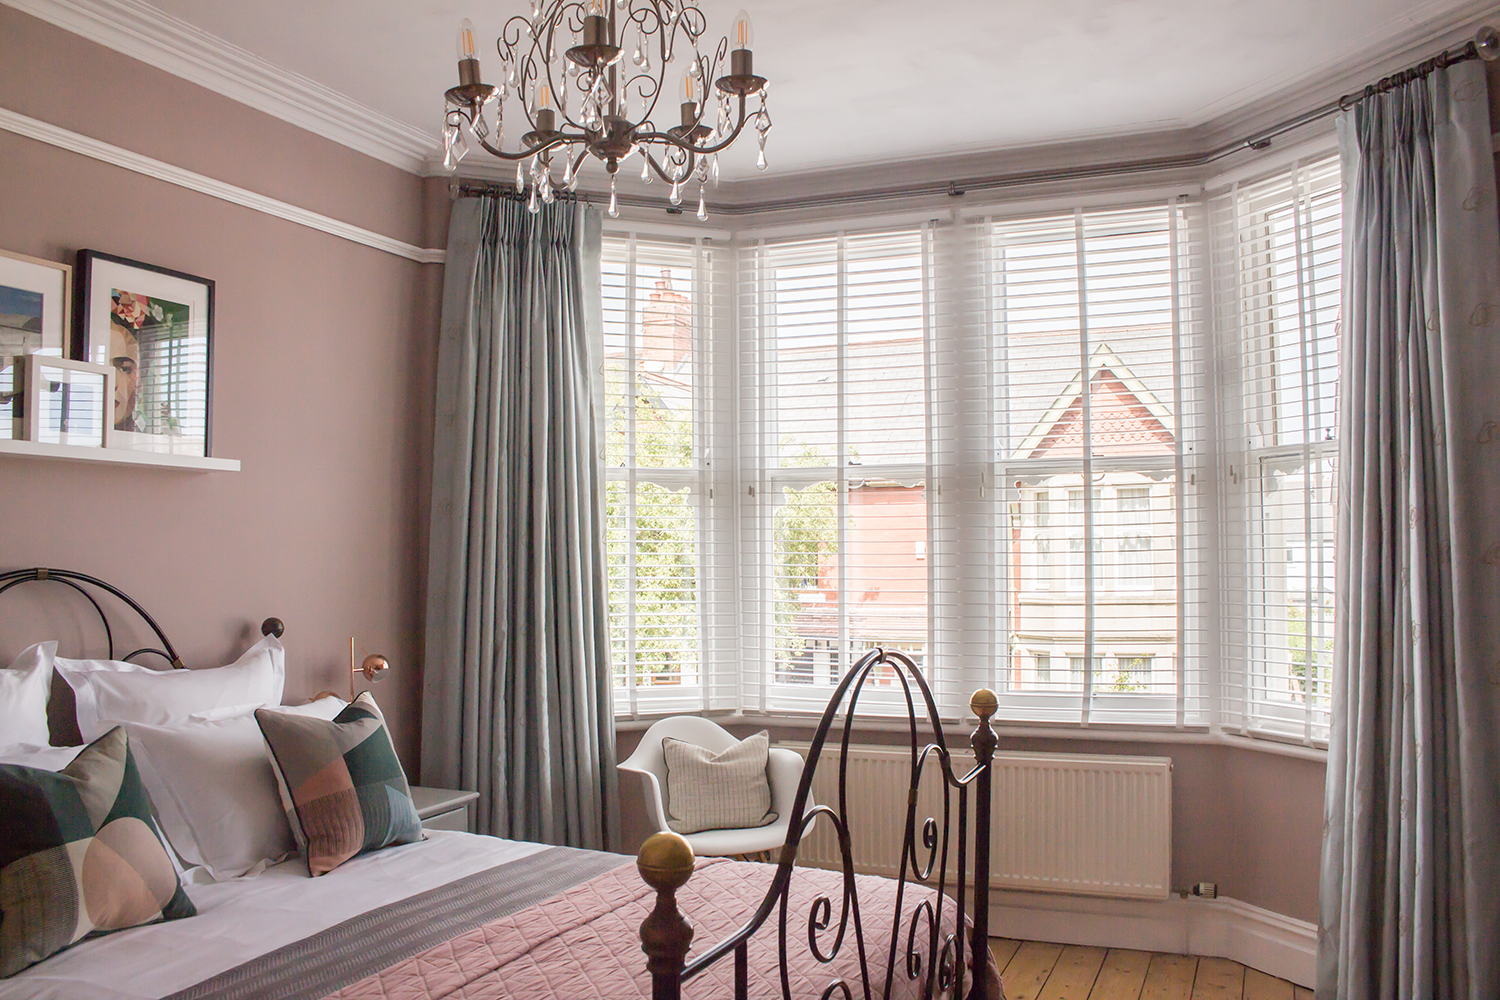
Full length curtains decided, my next problem was allowing the heat in! My bedroom bay window has a radiator underneath it, which meant that when closing the curtains for privacy, they’d cover up the radiator and stop some of the heat from coming into the room. So, I had to choose a secondary window dressing which didn’t cover the radiator and would stop the neighbours from seeing me in my pyjamas when the curtains were open. I chose Venetian blinds because they are so versatile and can be fully closed, fully opened, or the slats can be angled to control the light. Now, metal Venetian blinds make me think of offices and pop videos from the 1980s, so I opted for painted wooden blinds. I also chose one of the wider slat sizes (50mm) as when the slats are open, you get more daylight coming in, and can see more of the view outside. I also think they kind of look like shutters, but are a lot less expensive. |
|||
 |
|||
|
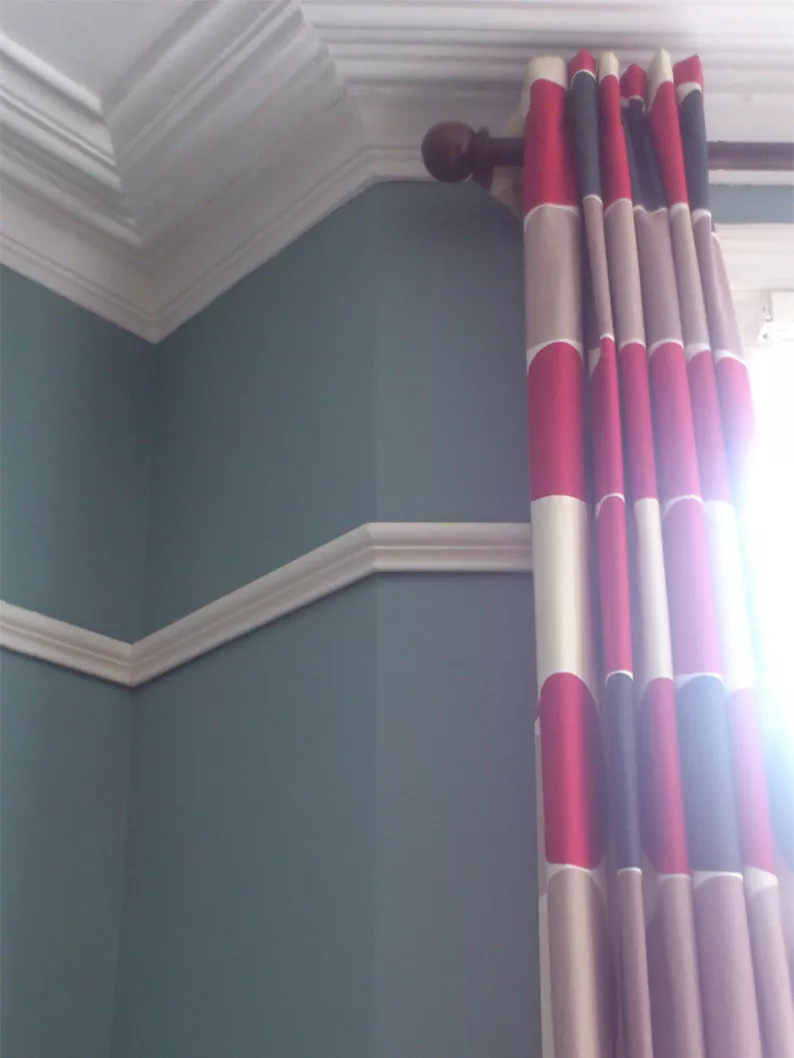
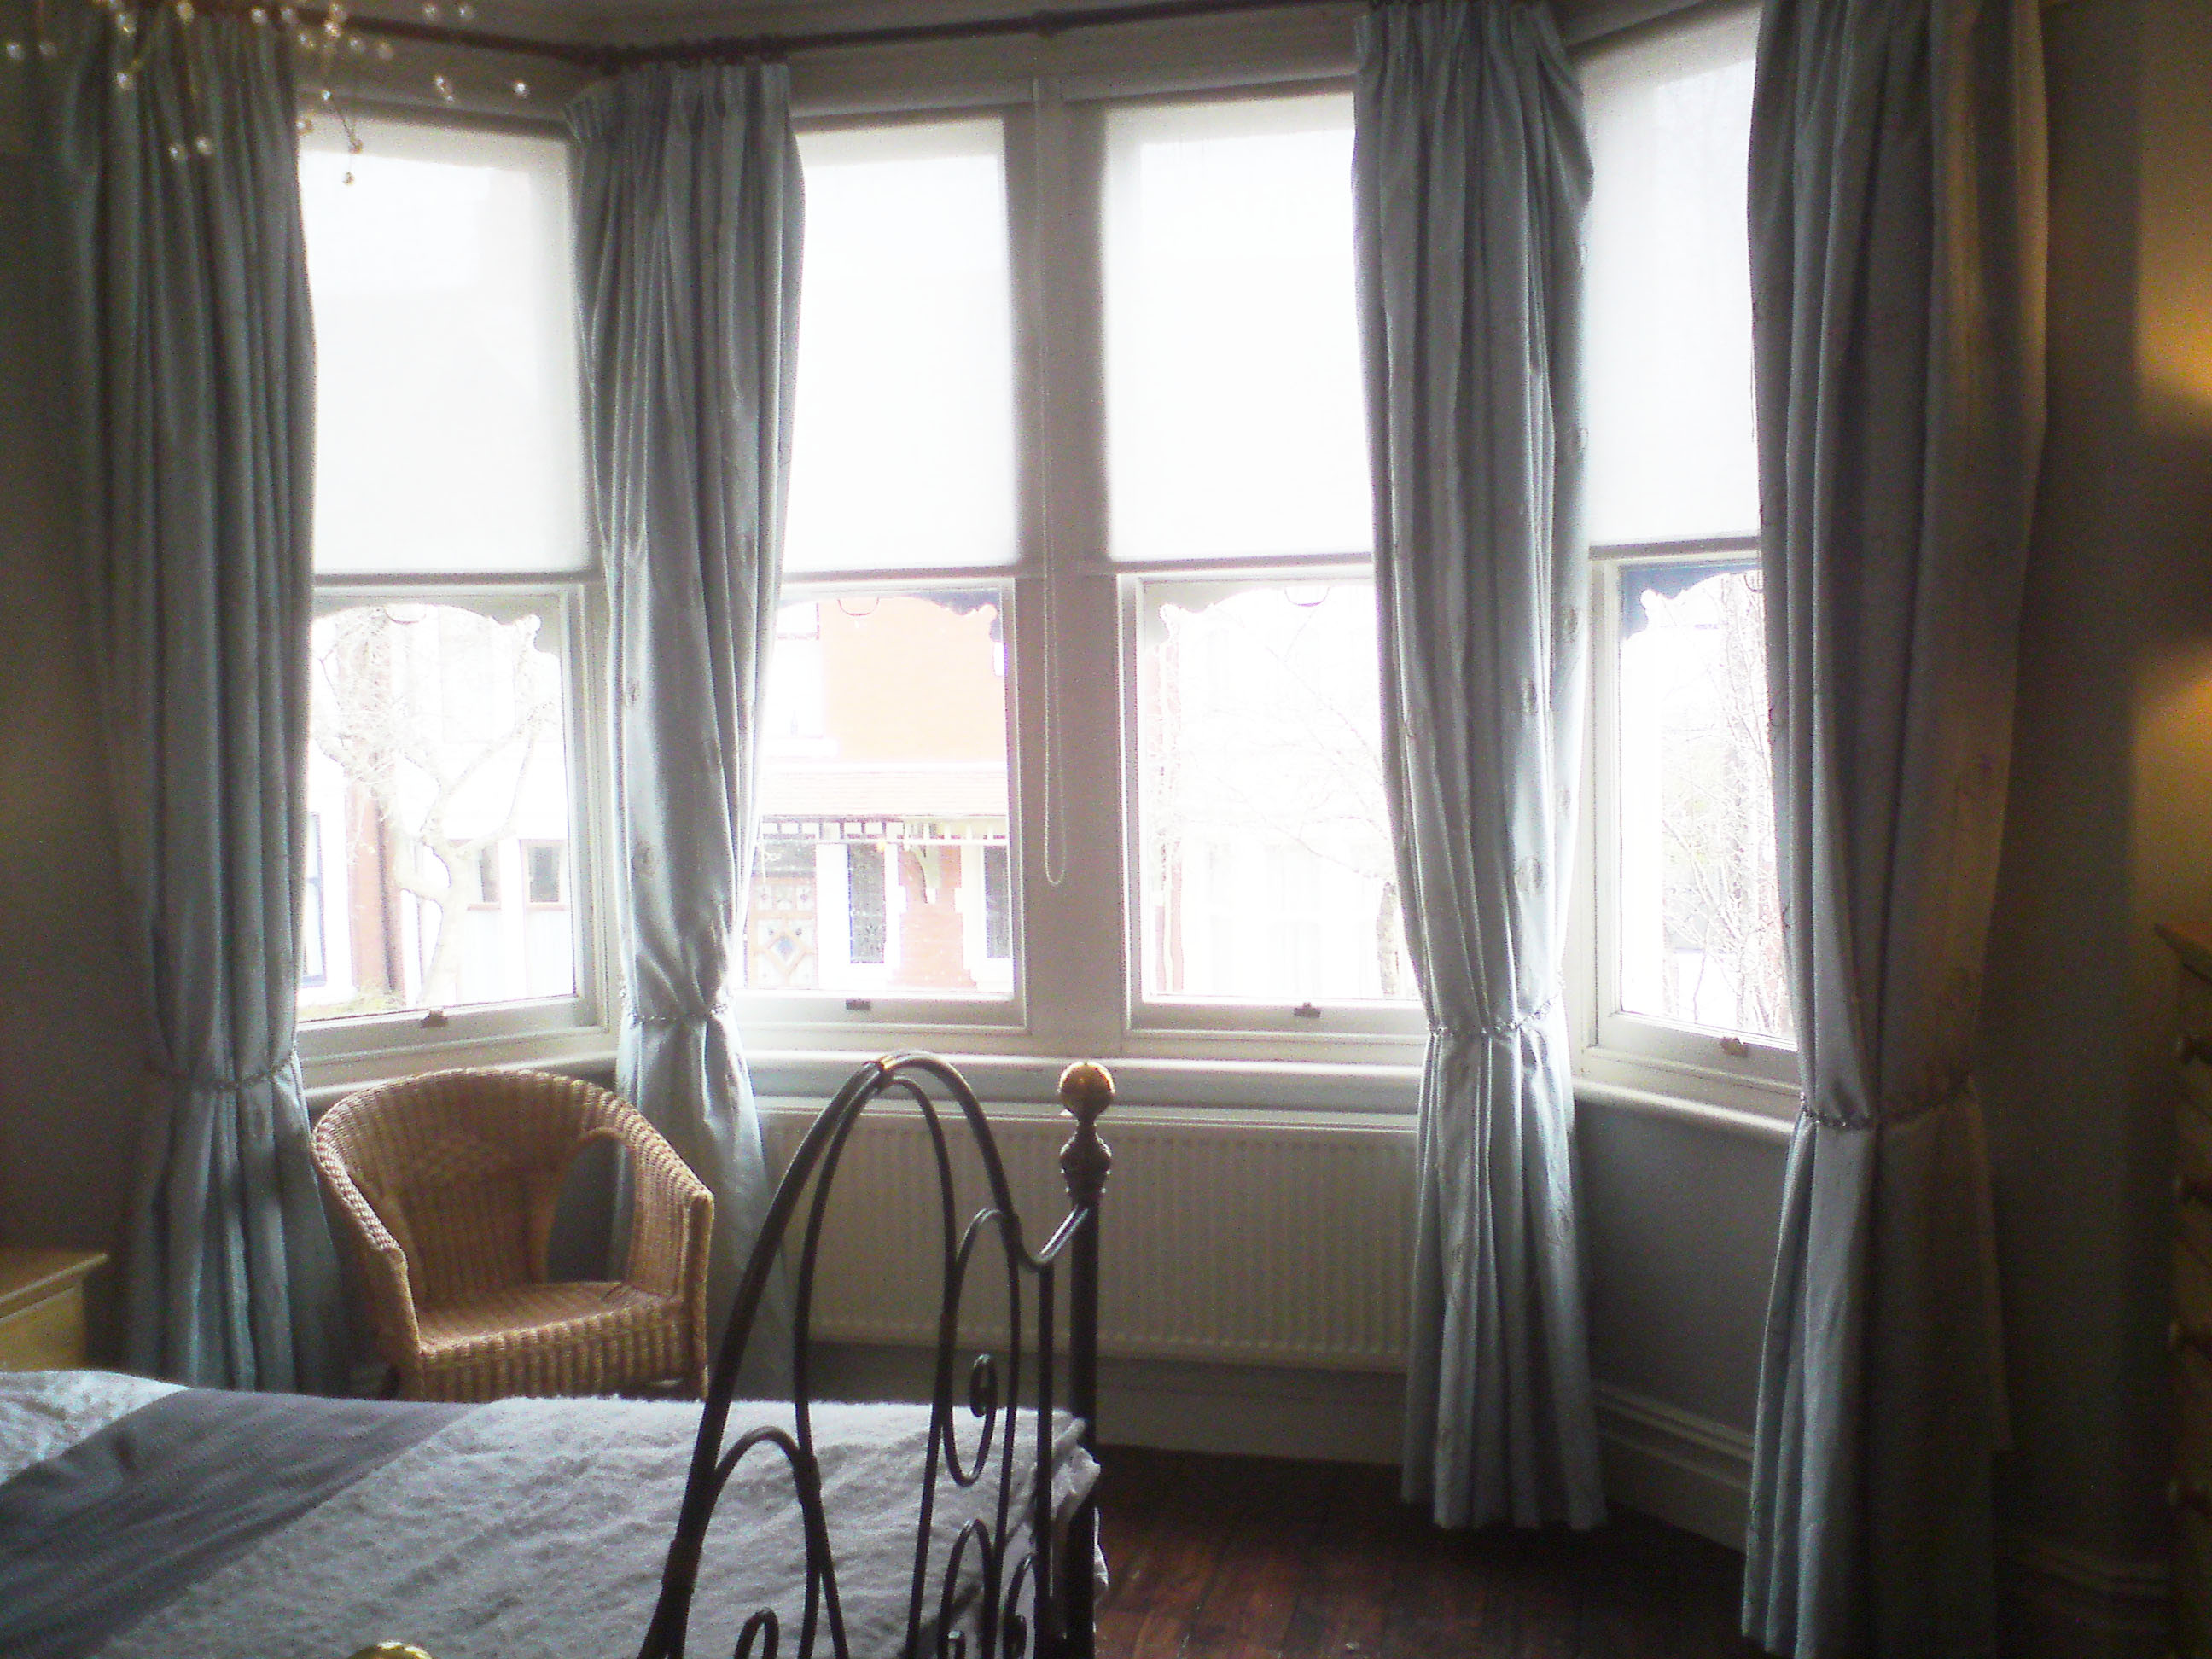
My next issue was the curtain poles. The previous owners of the house had obviously struggled with this too, as they’d bought straight wooden curtain poles and cut them at an angle on the bay corners, then joined the pieces together. Because it wasn’t one continuous pole, there had to be support brackets either side of the joins, so curtains (with any type of heading) couldn’t be pulled over the brackets. This meant that I had to put up four curtains (as they had). We couldn’t afford to change the poles when we moved in, so I made four curtains for each window as a temporary measure. You can see even in this dark picture that the pole isn’t really working, and the curtains are coming off the hooks because they’re not being supported properly. |
|||
 |
|||
|
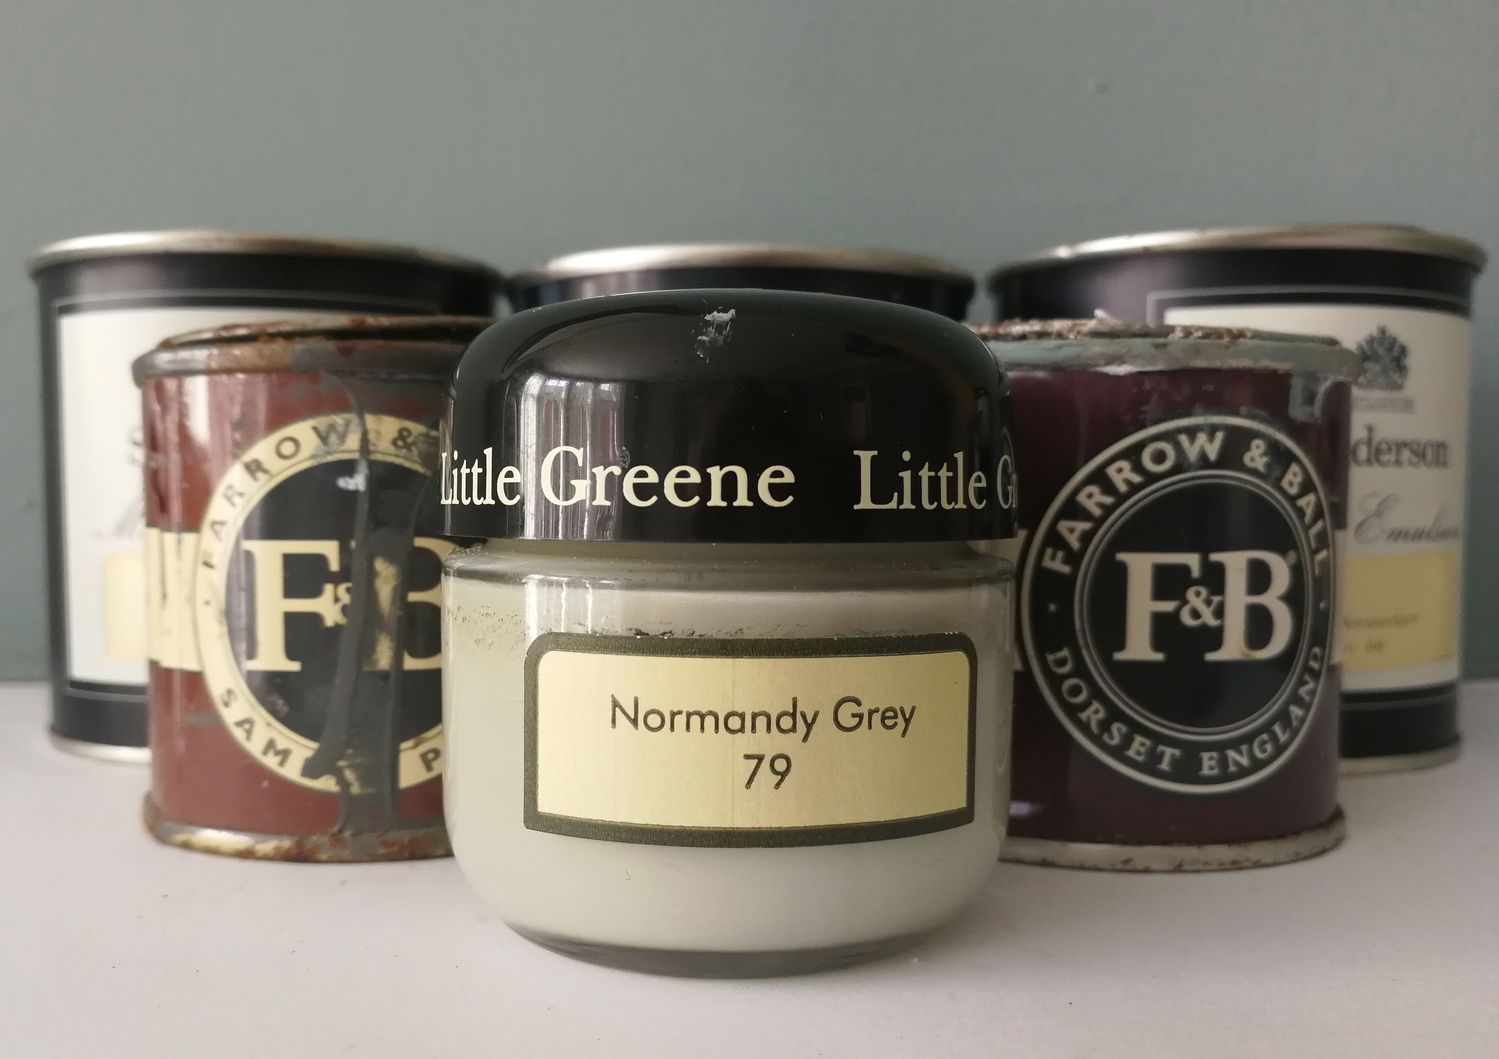
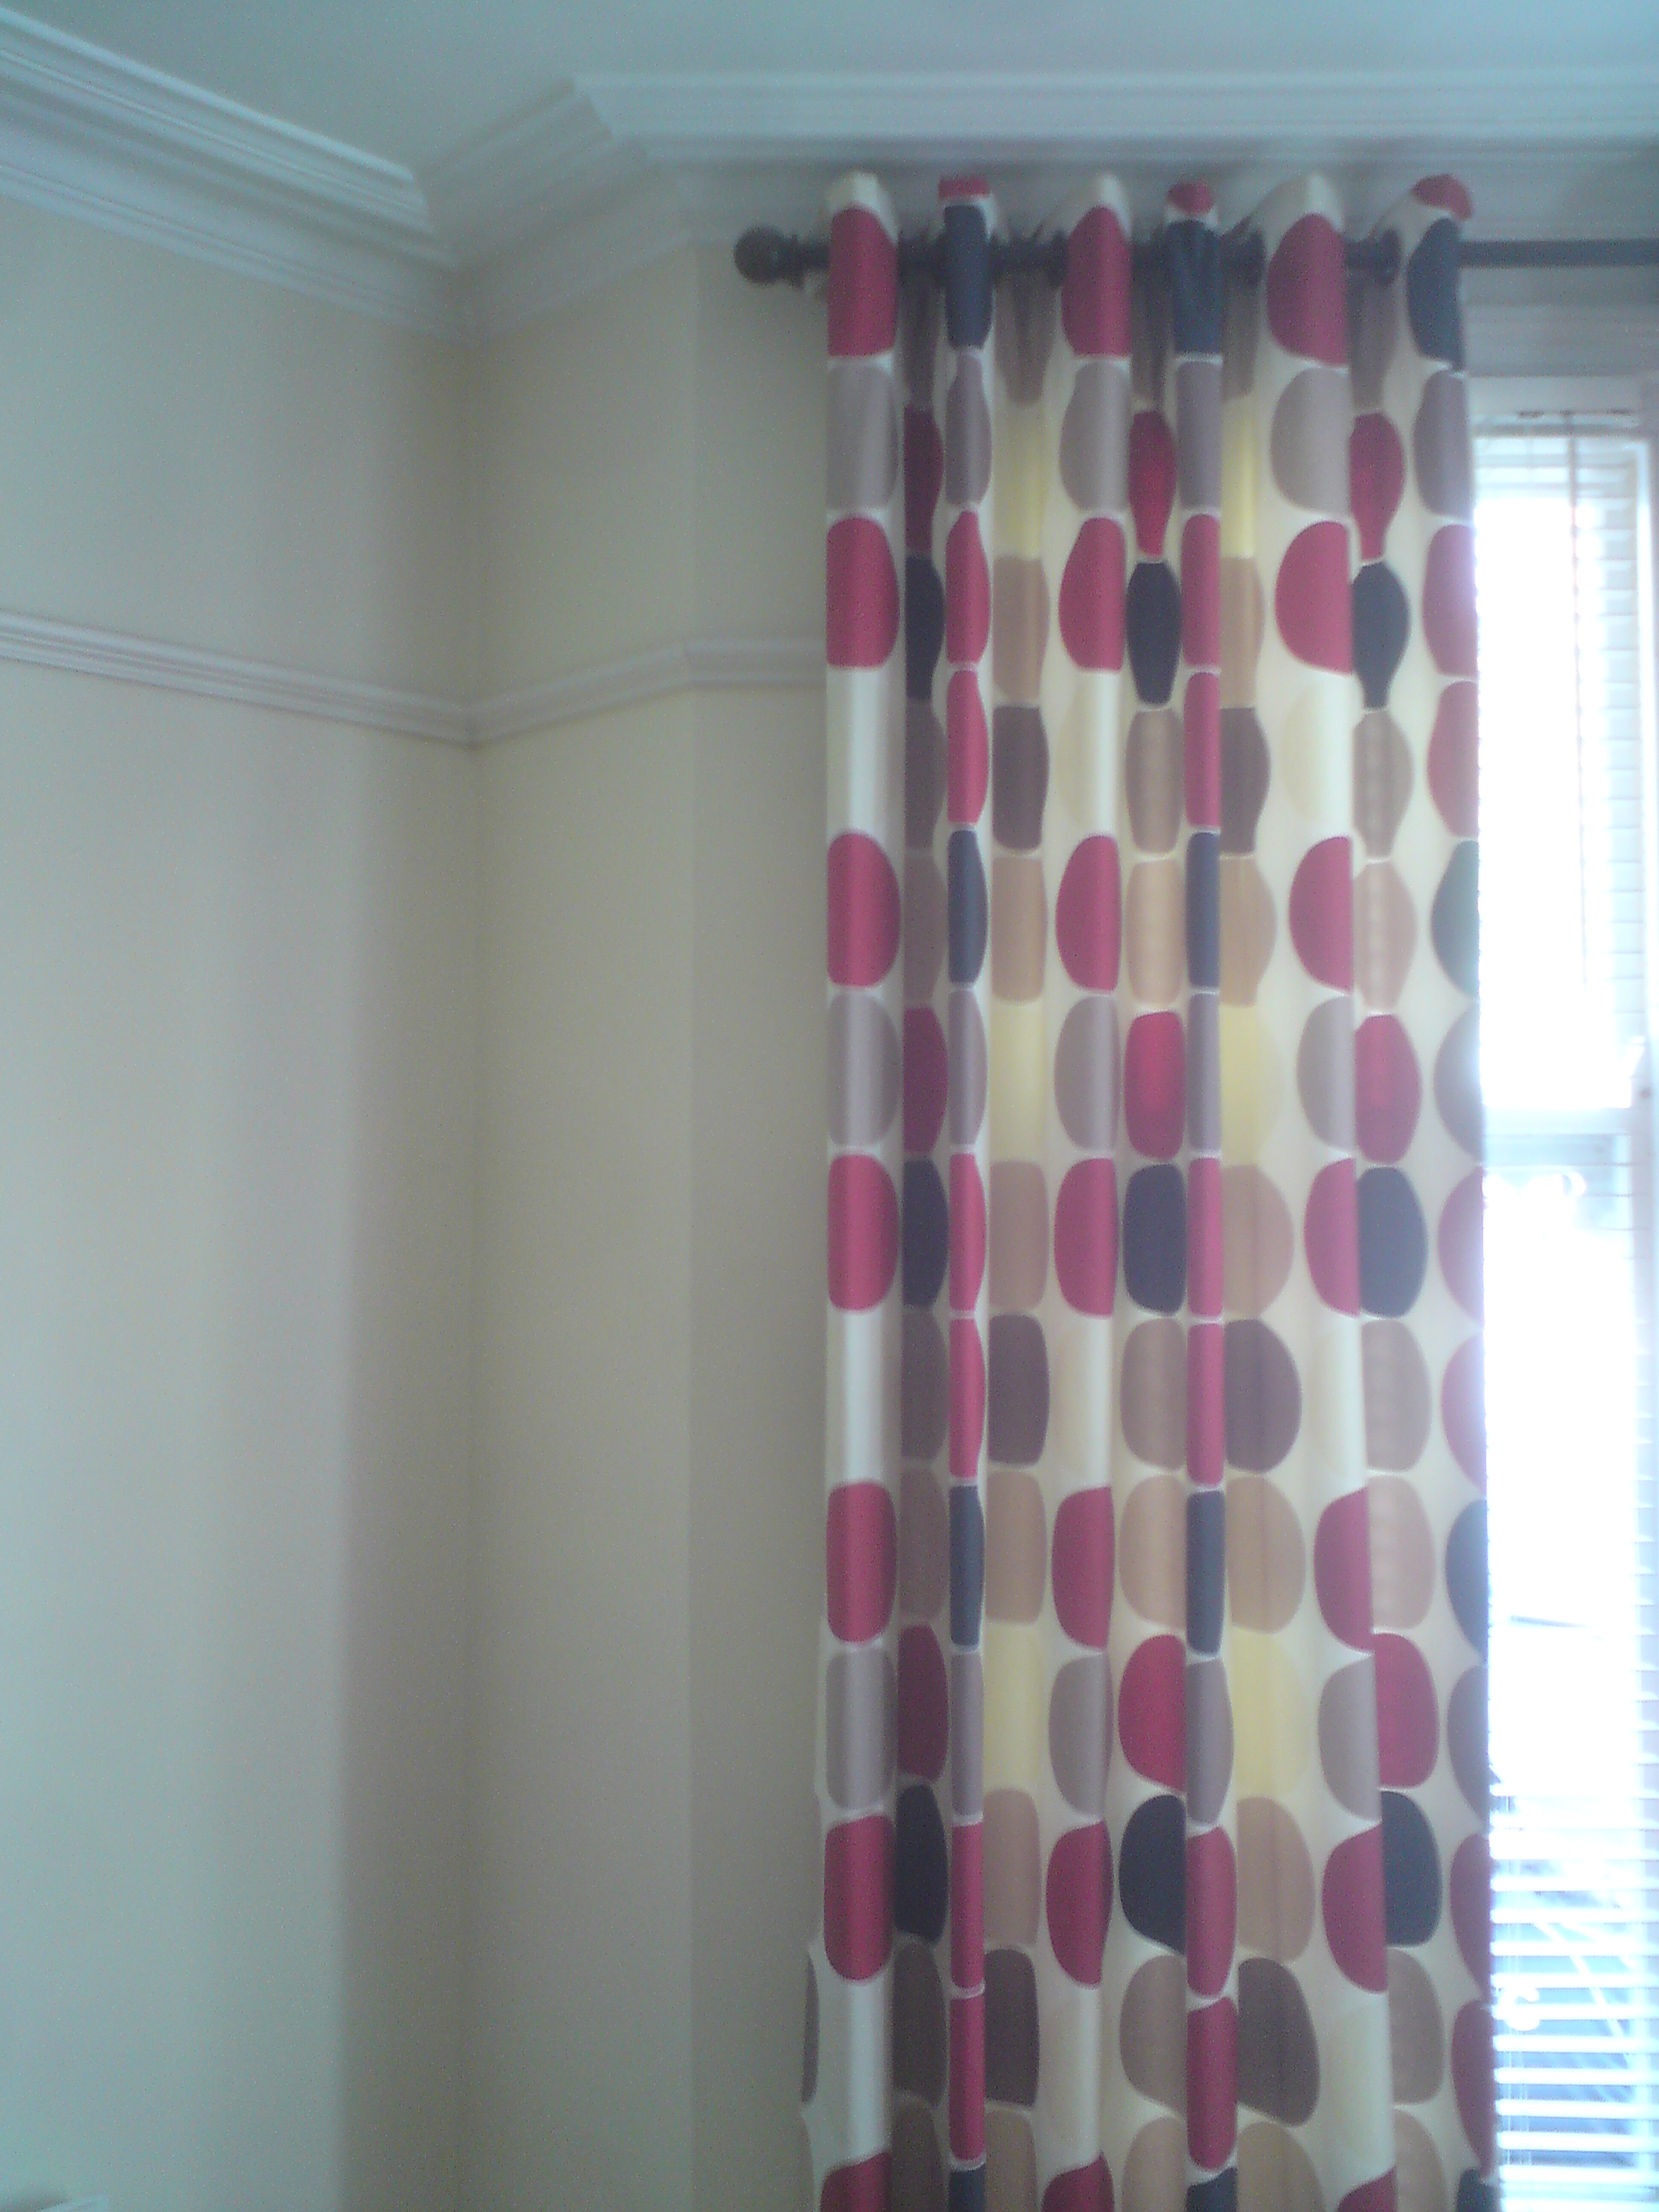
Here are the temporary curtains I made for my living room using inexpensive fabrics (the fabric looked good 13 years ago, I promise - and at £10 per metre, who could fault it?). Later on, when I decided to repaint the walls of the living room in Farrow & Ball's Oval Room Blue, the colours didn't really work together and I knew it was time to find a more permanent solution. |
|||
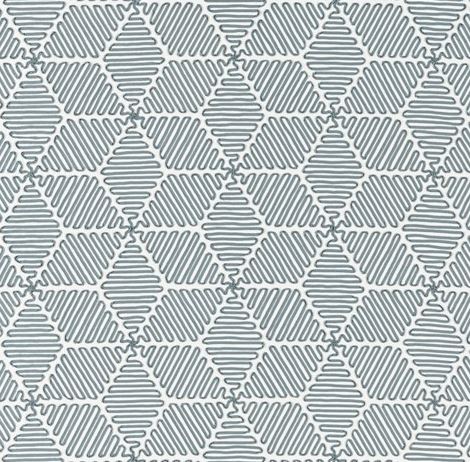
Eventually, I bit the bullet and paid for good quality, bespoke poles, and decided on my dream curtain fabrics. The fabric I chose for my living room windows is made by Harlequin and is called Cupola from their Momentum Volume 8 collection. It costs £53 per metre, so is relatively inexpensive compared to some fabrics. |
|||
 |
|||
|
As you can imagine, I spent a lot of time thinking about which fabric I wanted as I knew these curtains would be at my windows for a long time, and I didn’t want to grow tired of them. Because I’m a designer I see new fabrics all the time and didn’t want to settle on a fabric only to change my mind a couple of months later when a new collection came out! But I really liked the geometric shapes on this fabric, and the colour was perfect with my walls and sofa colour, so I knew it was the one. |
|||
|
|
|||
|
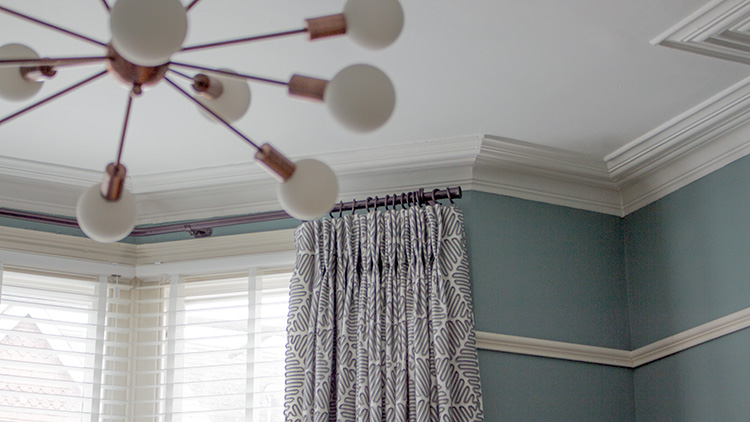
I then chose these clever curtain poles from a company called Bradley, who make the poles to fit the exact angle of your bay window, and have C shaped ‘passing rings’ to allow the curtain rings to be pulled over the brackets. Each pole cost just under £600 retail - they were quite pricey, but I felt they were a good investment as we don’t plan to leave this house anytime soon. |
|||
 |
|||
|
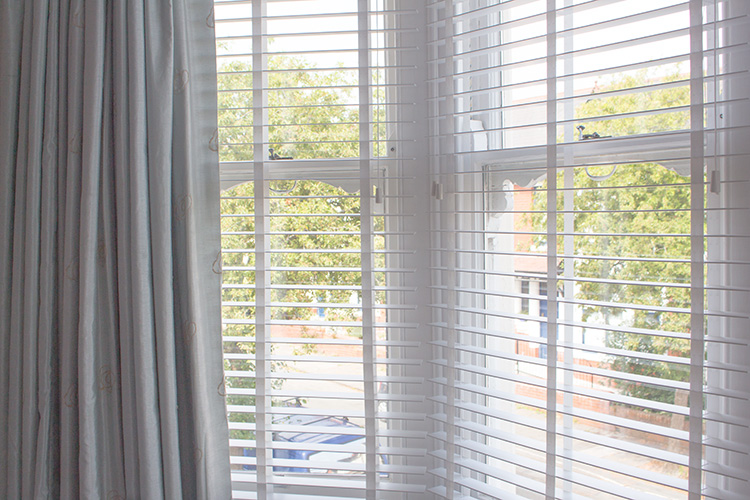
I also had to pay for made to measure blinds as my windows are tall and off the shelf blinds just aren’t long enough. Made to measure blinds can be really expensive, but if you can measure and fit them yourself, they become a lot cheaper. I chose my blinds from Blinds 2 Go, and went for a painted white finish with white tapes which cover the holes where the strings (or ladders) holding the blinds together go, as I think they look more stylish. The blinds for my living room cost just over £380 for all four, and slightly less for the bedroom ones as the windows are a bit shorter. |
|||
 |
|||
|
Then, even though I chose a relatively inexpensive fabric for the curtains, because the windows are large, lots and lots of fabric was needed - this added up to £850 for the fabric and lining! To keep costs down, I decided to re-use the curtains I already had in the bedroom, and join them together to make two curtains instead of four. |
|||
 |
|||
|
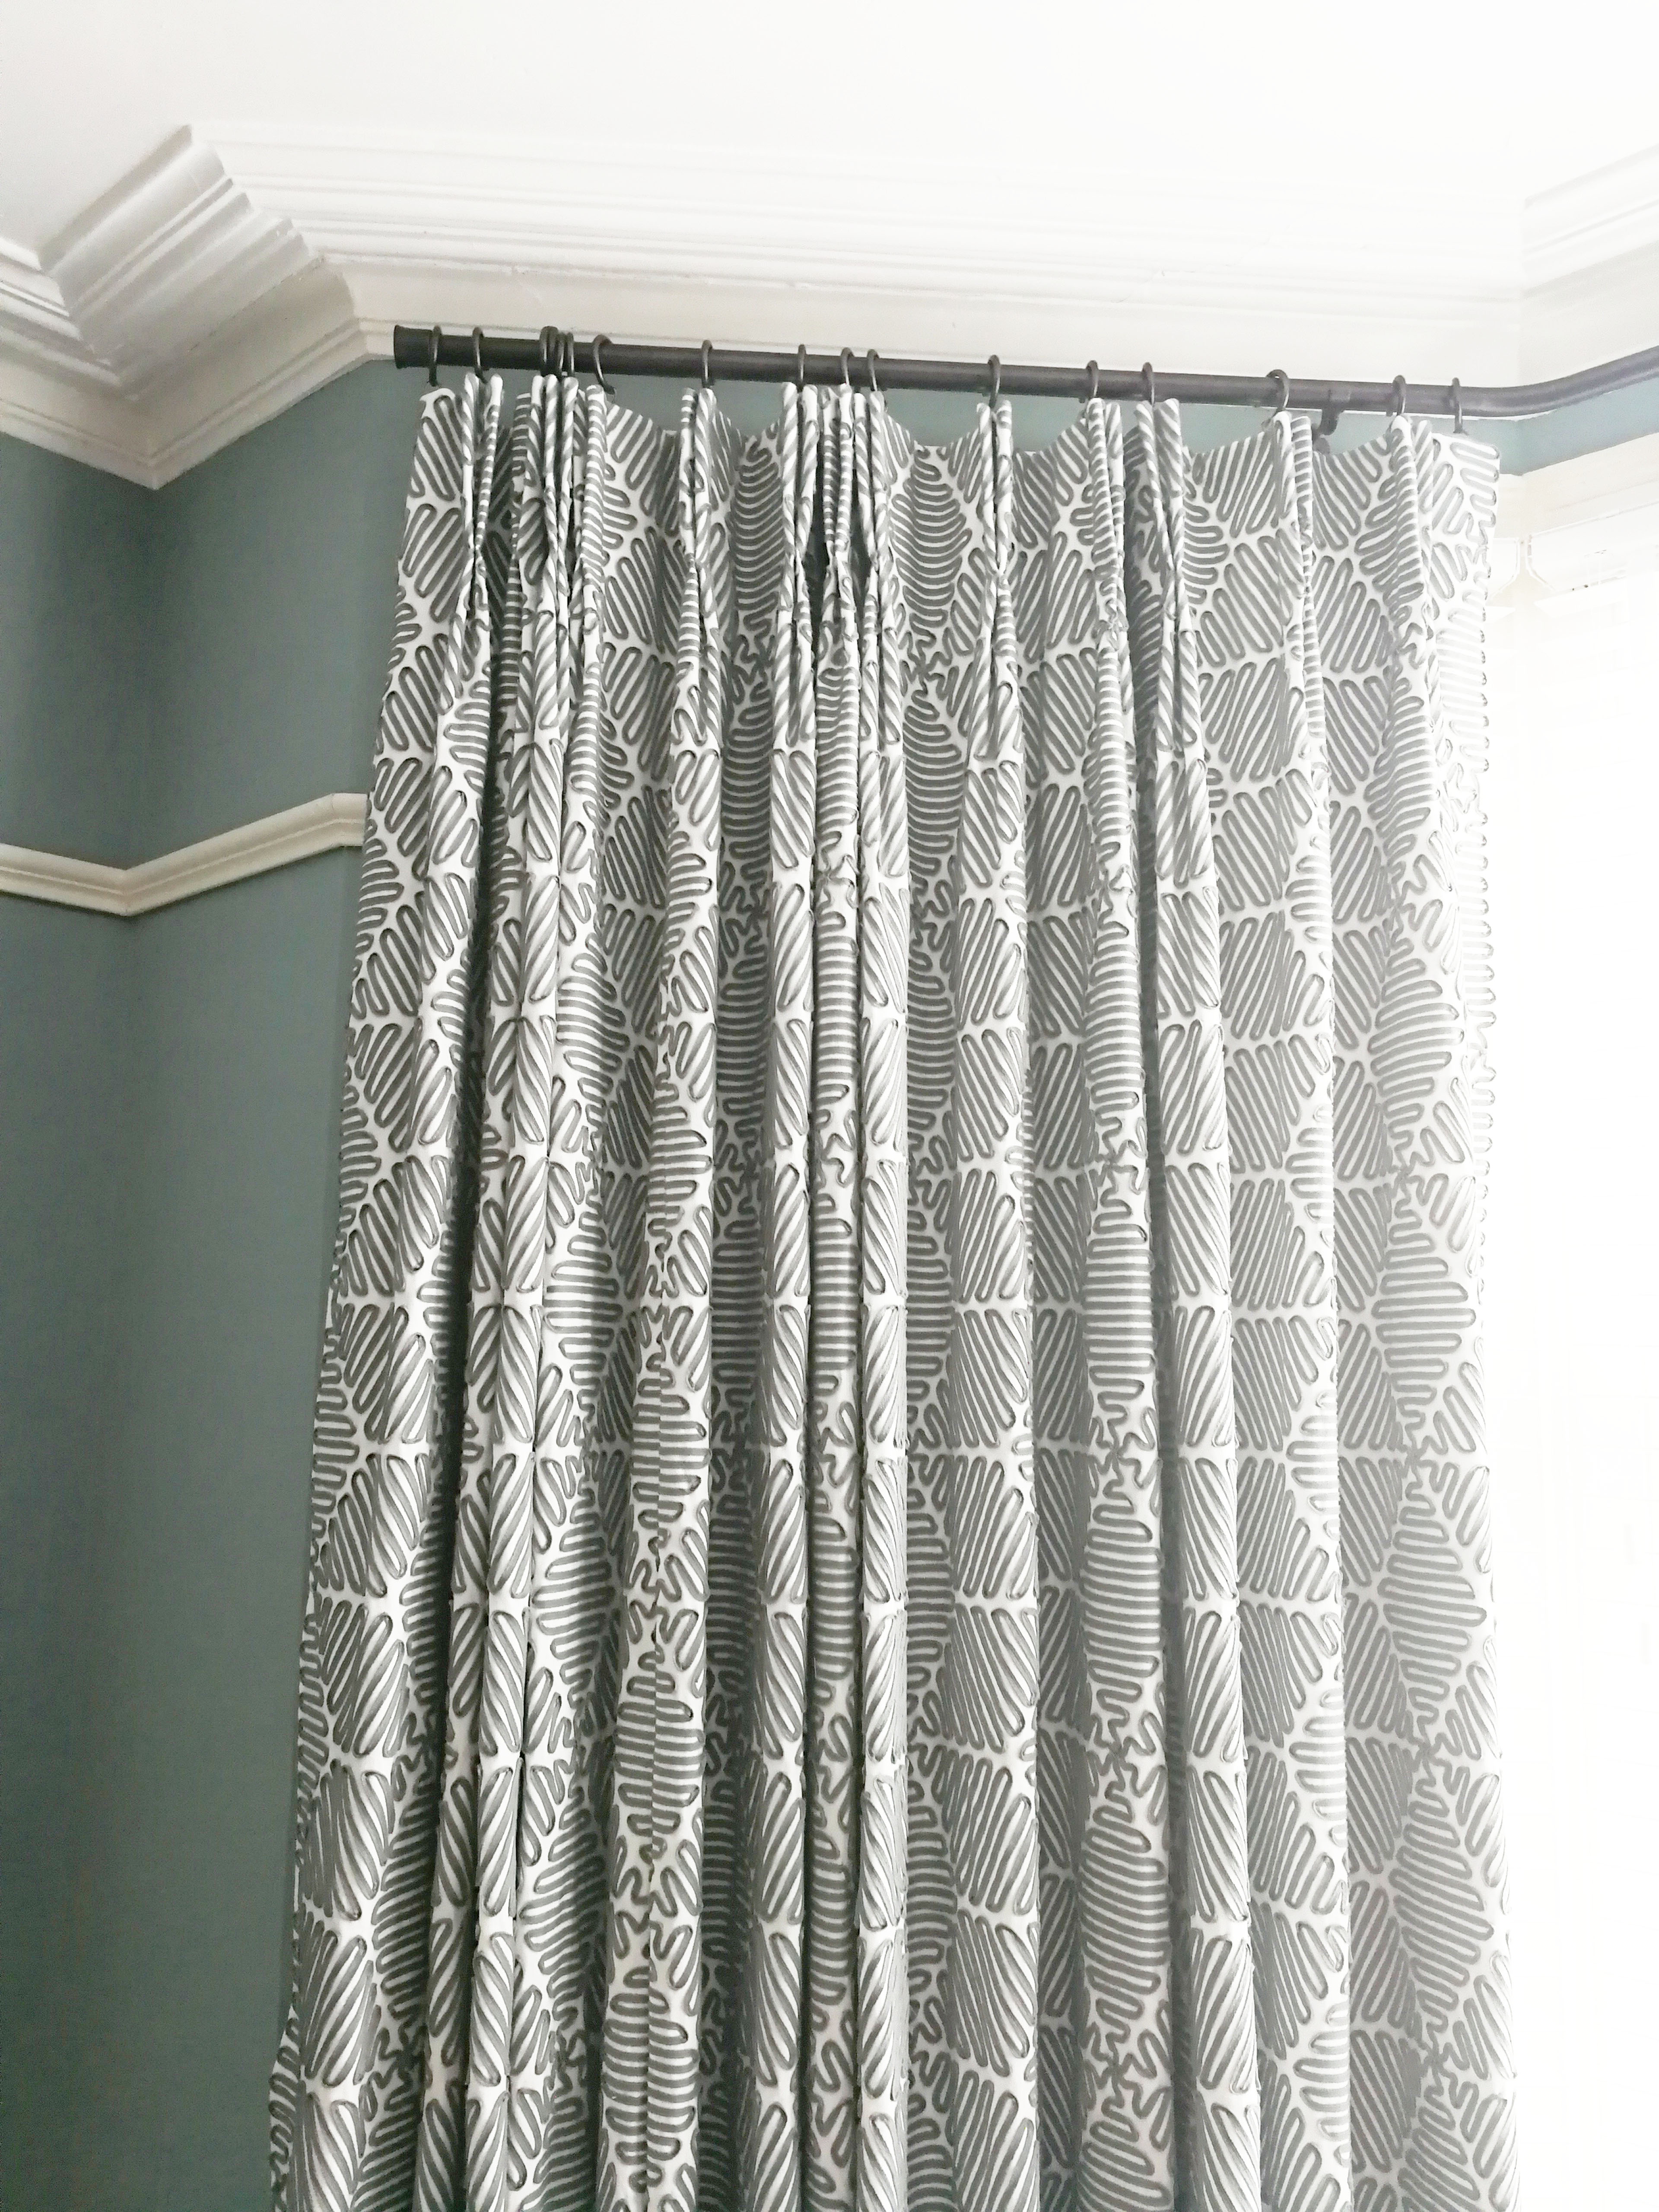
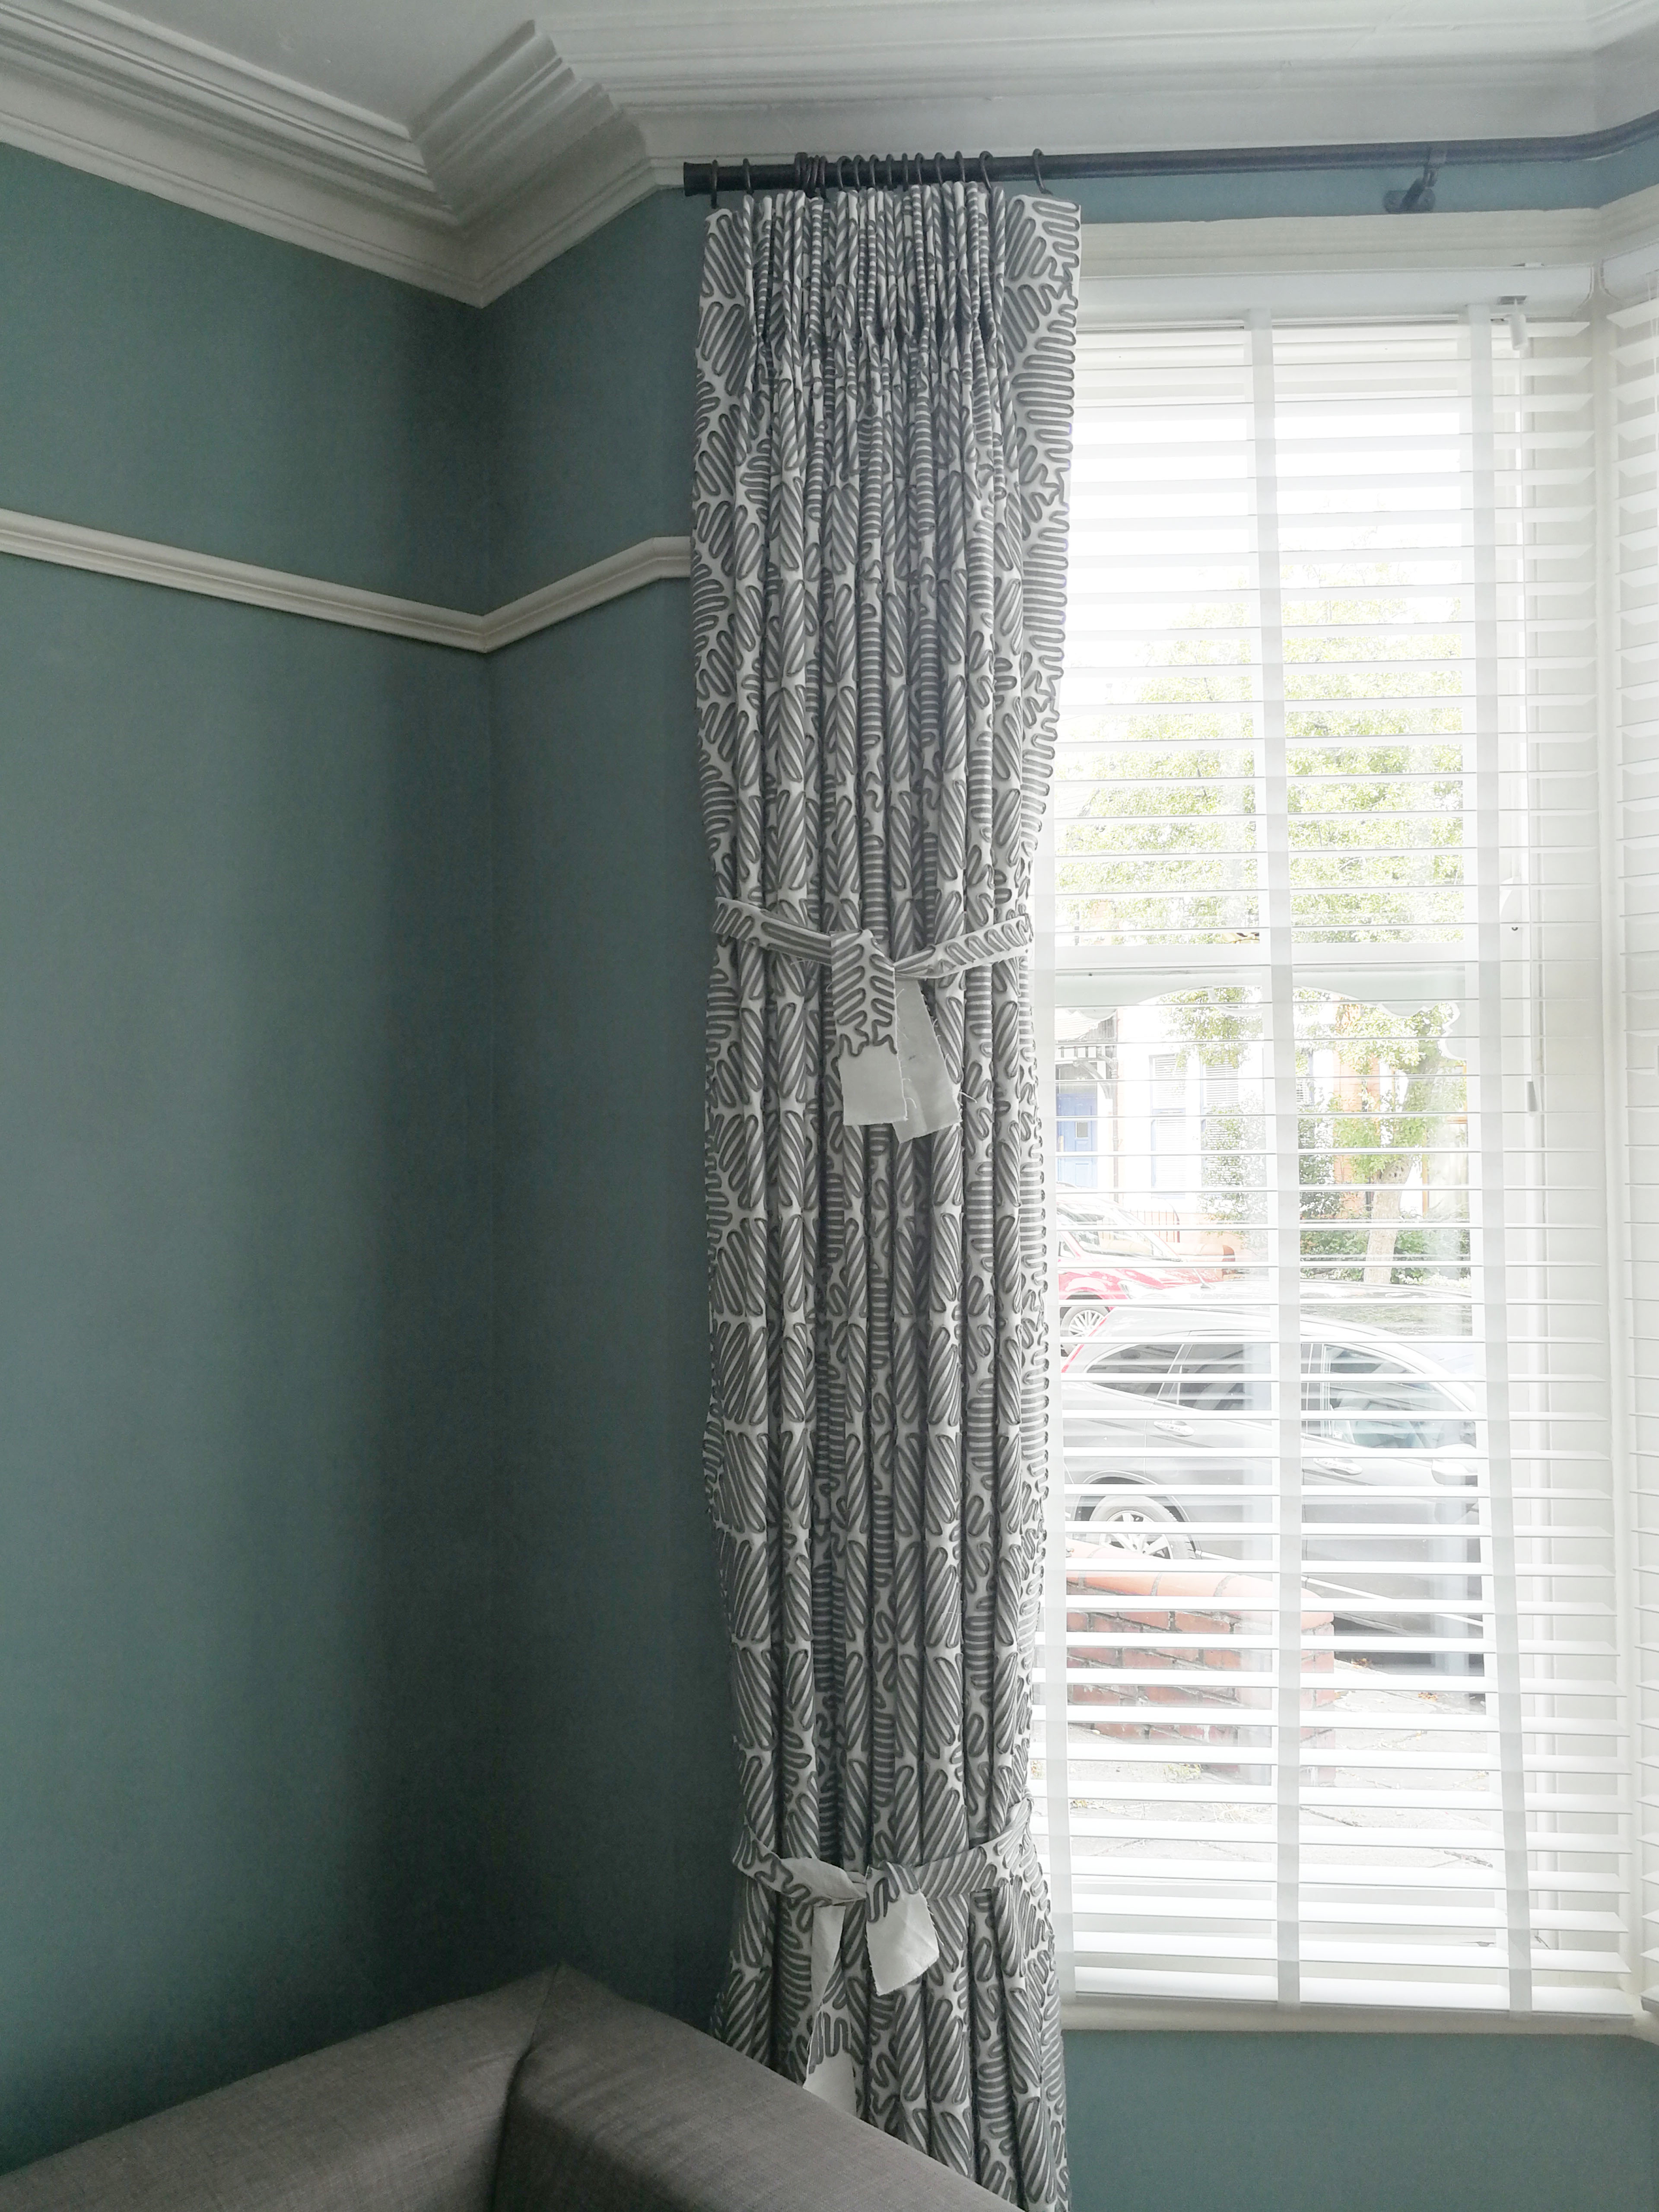
Once my new pole was made and fitted, the curtains could be hung. Now, this might sound a bit strange, but when you first hang new curtains, it really helps if you tie them up to help them ‘remember’ their folds. First, open the curtains, then place all the folds or pleats evenly, and then tie the curtains in place with either plastic or string. I like to use an offcut of the curtain fabric as it’s soft and won’t leave any unwanted indentations. |
|||
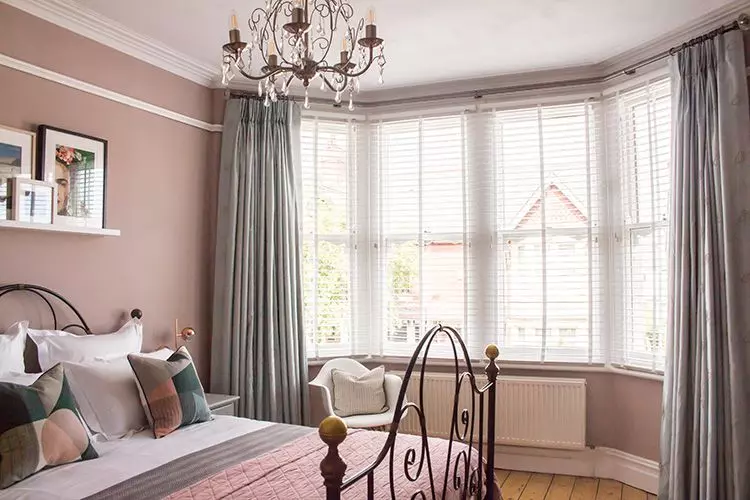
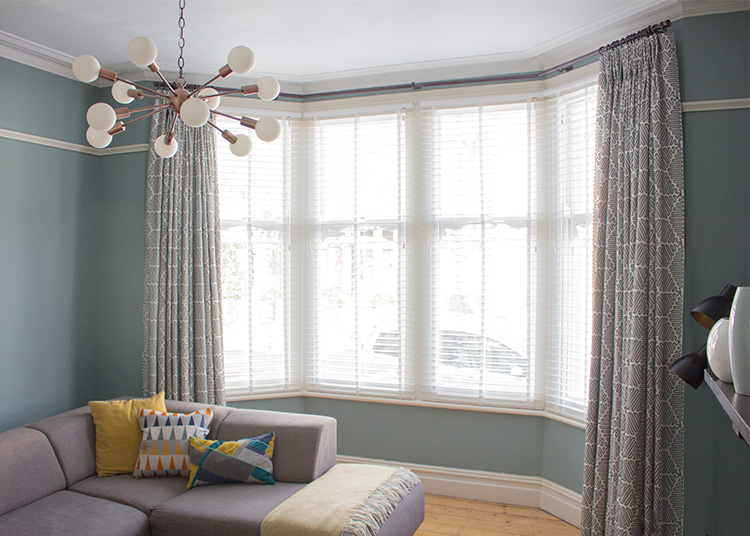
Leave the curtain like this for 48 hours, and then when you use them they will naturally fold back in these pleats and look great when open or closed. Here’s my finished living room bay window, beautifully dressed, with and I’m so pleased with how they look (and how they work too). |
|||
 |
|||
|
Now, there are many ways you can dress a bay window and I’ll admit that this wasn’t the most inexpensive way to do it, but I waited long enough and really thought about how I wanted these windows to look. I knew that whatever solution I chose would be up at my windows for a very long time, so decided to go for it, and am really pleased with the results. |
Welcome to the design blog, where you'll see posts about anything from the projects we are working on, to the latest fabric and wallpaper collections, and all things interiors related. We love colour, pattern, architecture and old buildings, and we love to share our finds with you.
Happy reading!