Work in Progress - The Romantic Hillside Cottage
 |
||||||||||
|
This month, we’re starting a new mini series on the blog, designed to uncover what’s involved in taking a design idea from its original concept to a beautiful element in a finished room. The series will explain our process and some of the many decisions which need to be made, along with how we work with our expert trades to realise our design vision. I hope that the series will be useful, whether you are starting your own project and need some guidance, or would like to understand the ways that our studio can help you. |
||||||||||
| We’re kicking off with window dressings, as I find there are many misconceptions surrounding them, which can include anything from price to style and function. Bespoke window dressings can also be relatively expensive, so it’s important to get them right the first time. I’m going to explain our process for curtains, including how and when to make some crucial decisions. | ||||||||||
|
The first stage, before even looking at fabric, is to choose the window dressing itself. We always take a good, long look at the window - what type of dressing will fit in the available space? What will look best? Could it be blinds, shutters or curtains? If blinds, what type of blinds? Romans, rollers, or pleated? There are many options, but there are questions you can ask yourself which will help you to decide. What always comes first for us is - how do our clients use the room? For a bedroom, they will most likely need something which provides privacy, and maybe an element of blackout to help them sleep. For a bathroom, again, they will most likely need privacy, but we also have to consider the moisture that will be in the air. For a living room, they might want a window dressing which keeps the warm air in and the cold air out, to help create that cosy feeling in the evenings. The next thing we consider is how often the window dressing will be used, and how many windows there are. If there is a row of six windows in your kitchen, for example, and you opt for Roman blinds on each one, will it be irritating to open and close each of them every day? Would it be simpler to have one large dressing covering all six windows? Do you need your window dressing to open and close at all? If you know you’re not going to actually use them, it might be worth considering ‘dress’ only options, which dress and soften the window but don’t function. There are lots of things to consider, and many options to choose from, so let’s look at some examples from our own projects to explain some of the decisions we’ve made. |
||||||||||
 |
||||||||||
|
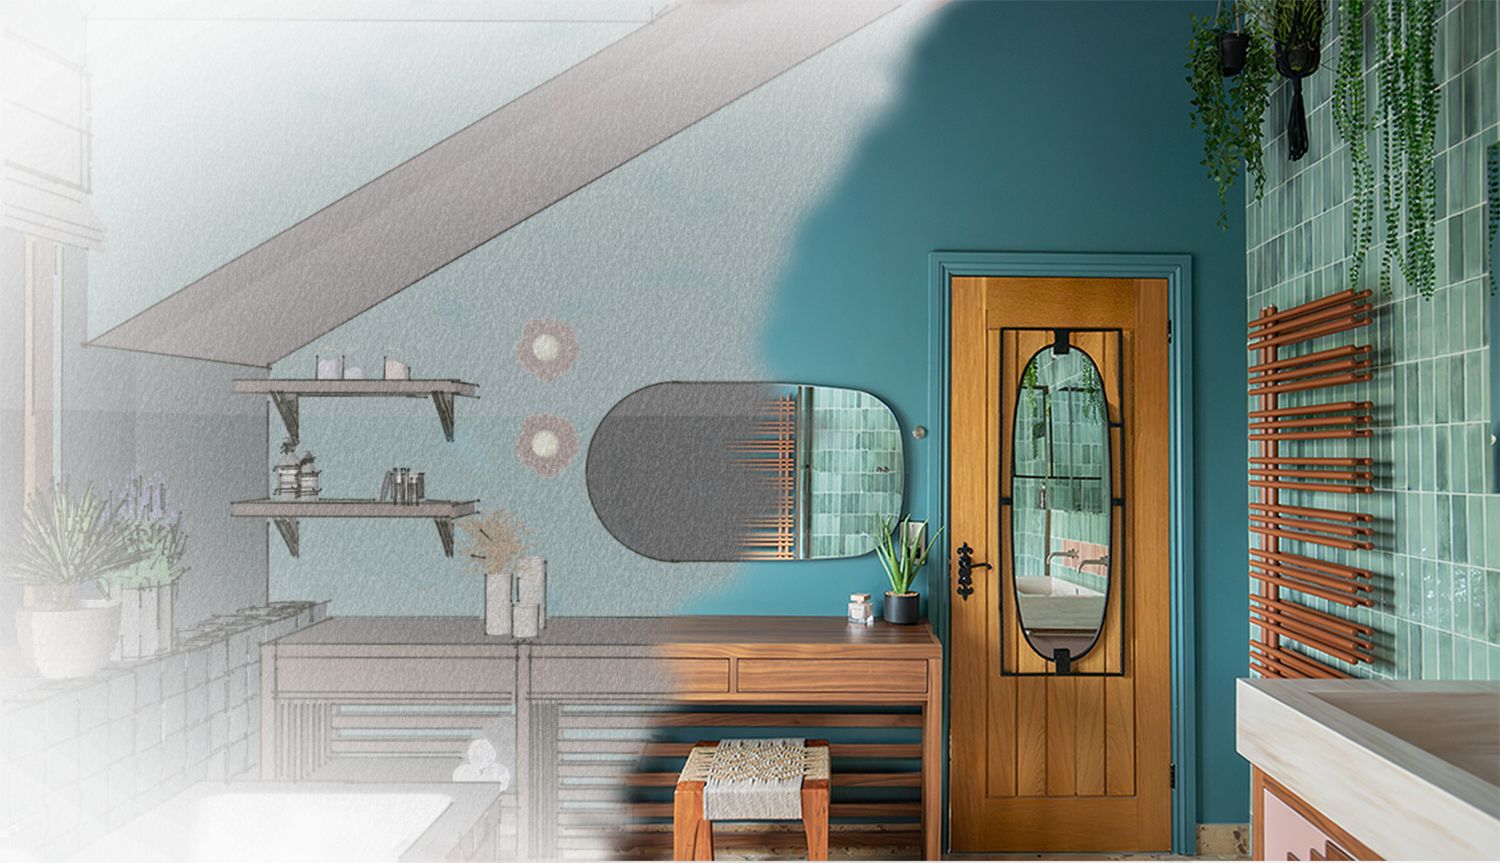
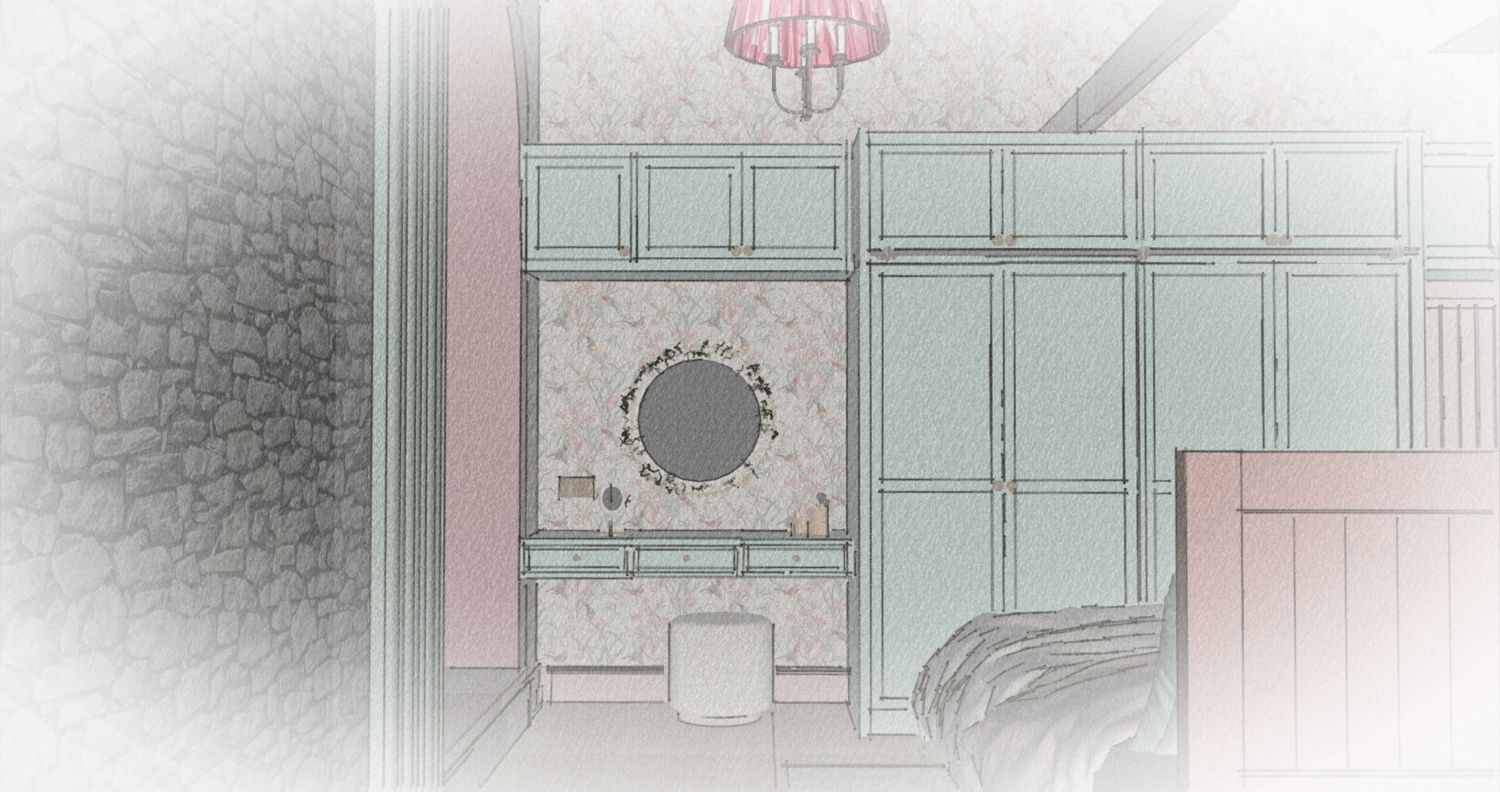
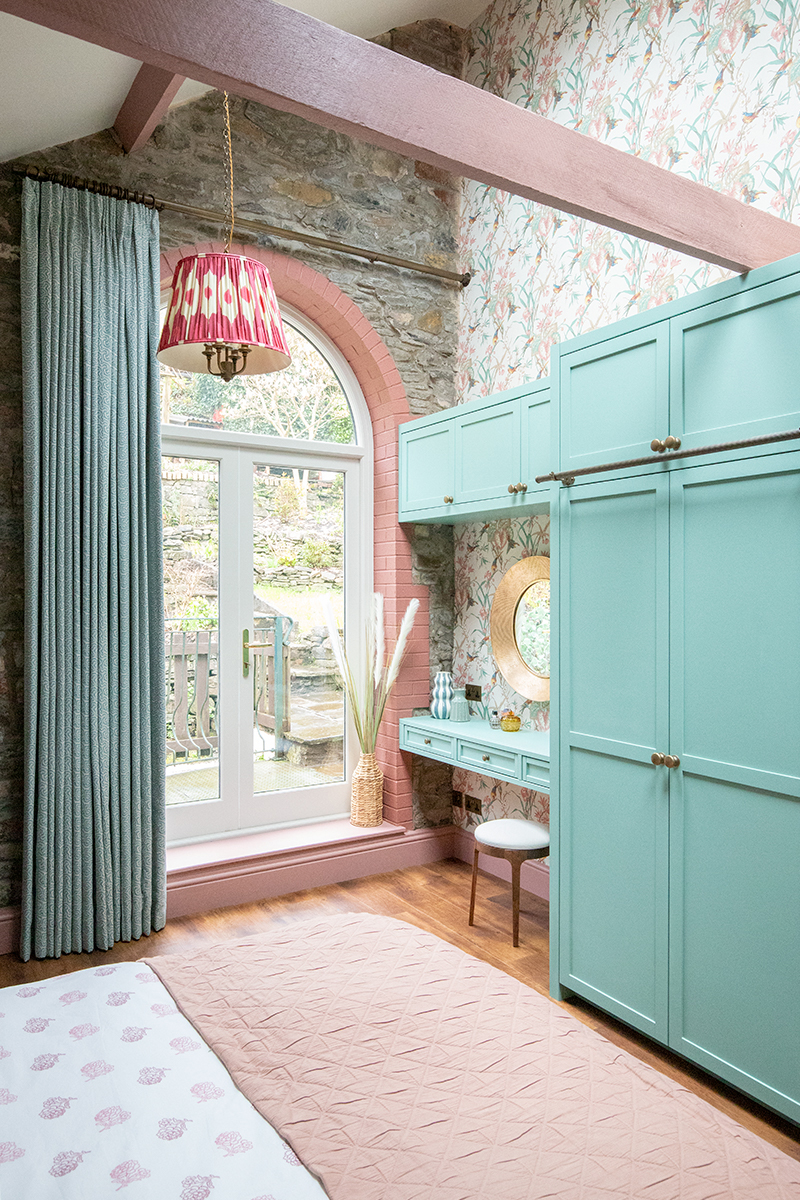
You can see that in this project, we opted for one full length curtain. Our clients wanted curtains, and because we’d designed built in storage on one side of the French doors, we only had space on the opposite side for the curtains to be hung and pulled back from the window. One curtain wide enough to cover both of the doors (with extra for gathering) is really the only option for curtains on this window. We chose a full length curtain because of the height and shape of the window - anything shorter would look very strange on French doors like these. So, along with our clients, we’d decided on one wide full length curtain - what decision comes next? After choosing the type of window dressing, we had to think about how to hang the curtain. Again, there are many options - poles with rings, poles without rings, tracks, motorised tracks, double poles, double tracks. We began by looking at the style of the home, and the style of the room we had designed. We thought a curtain pole would work well here as the room has beautiful original exposed stone on the exterior wall, and anything too modern, such as a white metal curtain track, would have clashed with the more traditional look in this room. Our clients were in agreement, so we settled on a more traditional style pole with rings. |
||||||||||
| Even though the slope of the ceiling presented a few problems, we wanted to place the curtain pole as high up as we could, as anything lower would have cut across the lovely brick arch around the doors, spoiling the curve and unbalancing the window dressing design. As there isn’t much space between the end of the pole and the sloped ceiling, we chose a finial which was small and neat. The finial is the decorative part on the end of a pole which stops the rings from sliding off when you draw the curtain, and in this case, we chose a flush end cap finial. That sounds technical, but it just means that it adds as little extra length to the pole as possible, and doesn’t have any decorative elements to get in the way. On the other end of the pole, we opted for a recess bracket, which does the double job of holding the pole up, and finishing the end of the pole. It also gives a neat finish against the wall. We chose an antique brass finish for the pole, which complements the handles on the new wardrobes and the original door handles elsewhere in the room. | ||||||||||
|
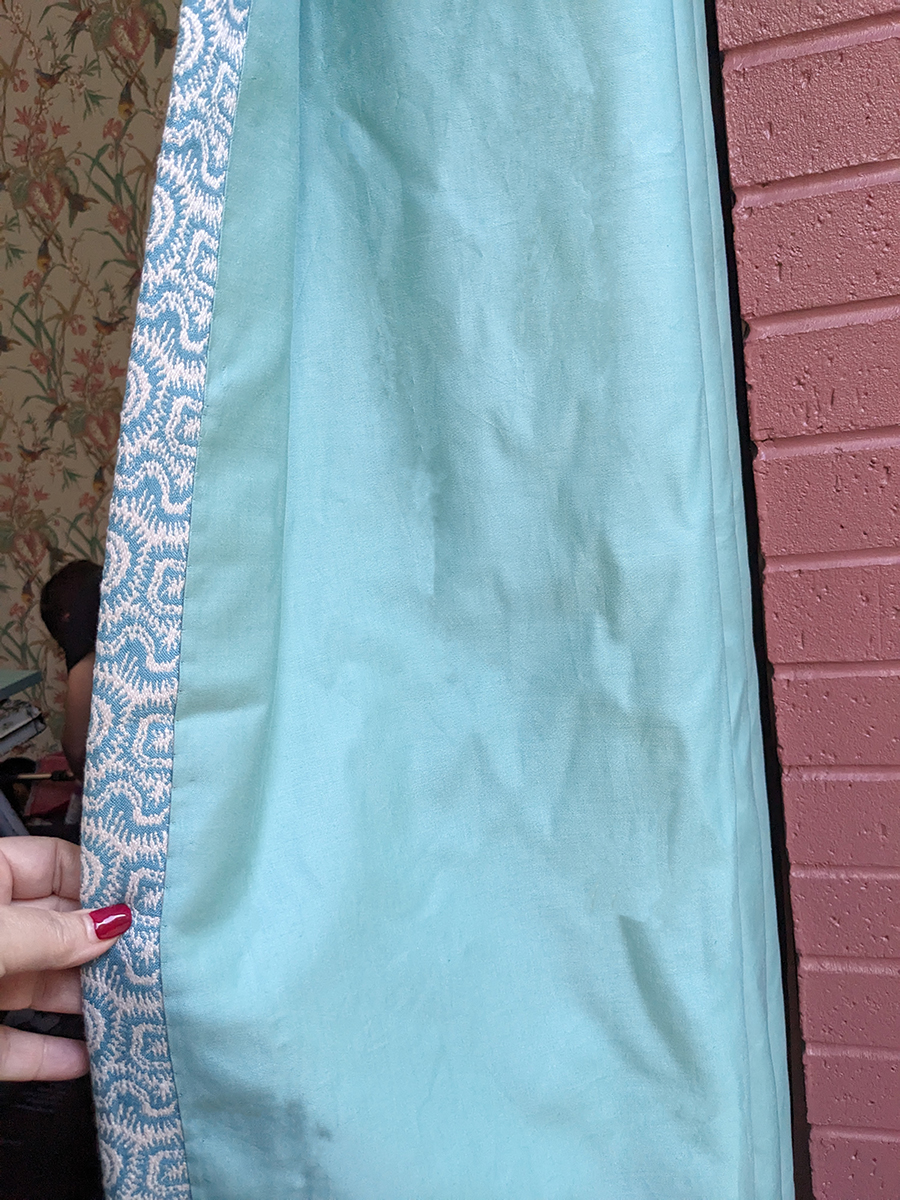
Once we had decided on the window dressing style and how it would be hung, next we had to choose the fabrics. It may sound obvious, but we had to select a fabric suitable for curtains. There are other types of fabrics which wouldn’t be suitable, such as upholstery grade fabrics, as these are heavier and stiffer and don’t drape or move well at the window. You can easily tell if the fabric you are considering is suitable for curtains, as there is usually a little curtain symbol on the supplier’s website or on the label on the fabric sample. If it has a sofa symbol and no curtain symbol, then it is probably too stiff for making curtains from. For the curtains, we sourced a beautiful sea glass and cream coloured fabric with a small scale pattern, which complements the other colours and patterns in the room. We also decided to use a coloured lining fabric for the back of the curtain. Usually, linings are cream or off-white as they are behind the curtain fabric and we don’t really see them, but in this case, the French doors go straight out onto the terraced garden, and the back of the curtain would be seen from the garden. The colour of the lining fabric complements the colours used in the rest of the room, and offers a glimpse of the bedroom beyond when viewed from the terrace. |
||||||||||
 |
||||||||||
At this point, we also discussed adding interlining with our clients. This extra layer of fabric sits between the main fabric and the lining, and adds extra warmth and weight to the curtain. It can help with keeping the room warm, with sound insulation, and it makes the curtains drape well and hang better. It can also help protect the main fabric from sun damage and fading. Together, we decided that interlining was needed, but we opted for a lightweight fabric to keep the overall weight of the curtains manageable. |
||||||||||
|
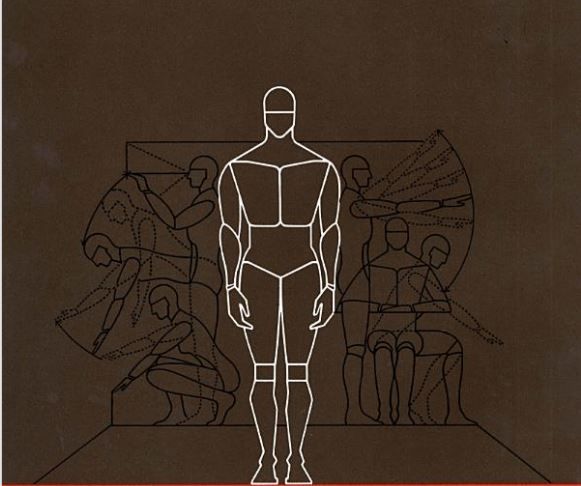
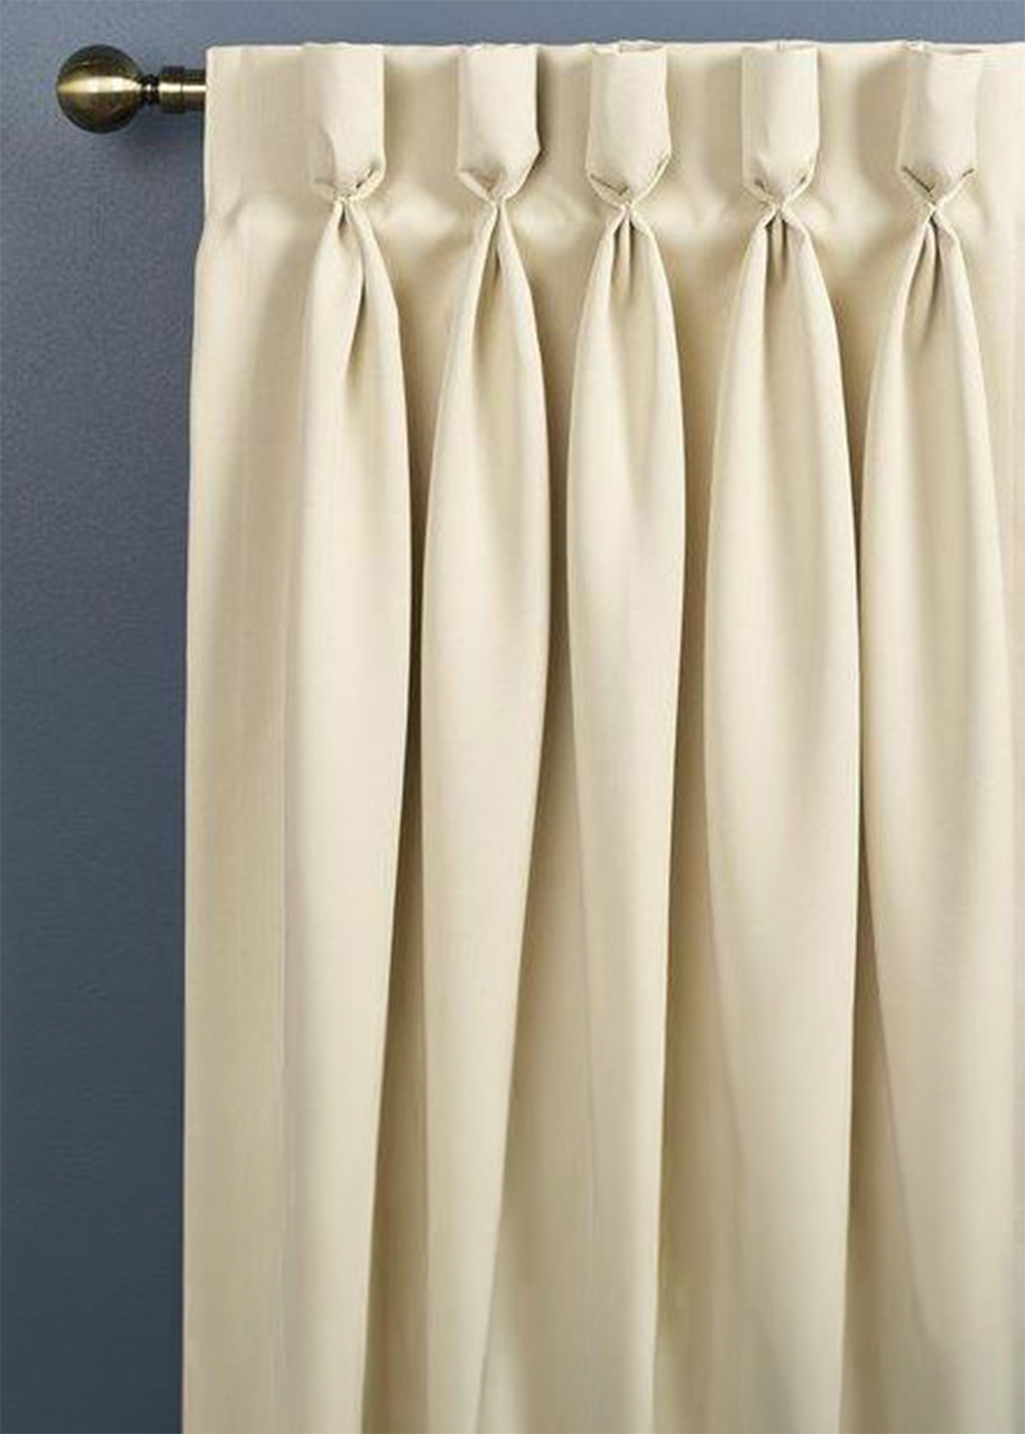
So at this stage, we have a window dressing style, a method of hanging the curtain, and our fabrics are chosen. Next comes the curtain heading. There are many styles of curtain headings available, from eyelets to pencil pleats to goblets. They are all just ways of gathering the excess fabric needed for a curtain to cover the window properly in a neat and tidy fashion. If you used only enough fabric to cover the window, you would have one flat piece of fabric stretched across the opening, which isn’t attractive and doesn’t provide any heat or sound insulation. Generally, we work with between 1.5 times the window width and 3 times, depending upon how you’d like your curtains to look. Here are just a few of the many curtain heading styles available: |
||||||||||
|
||||||||||
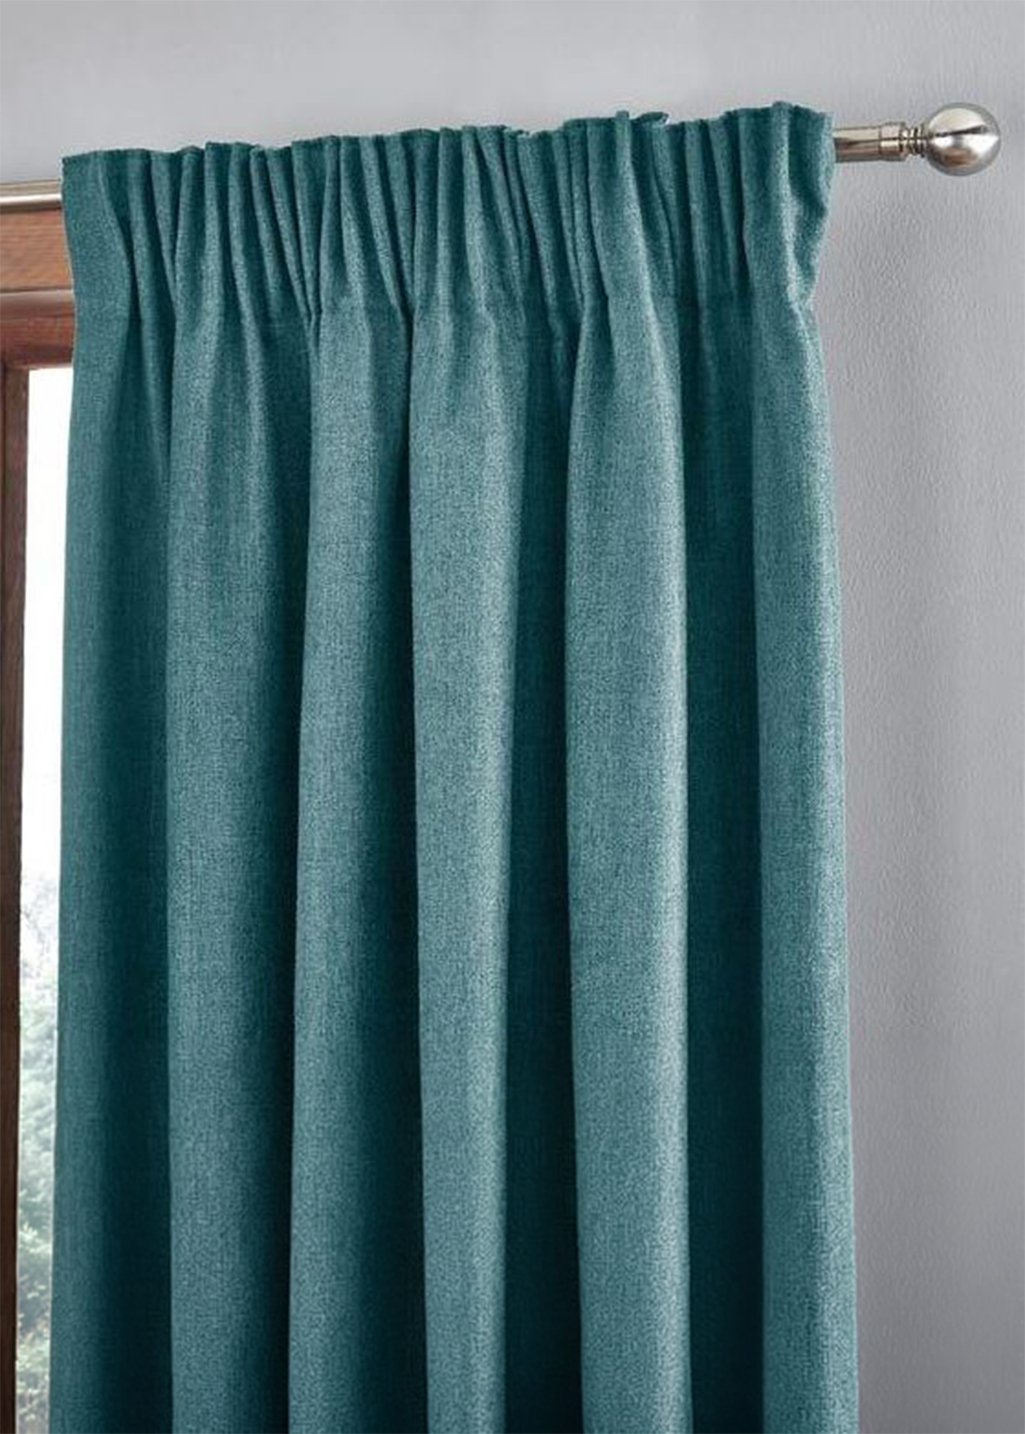
It’s important to choose your curtain heading at this stage, before measuring for the curtains, as each type of heading uses different amounts of fabric. For this project, we chose a pencil pleat heading, which works because the pleats gather up neatly next to each other when the curtain is pulled open, meaning it will allow more light into the room. Standard pencil pleat headings are 3 inches in height - we opted for the more unusual 6 inches, as the curtains are long and the ceiling is high, and we wanted to keep the window dressing consistent with the proportions of the room. |
||||||||||
|
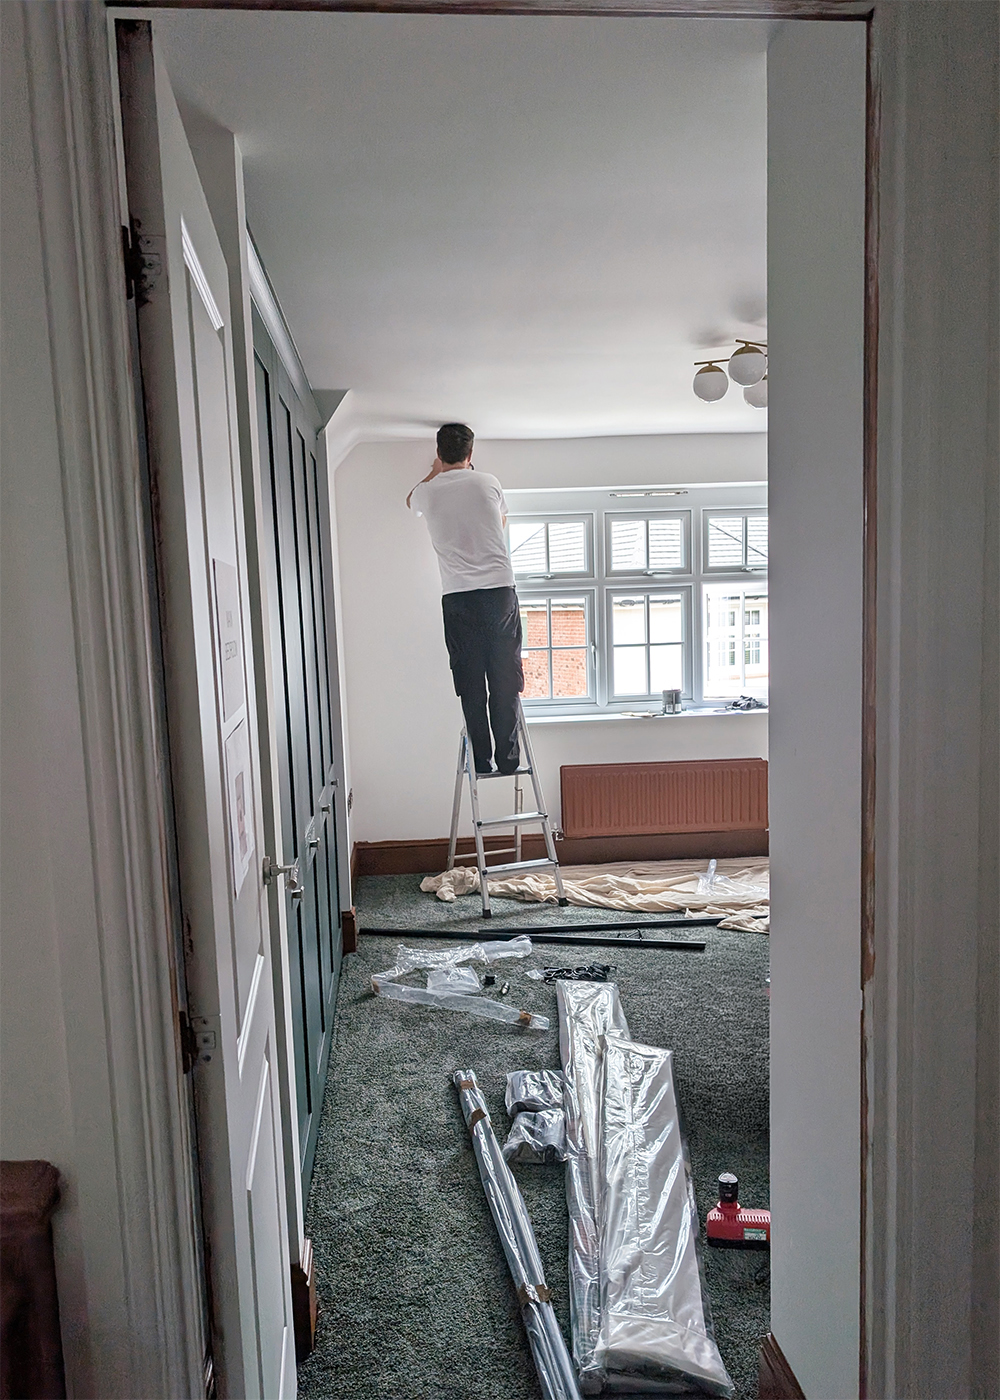
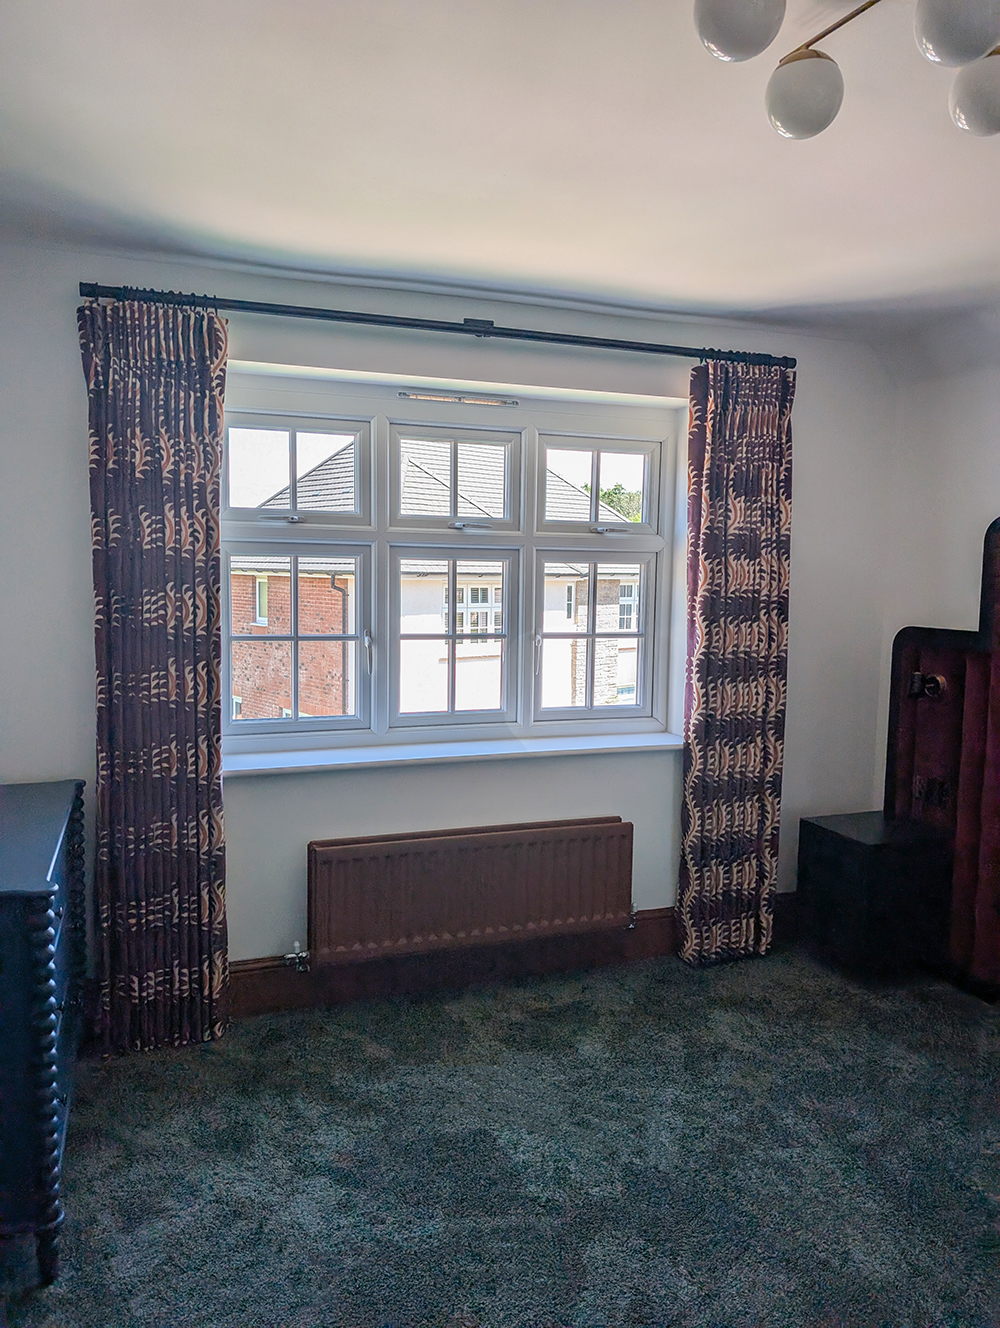
The next stage is to measure for the curtains, so the curtain maker can work out how much fabric we need and give us a quote for making them. When renovating a home, the window dressings are usually one of the last items to be installed. We want all of the messy work completed first, such as tiling, decorating or carpentry, to save the curtains from any mishaps. We also need the flooring to be installed before we can measure, especially if we are having full length curtains, as we need to measure the length from the pole or track to the floor. I’m going to demonstrate the next steps with another one of our projects. In this project, we again chose curtains as the clients wanted to soften the windows, but this time it was the more usual pair of curtains. This is what the bare window looked like before we started work: |
||||||||||
 |
||||||||||
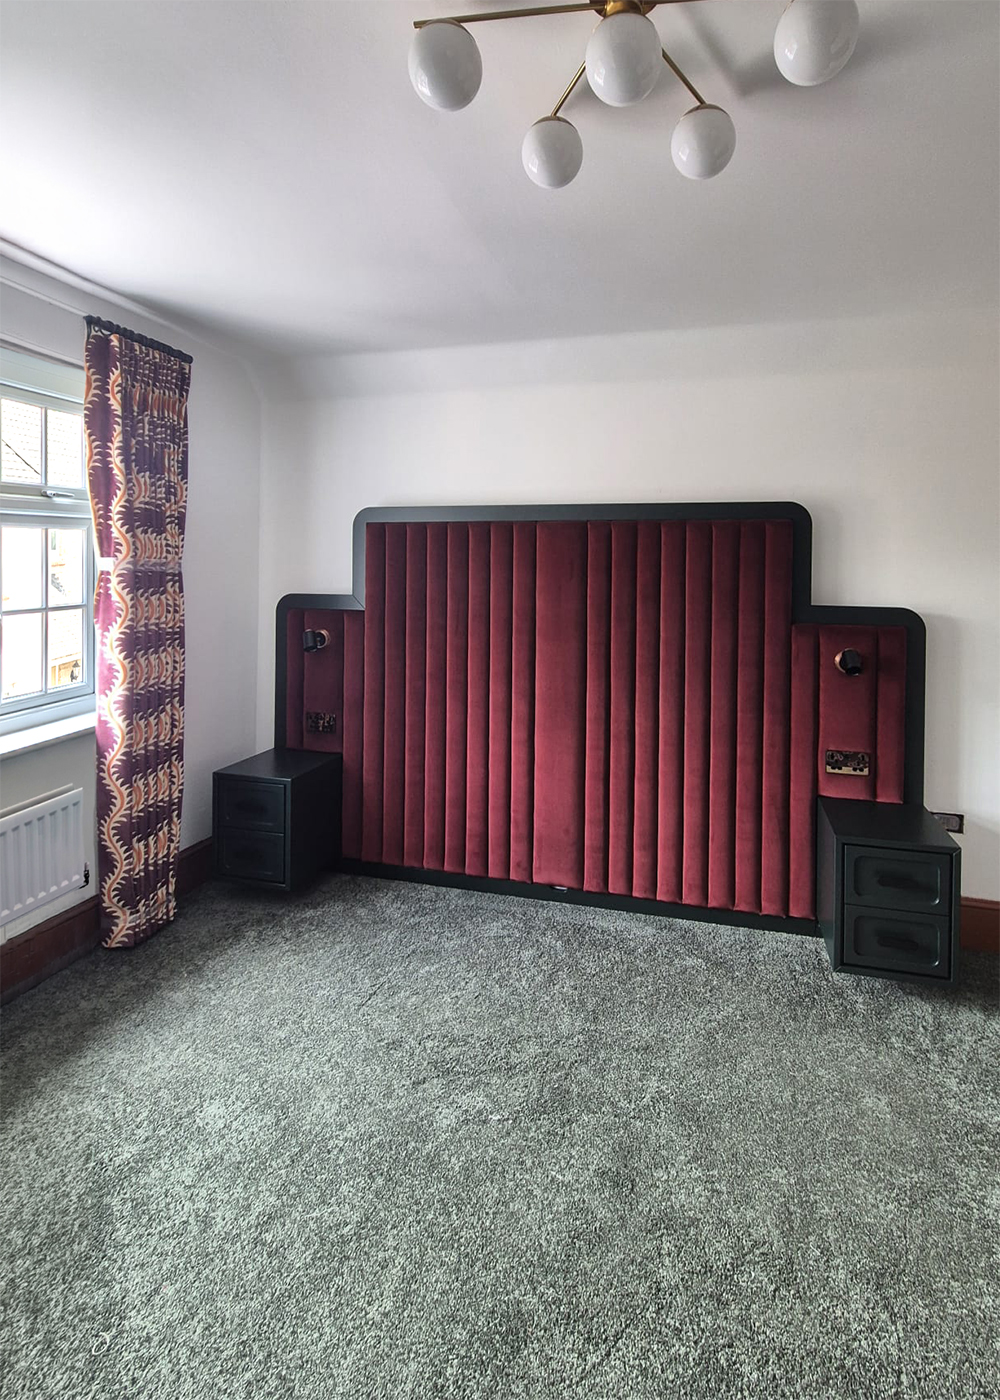
In this case, our client's room wasn’t overlooked and they decided they didn’t need anything for privacy, other than the curtains. We chose blackout lining to help block out the light for sleeping, and chose a modern, less decorative style of pole as the house is a new build, but the clients didn’t want an ultra modern look in their home. |
||||||||||
|
Once all the details had been decided, we waited until the carpets were laid before calling in our curtain fitter. He does the measuring along with us, to make sure the curtains will be made exactly how we want them. We give him all the details of the pole or track, the type of fabric, the heading type, and how long we want them to be. We also tell him exactly where we want the pole to go, so he can measure the length and width of the curtains from that point. As you can see from the following photo, we had chosen a thick pile carpet for this room, so it definitely needed to be installed before we measured, as the curtains would be floor length and sitting ever so slightly off the carpet. |
||||||||||
 |
||||||||||
|
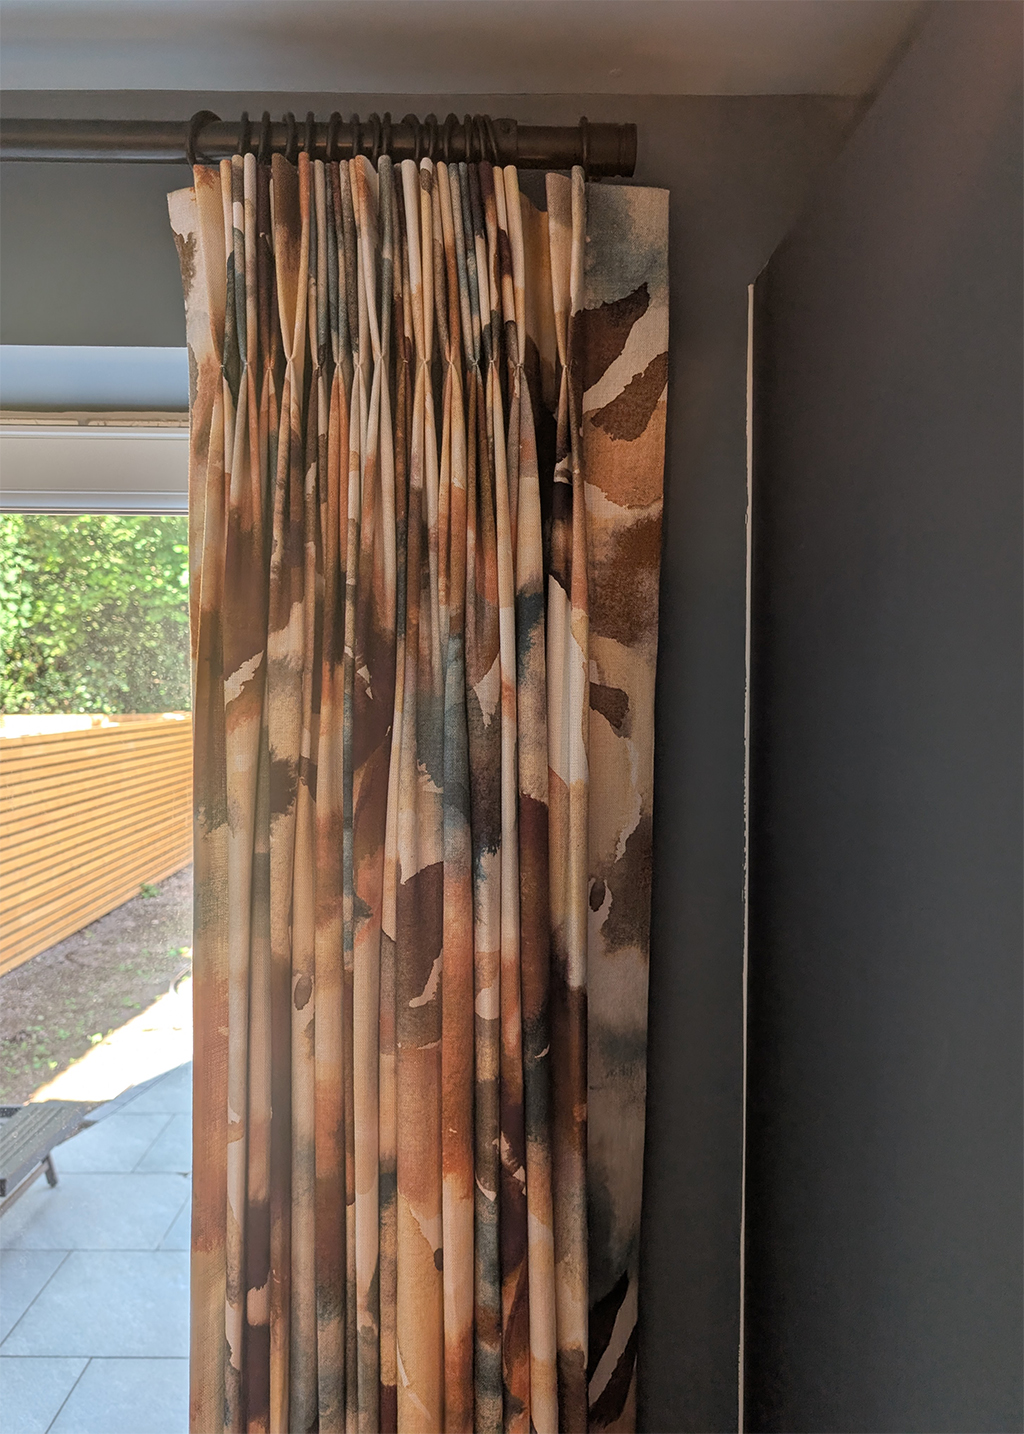
After we have the measurements, our curtain maker works everything out, including letting us know how much fabric to order. Every maker works slightly differently, so it's always best to work from their calculations. We then order the fabric and get it sent to our makers. It's worth mentioning here that we will have chosen the fabrics with the clients from sample books made by the fabric suppliers, which were probably made some time ago. To make sure that the fabric we are ordering matches the fabric we’ve chosen, we can request a cutting from the batch we will be ordering from. Once we’ve received this and approved the fabric, we send it to our maker so she can double-check it alongside the fabric when it arrives. That way, we avoid having curtains made up which don’t match what we were expecting, and do work with the other carefully chosen elements in the room. After the curtains have been made, and the decorating and carpentry has been done, we arrange for our fitter to fit the poles and hang the curtains. He does this, referring to the measurements he took at the start, so the pole goes exactly where we need it to go and the curtains fit properly. Once they are hung, he carries out a process known as ‘dressing’. He gently folds the pleats together, and ties some clear plastic or ribbon around the curtains at three points down the length to hold the pleats in place. |
||||||||||
 |
||||||||||
|
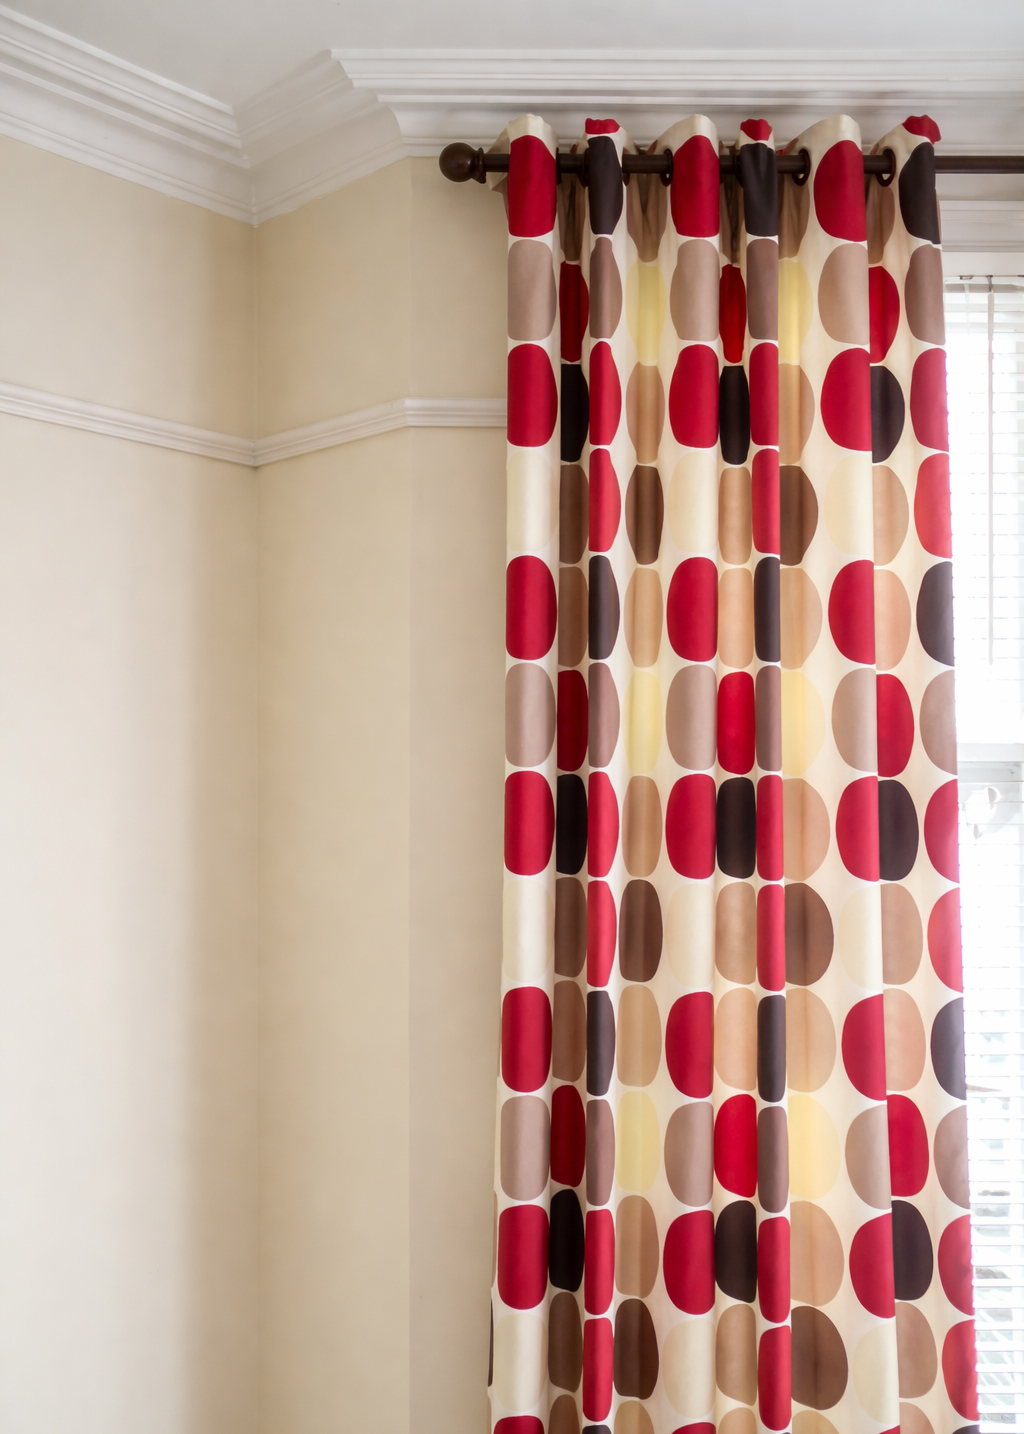
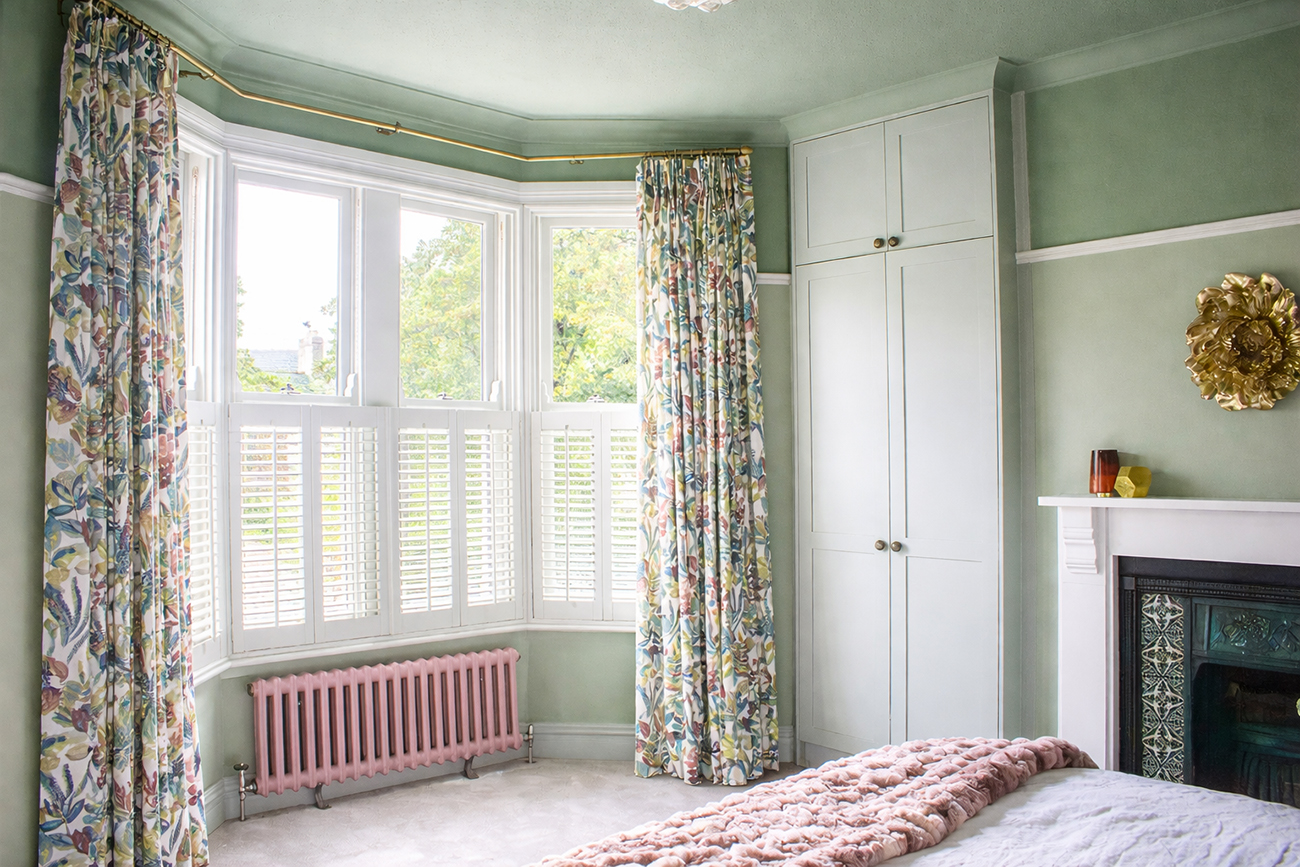
We advise our clients to leave their curtains like this for 3 days, to allow the fabric to form proper pleats and to help them hang neatly. Once the ties come off, they are ready to use normally, and the pleats will have been ‘trained’ to sit like this when the curtains are open. Here are the finished curtains in the room, looking beautifully made and hung: |
||||||||||
 |
||||||||||
|
As you can see, there are lots of decisions to make when dealing with window dressings, and an order and process to follow to get to the desired result. We are very grateful for the help of our wonderful curtain makers, Diamond Interior Furnishings, who are always available to answer questions and to help out with the more technical side of things, and our fantastic fitter, who gets it right every time. |
Welcome to the design blog, where you'll see posts about anything from the projects we are working on, to the latest fabric and wallpaper collections, and all things interiors related. We love colour, pattern, architecture and old buildings, and we love to share our finds with you.
Happy reading!