It’s better to be brave than bashful - your design dilemmas solved
 |
||
|
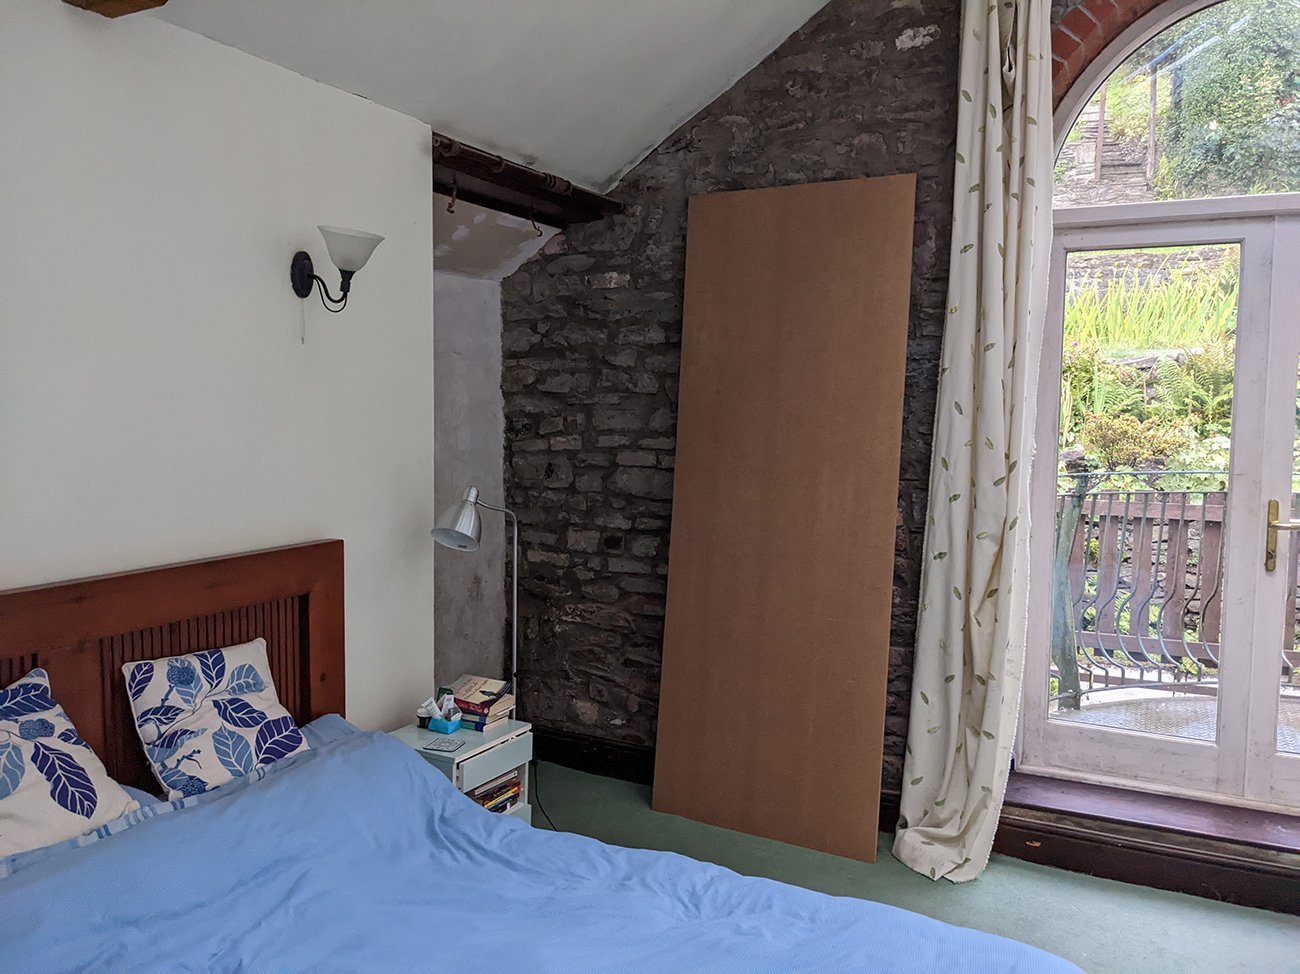
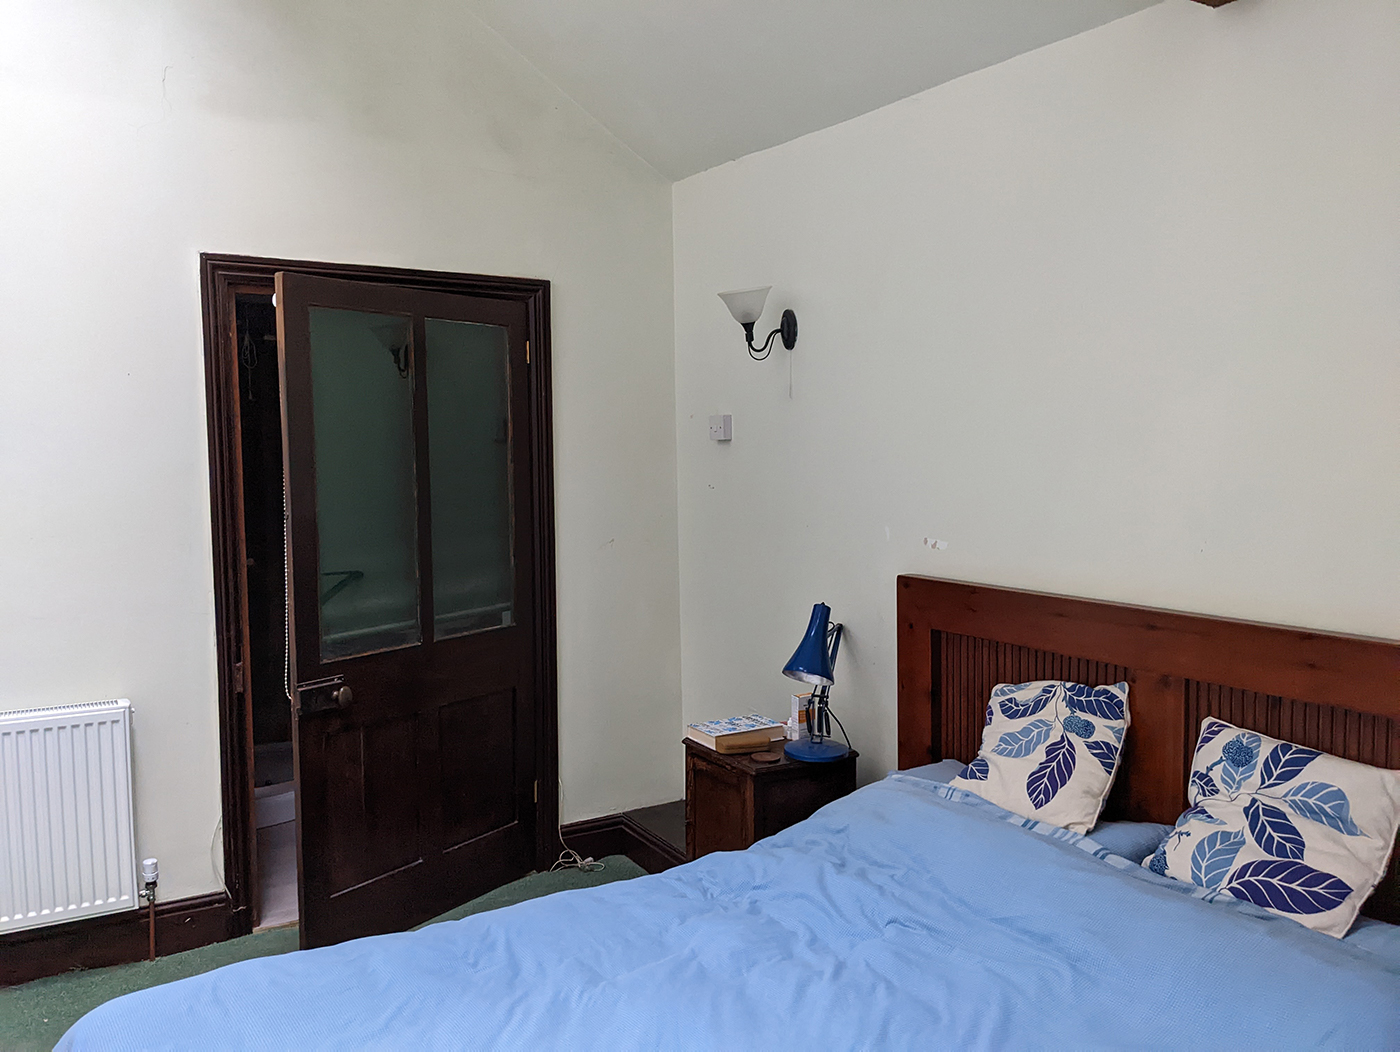
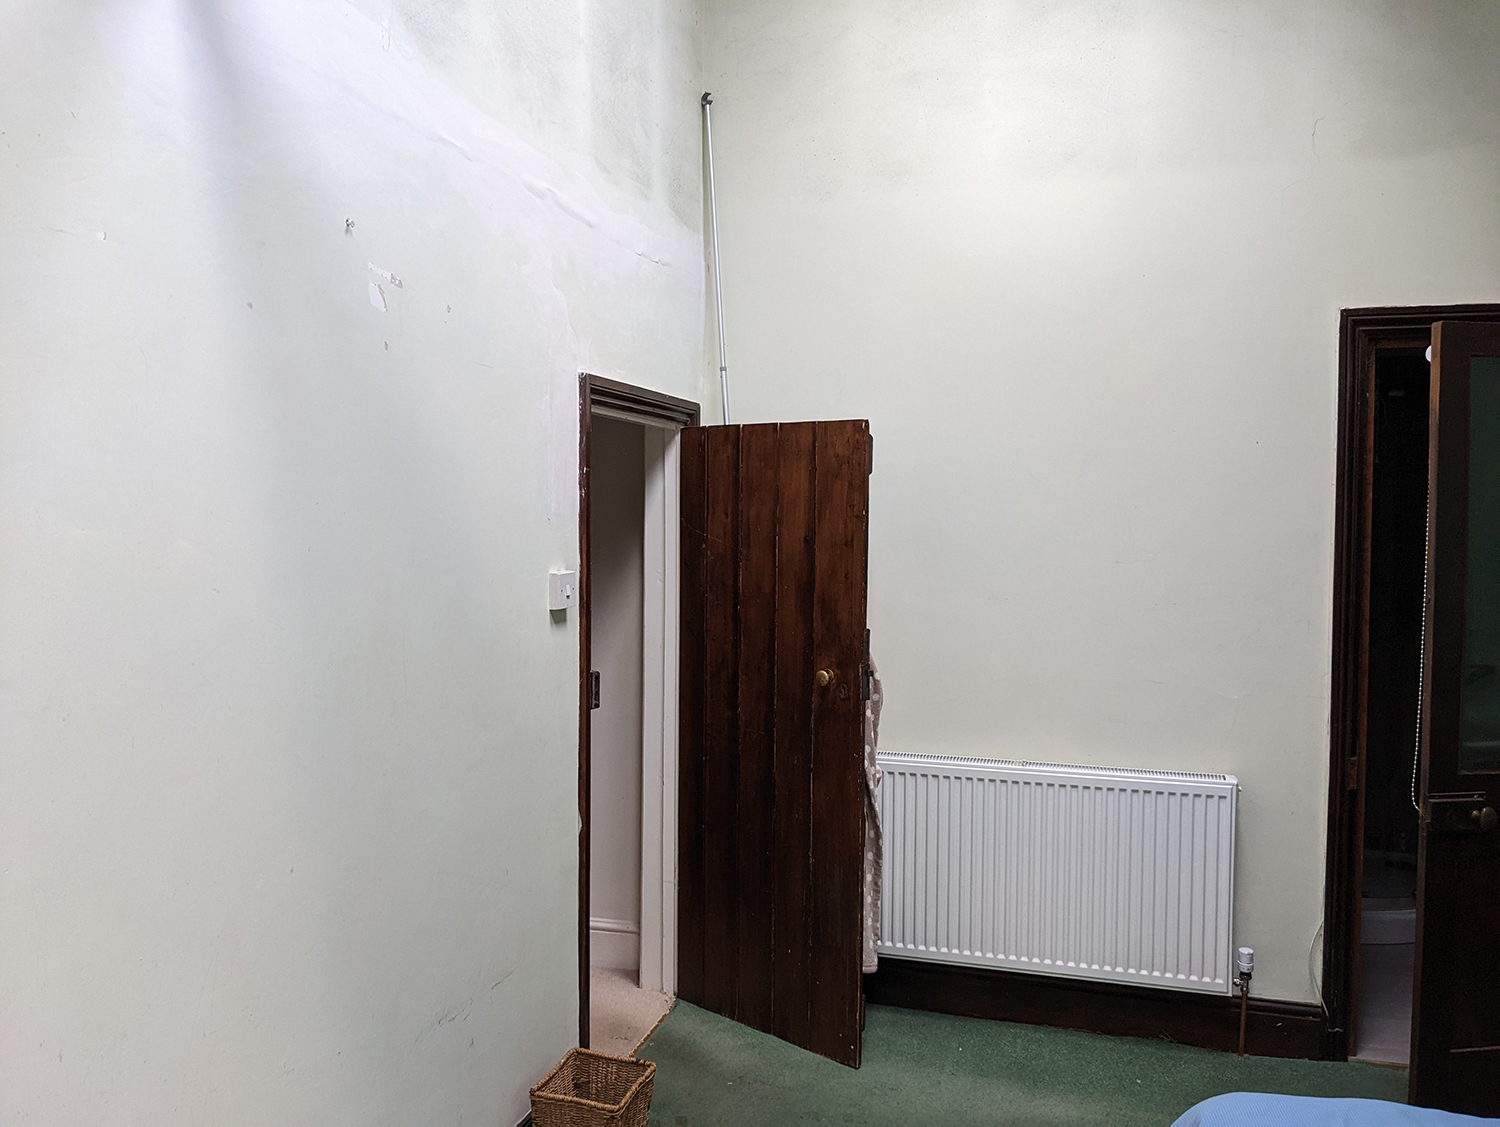
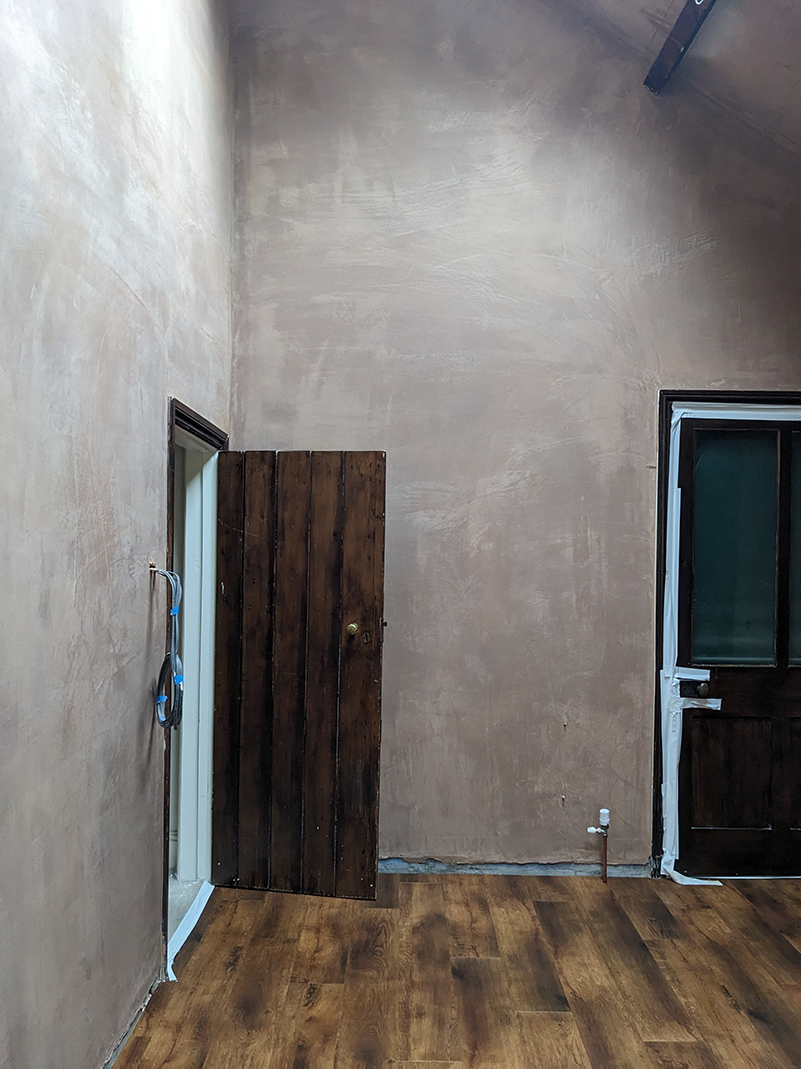
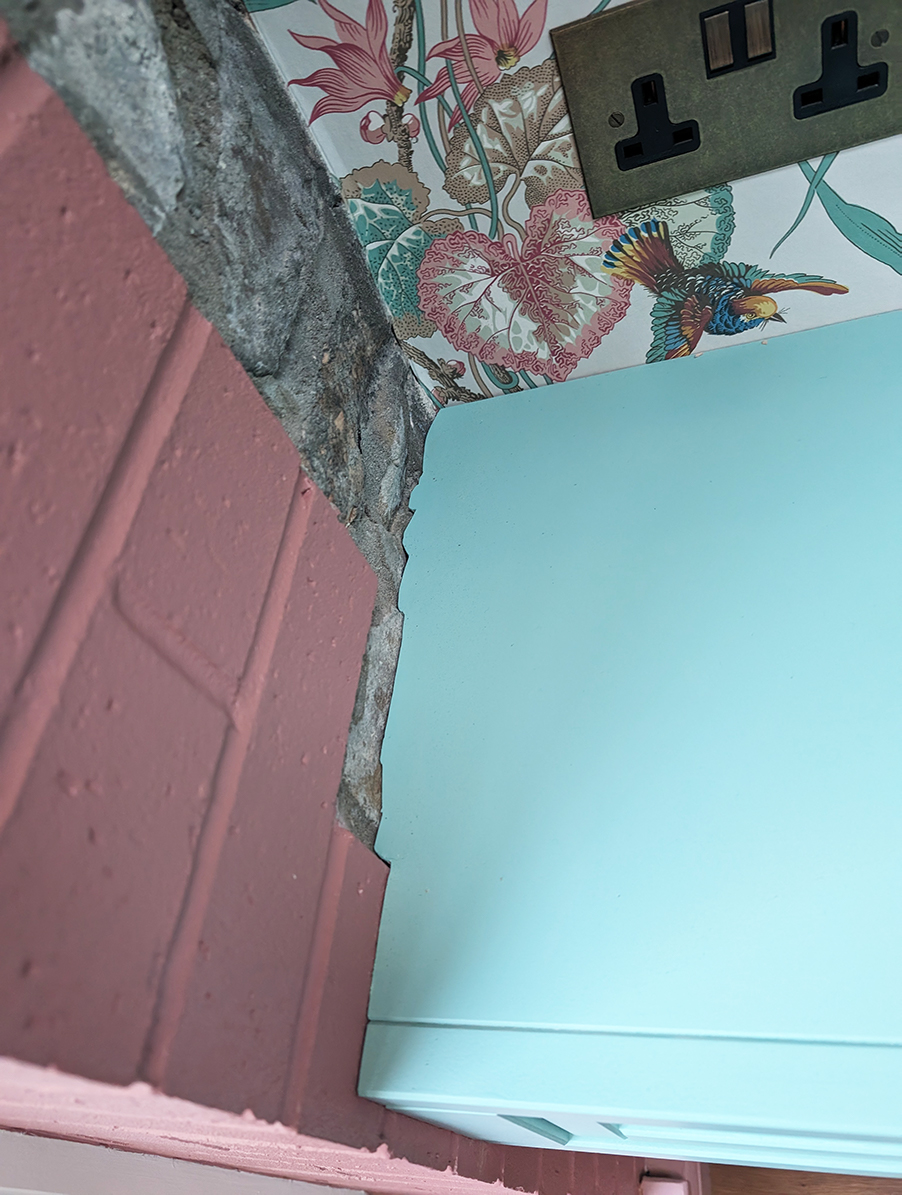
This month we are having a closer look at one of our recent projects, and this one is quite a transformation - from damp and a little unloved, to a gorgeous interior with bespoke storage and bags of character. We were contacted back in 2022 by a lovely family who live in the pretty village on the outskirts of Cardiff, for help with their home. The house had been built in the 1870s as two cottages originally, and it is now one beautiful home, with so much character. The room in question is a main bedroom, which opens onto a hillside garden through French doors and a balcony, and the view is lovely. The room had suffered from some damp issues, and needed work to the roof above, so the couple had wisely delayed redecorating until the issues were resolved and it was fully dry. But now they were ready and eager to transform it. Here’s what the room looked like when they got in touch with us: |
||
 |
||
 |
||
 |
||
 |
||
| They were planning to install new Velux windows, and wanted to create a haven for themselves, with bespoke storage and a dressing table. Above all, they wanted the room to feel warm and bright, and to reflect the character of their home, but they also wanted to add some personality and didn’t want to play it safe. | ||
|
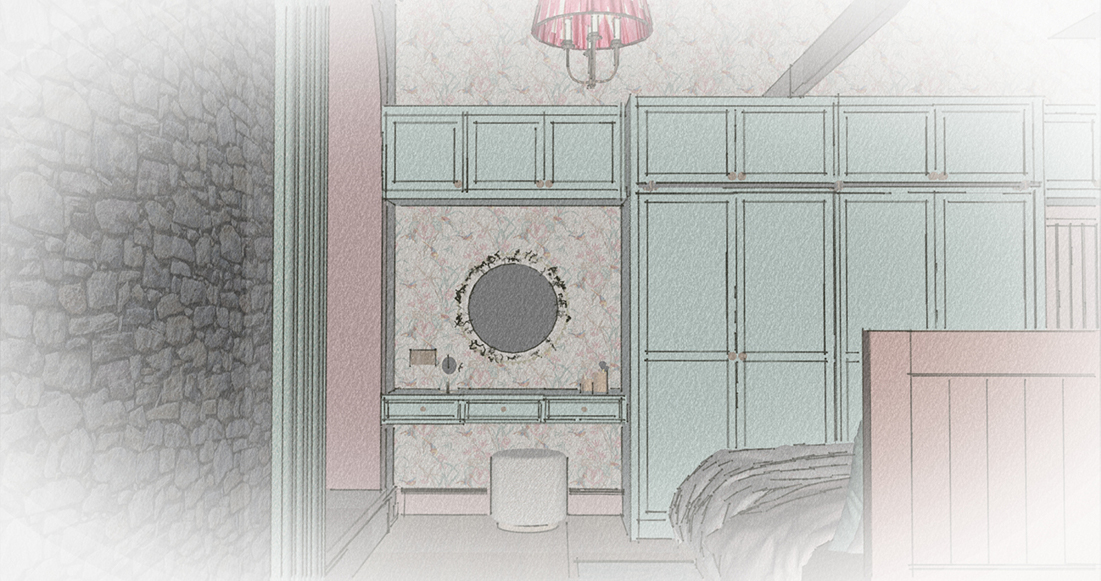
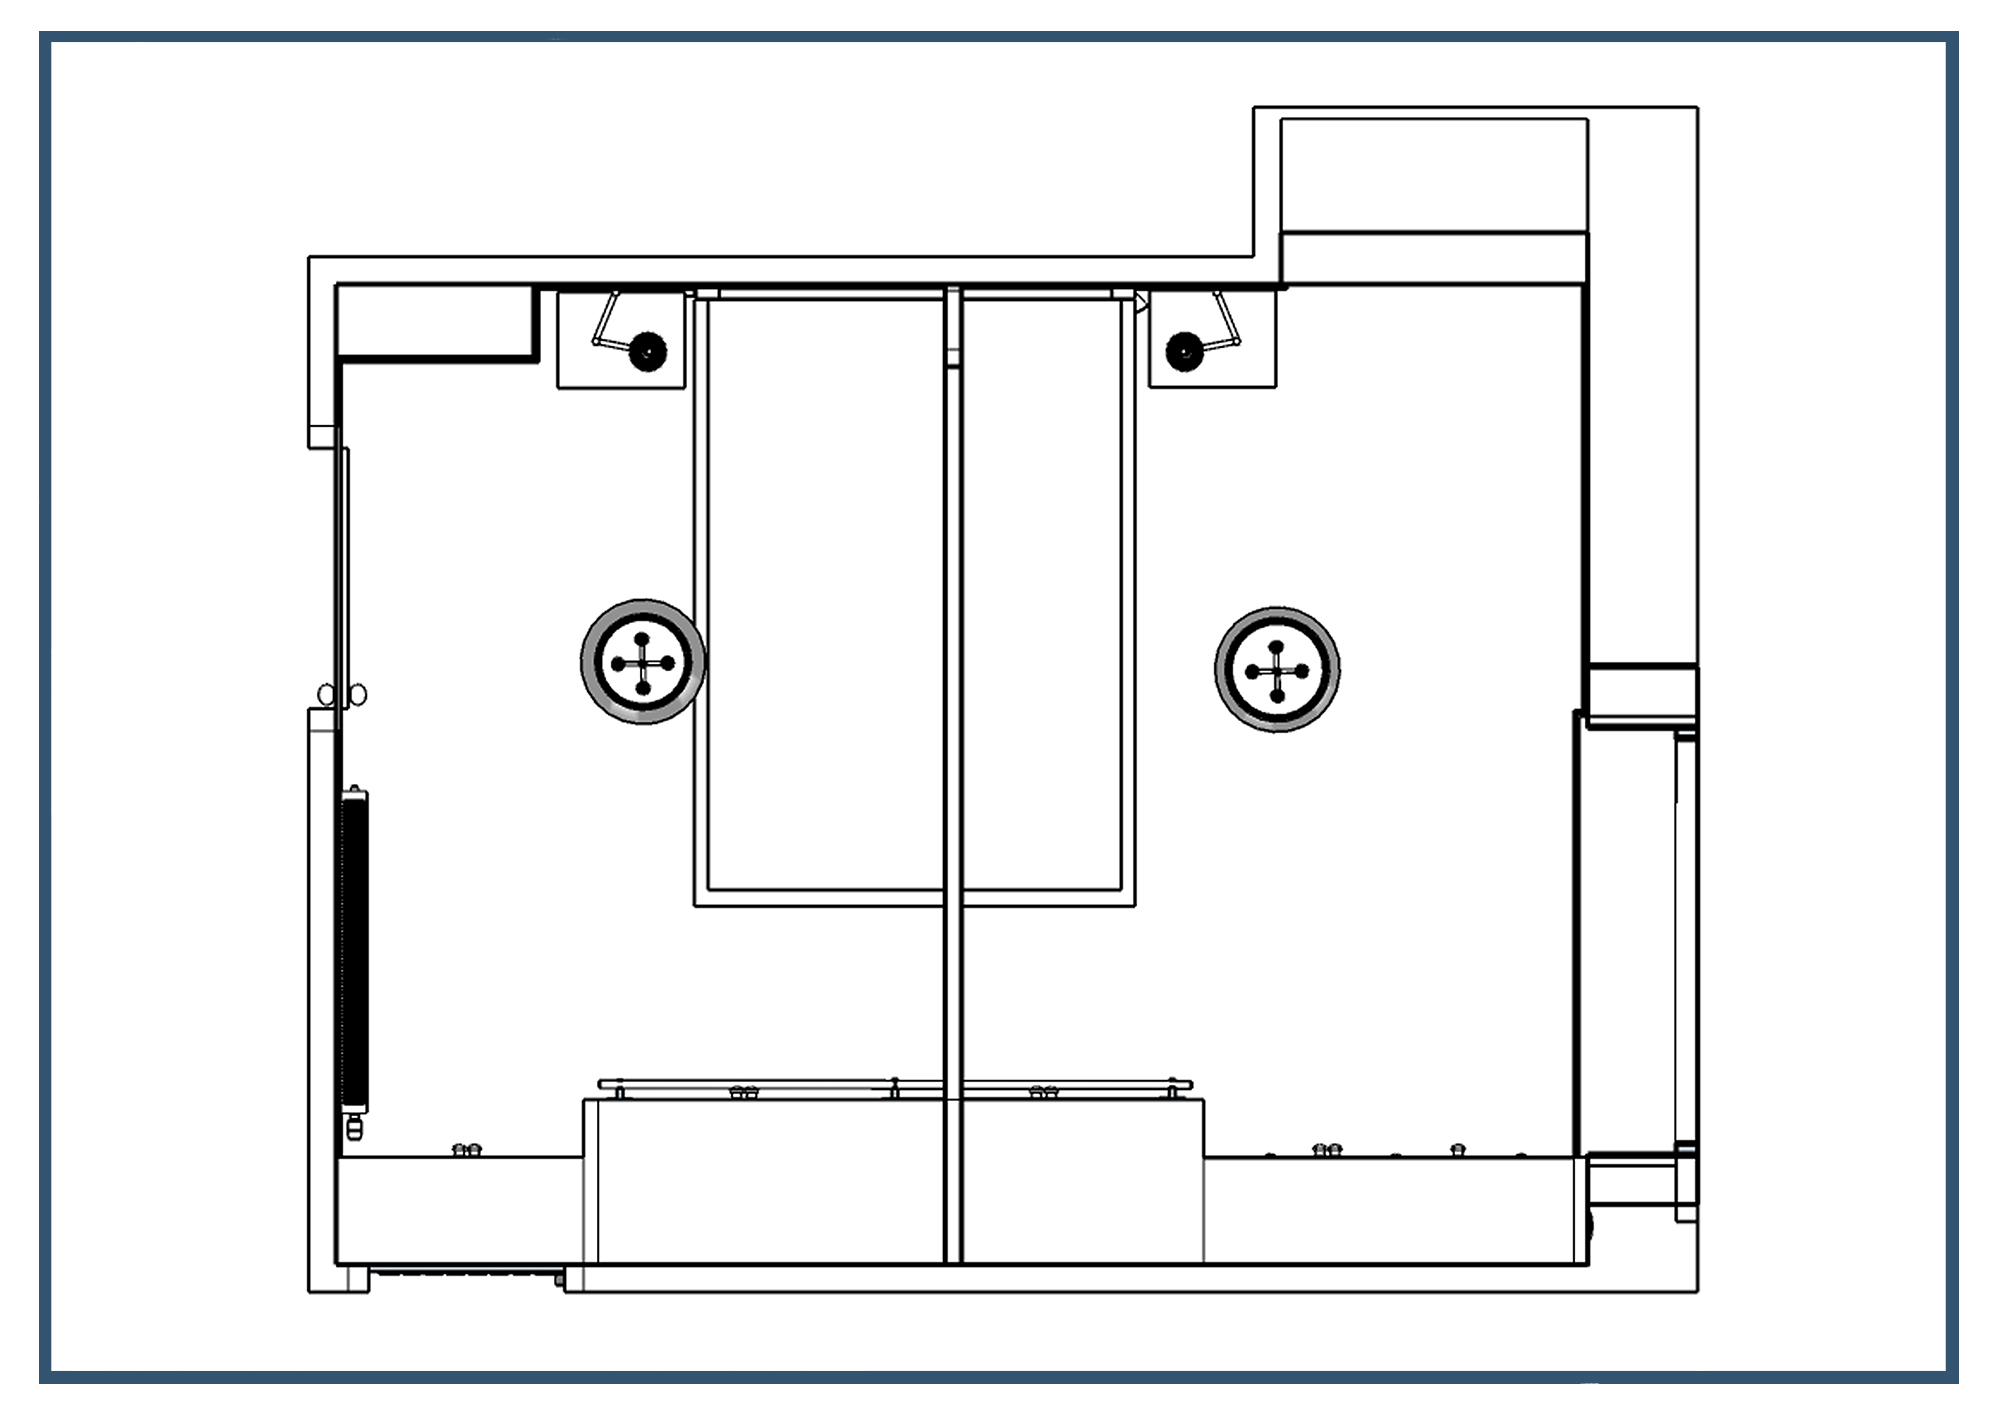
As lots of storage was a high priority, the first thing for us to do was look at the layout and come up with a floor plan which could accommodate this. We agreed the bed should stay where it was, and that the opposite wall would have built-in storage, with wardrobes and a dressing table. I suggested the storage could be designed with two depths - the dressing table would be the same depth as the wall from the French doors to the far edge of the stone on the right, and then the wardrobes would be deeper to accommodate a hanging rail. I also suggested running a row of higher cabinets above the dressing table, across the wardrobes, and over the main door into the room, as it would provide extra storage. The idea was that the cupboards over the door would be unobtrusive as you wouldn’t notice them when walking into the room. And of course, all this storage had to fit underneath the lovely beams, so the design had to be measured and executed perfectly. |
||
 |
||
| The proposed new layout for the room | ||
 |
||
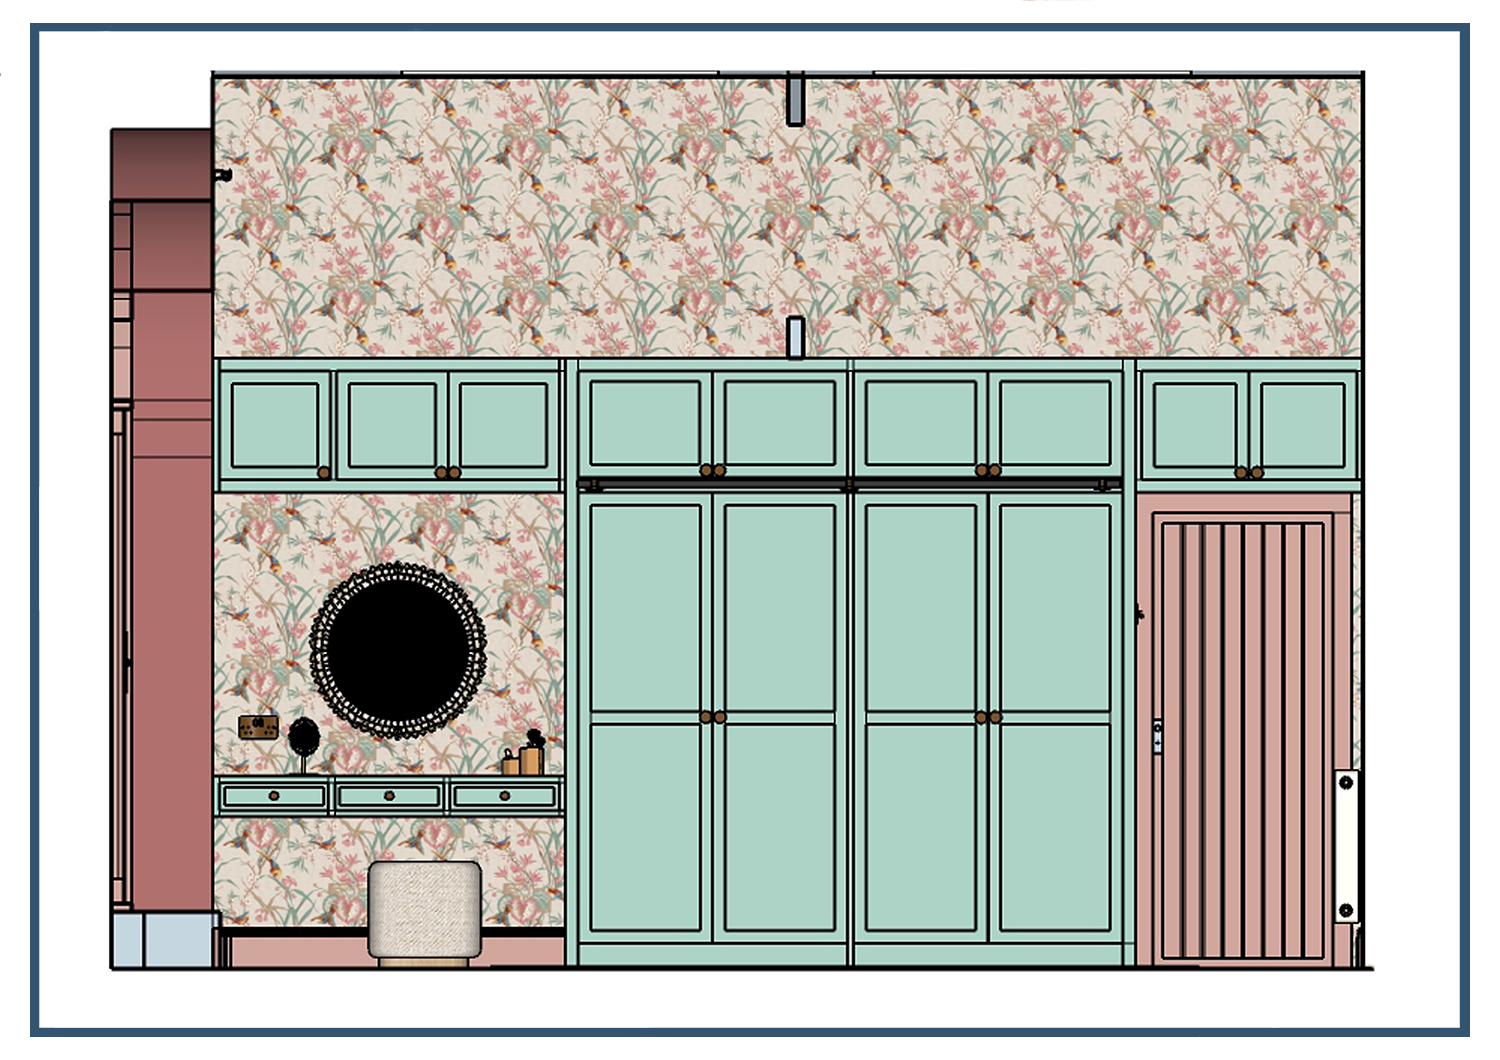
| An elevation showing our design for the storage and dressing table | ||
|
The next thing to look at was the lighting - when I first saw the room there was one single pendant light in the ceiling which didn’t give off enough light, and only one of the two wall lights worked, operated by a pull cord. The wall lights were also too high up the wall, and the wrong shape to be useful for reading, as the shades threw the light upwards and away from the bed. The couple needed light fittings which would give off some light below to illuminate a book, and also give off a soft glow for a relaxing atmosphere. I also suggested that the lighting be controlled from both a switch by the door and one above each bedside table, so the clients could turn on any light when entering the room, and also control all the lighting when they were in bed. After all, there’s nothing more annoying than being cosy and snug when reading in bed and then having to get up and turn the light off when you’re ready to go to sleep. |
||
 |
||
| The electrical and lighting plan for the room | ||
|
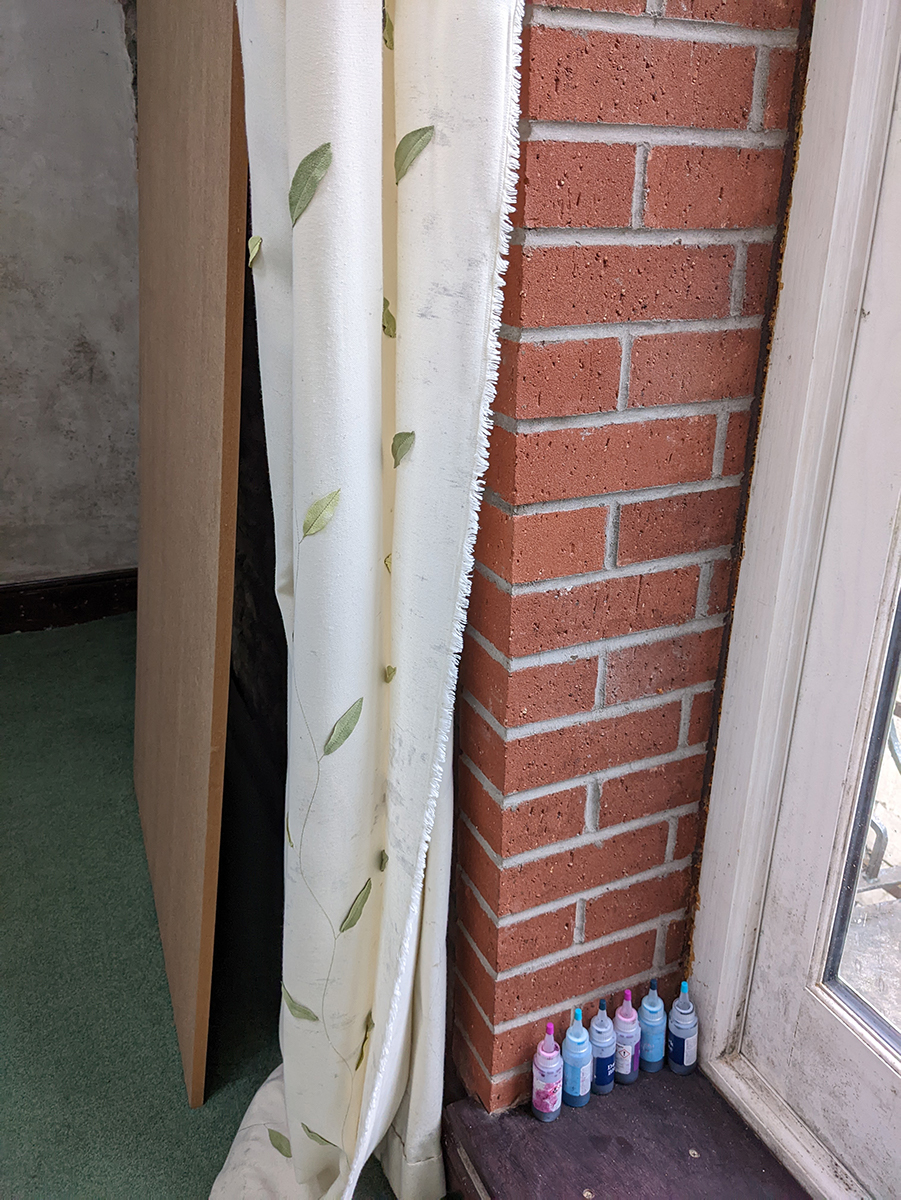
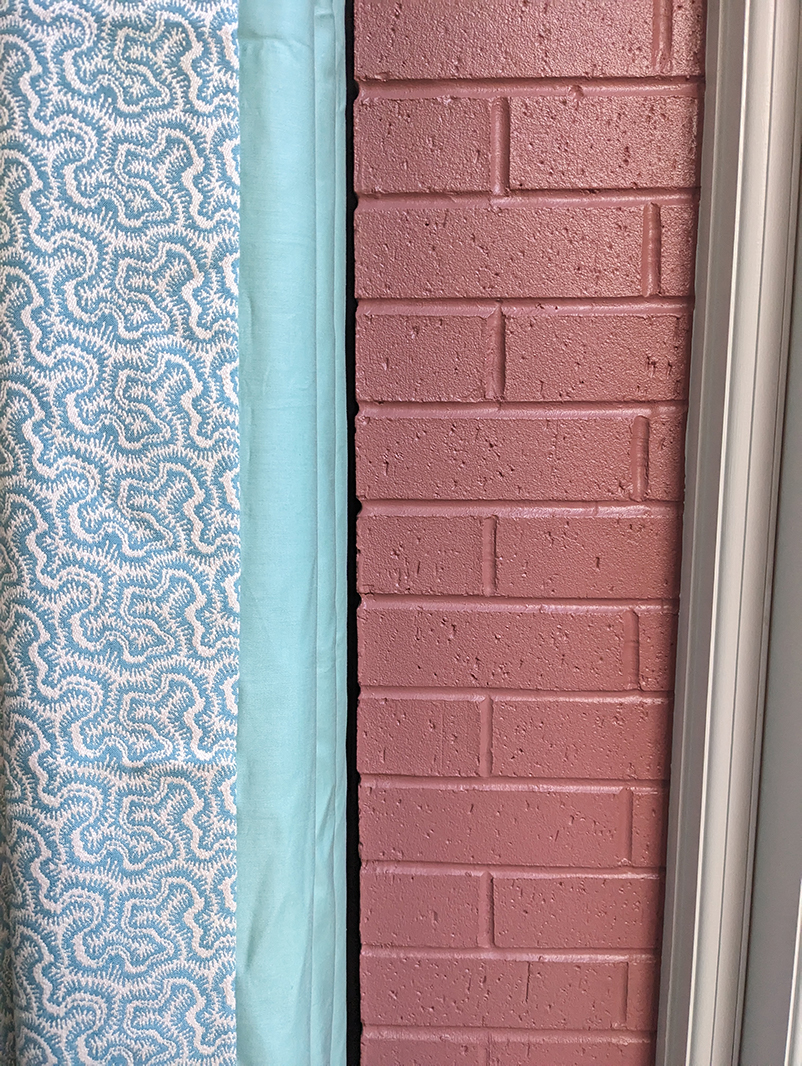
The next problem to solve was how to hang curtains at the tall French doors. The clients wanted full length and thick curtains to help keep the heat in and the cold out, so I suggested interlined curtains, which have an extra thick layer of fabric between the curtain fabric at the front and the lining fabric at the back. This extra layer would help trap the warm air inside the room and help keep out the cold air from the outside. Having decided that curtains would perform best here (as having more fabric than blinds do would trap more air), the issue was that the new storage would come right up to the edge of the bricks around the French doors, leaving the curtain on the right nowhere to draw back. The answer was for me to design a window treatment with a single curtain, which would draw back to the left. This would work, but we would have to be very careful with the placement of the curtain pole, as there is a sloped ceiling on the left of the doors, and limited space to put a curtain pole there. When considering the curtain fabric, I also decided that a coloured lining for the curtain would look great with the main fabric, as the back of the curtain would be seen from the garden, so the coloured lining would provide a luxury touch. |
||
  |
||
|
||
|
The final functional item to consider was some new flooring. There was a carpet on the floor, which wasn’t very practical considering the access to the garden from this room. We needed something hardwearing and easy to clean, and the couple wanted something natural and not man-made if possible. I suggested bamboo, as it’s hardwearing and very sustainable (it grows very quickly so it can be harvested and regrown easily). The clients loved this idea, and we selected the perfect type and colour, but then there were concerns about how it would perform in a potentially damp atmosphere. The damp problems had been fixed, but we didn’t want to risk having the flooring shrink or ‘lift’ if the atmosphere remained humid. Having looked into it and consulted with our flooring fitter, we decided not to use the bamboo, and chose a luxury vinyl tile or LVT in a similar shade, which would last for over 30 years, not be affected by moisture, and could be mopped clean easily. |
||
  |
||
| The new LVT flooring in a rich wood grain | ||
|
Once the practicalities had been considered, we moved on to the decor in the room. The couple wanted to keep the exposed stone wall, and I agreed with them that we should make the most of this original feature, but we needed to balance the blue and grey tones in it, which were contributing to the feeling that the room was cold. At our initial consultation, we quickly established that wallpaper would be the best option for the room, as it has a very tall ceiling and an expanse of wall on one side, and something was needed to break up the large areas of blank space. The couple liked greens and pinks, with some blues and turquoise thrown in, so we looked at lots of wallpaper samples until I had a firm idea of their style. They wanted a pretty paper and liked trees, fruits and birds, and wanted a fairly free flowing design - nothing too tropical looking or trendy. We eventually settled on this one, from Warner House, which fits the brief perfectly: |
||
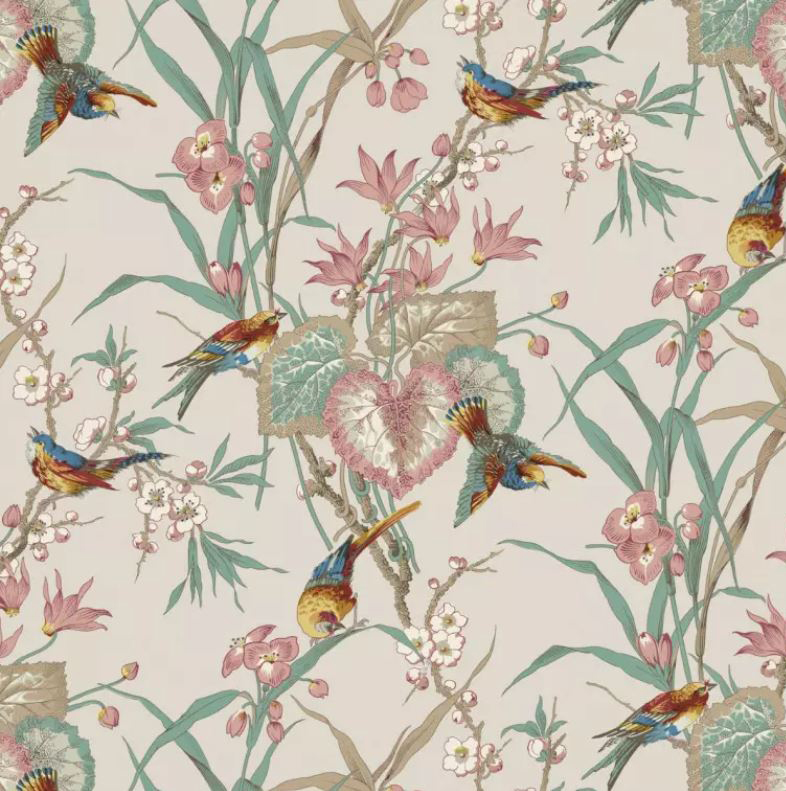 |
||
|
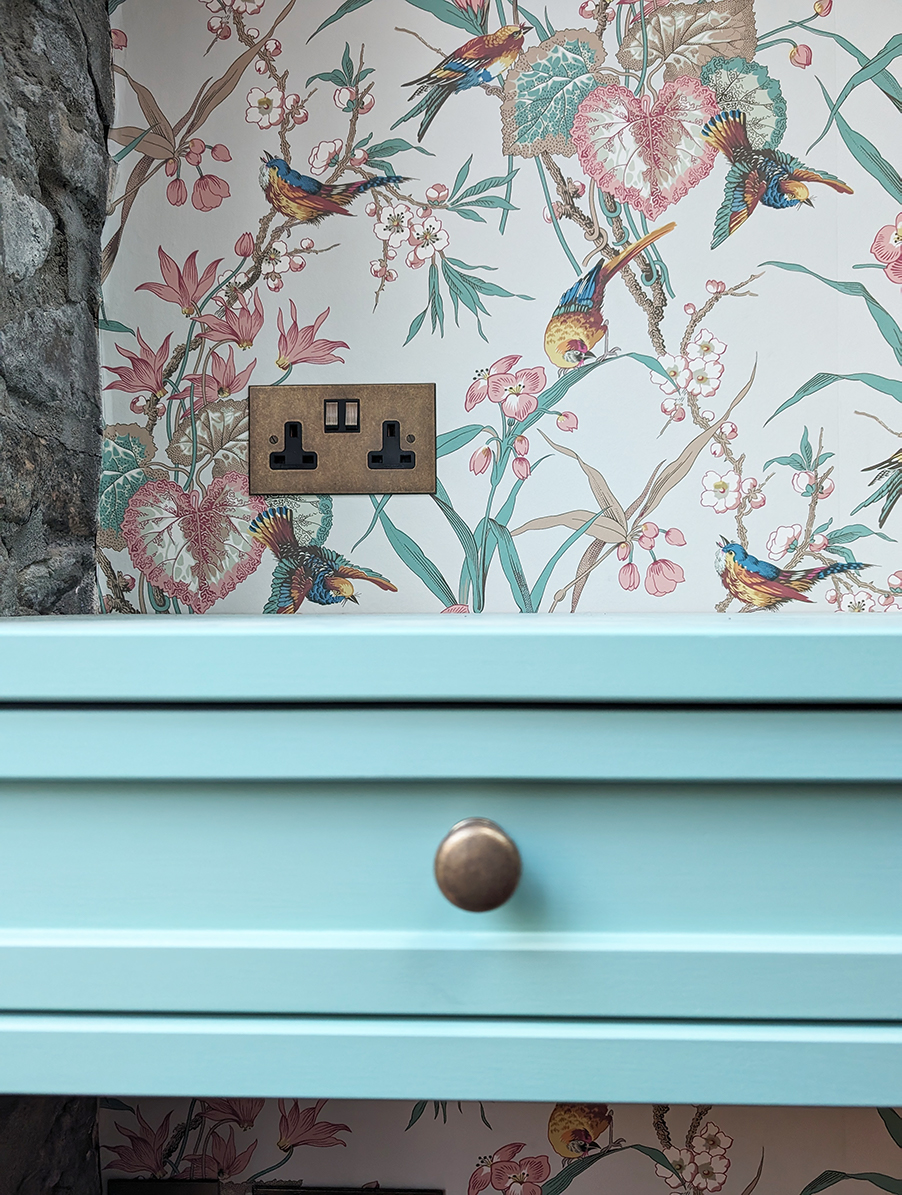
We also agreed that when the room would be replastered before the wallpaper went up, we would use thermal plasterboard which would help keep the room warm and dry, and avoid any potential issues with peeling wallpaper. Once the wallpaper was chosen, the rest of the colour palette flowed naturally from there. We settled on a pale but warm green for the wardrobes and dressing table, and toning pinks for the skirting boards, the doors, the bricks around the French doors, and the beams. Painting the beams would soften them and make them feel like an intentional part of the scheme - they had previously been stained in a dark brown which made them feel heavy and they looked a bit unloved, so this was the best solution for our clients, even though it might not be everyone’s choice. Painted green wardrobes might sound unusual too, but I knew they would complement the wallpaper perfectly and add a modern twist to the country aesthetic. |
||
|
The first version of our design added a new bed to the scheme, but on reflection, it made sense to keep the couple’s original bed and paint it in a soft pink to coordinate with the colour scheme - recycling at its best, and the paint colour would breathe new life into the bed. |
||
 |
||
|
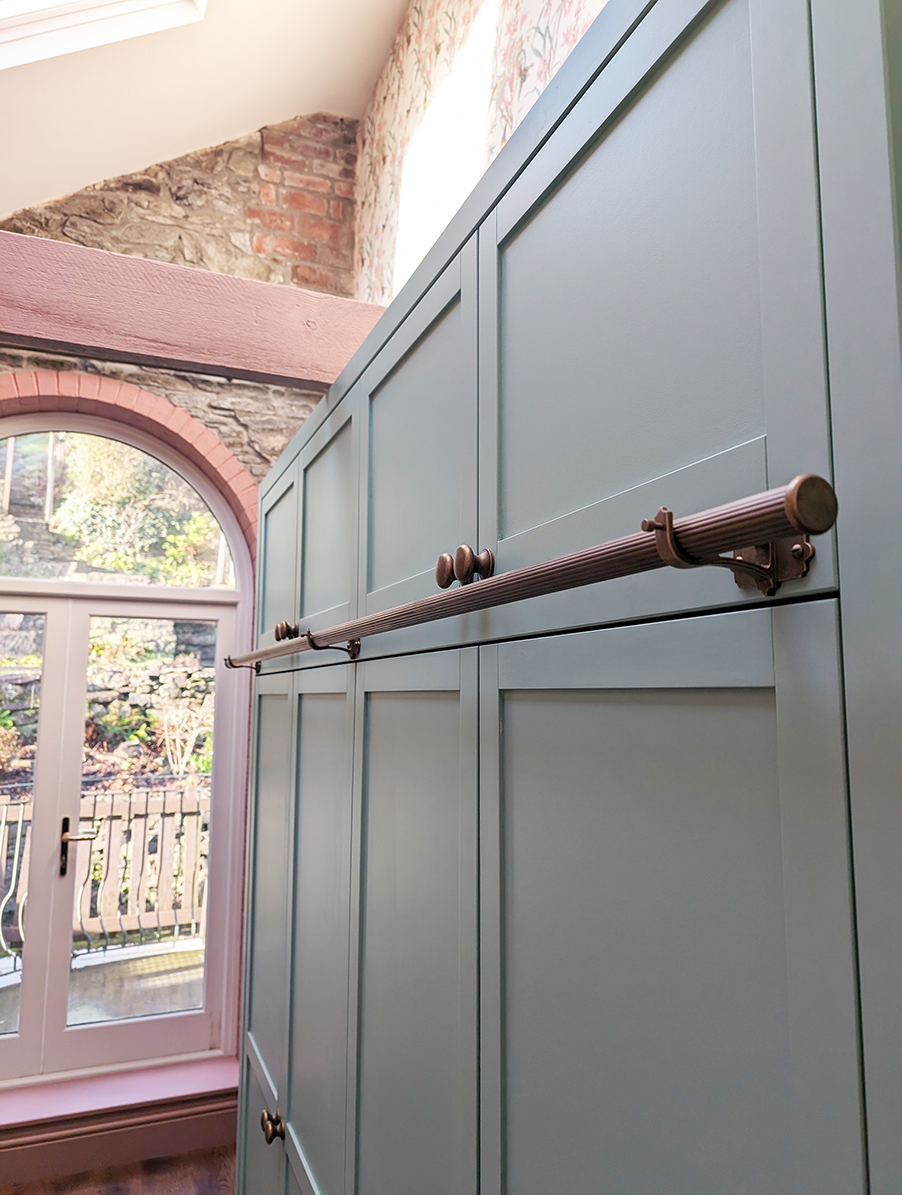
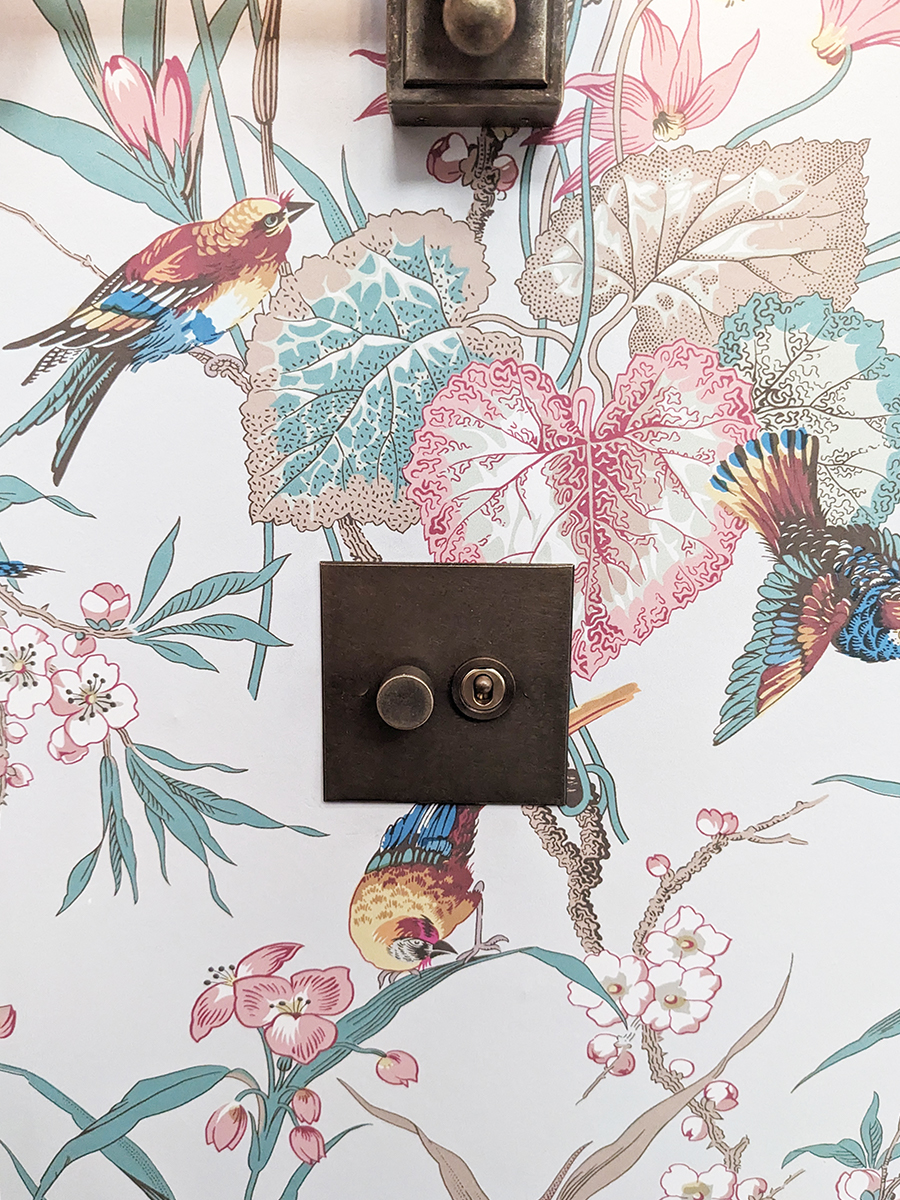
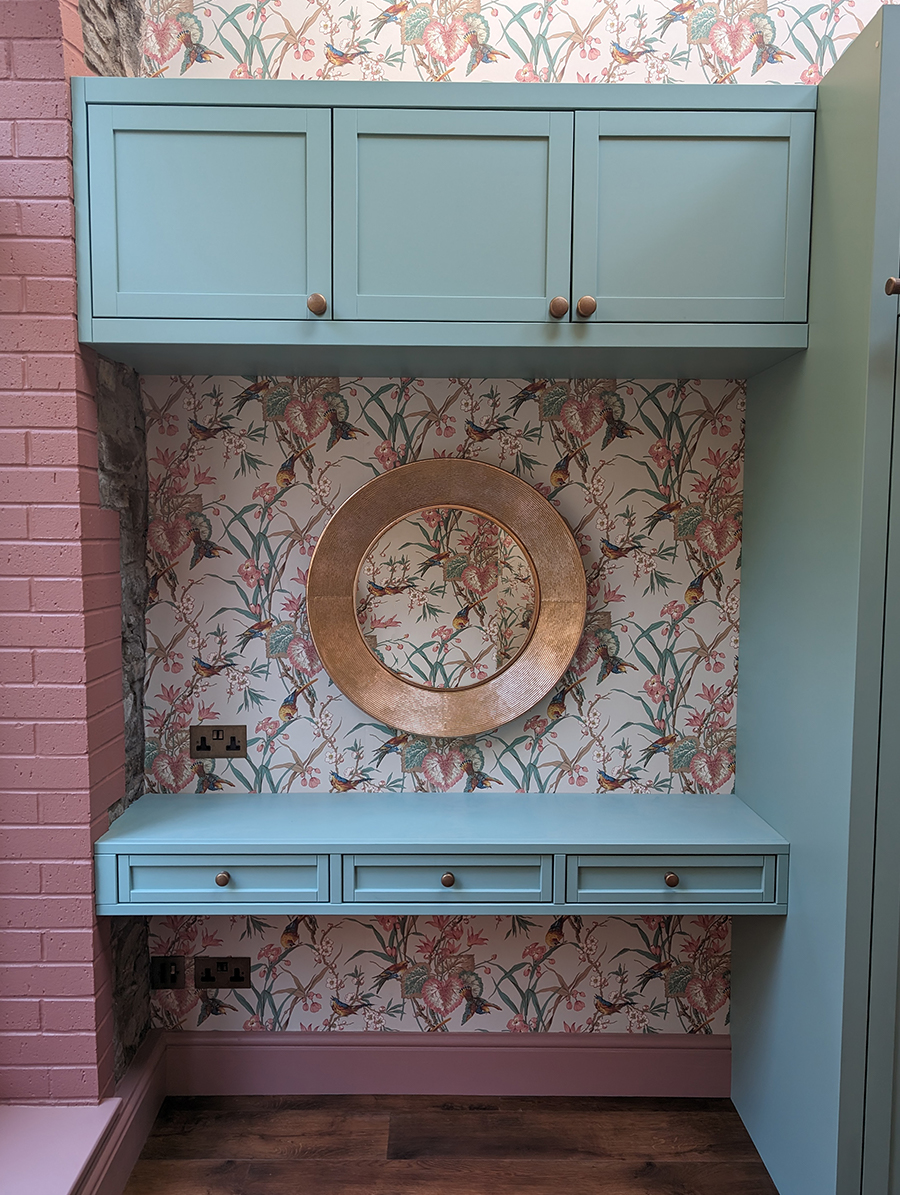
When it came to designing the wardrobes and storage, I added as much storage space as possible without overwhelming the room. I planned a special touch too - a rail on the outside of the wardrobes which could be used for hanging outfits when trying them on, or preparing clothes for the next day. I also designed LED lighting inside the wardrobes and cupboards which would turn on when the doors opened - another touch of luxury. I chose aged brass finishes for the external rail, the hardware on the storage, the curtain pole, the lighting, and the sockets and switches, as this echoed the original door knobs and also helped to soften the scheme. |
||
 |
||
 |
||
 |
||
|
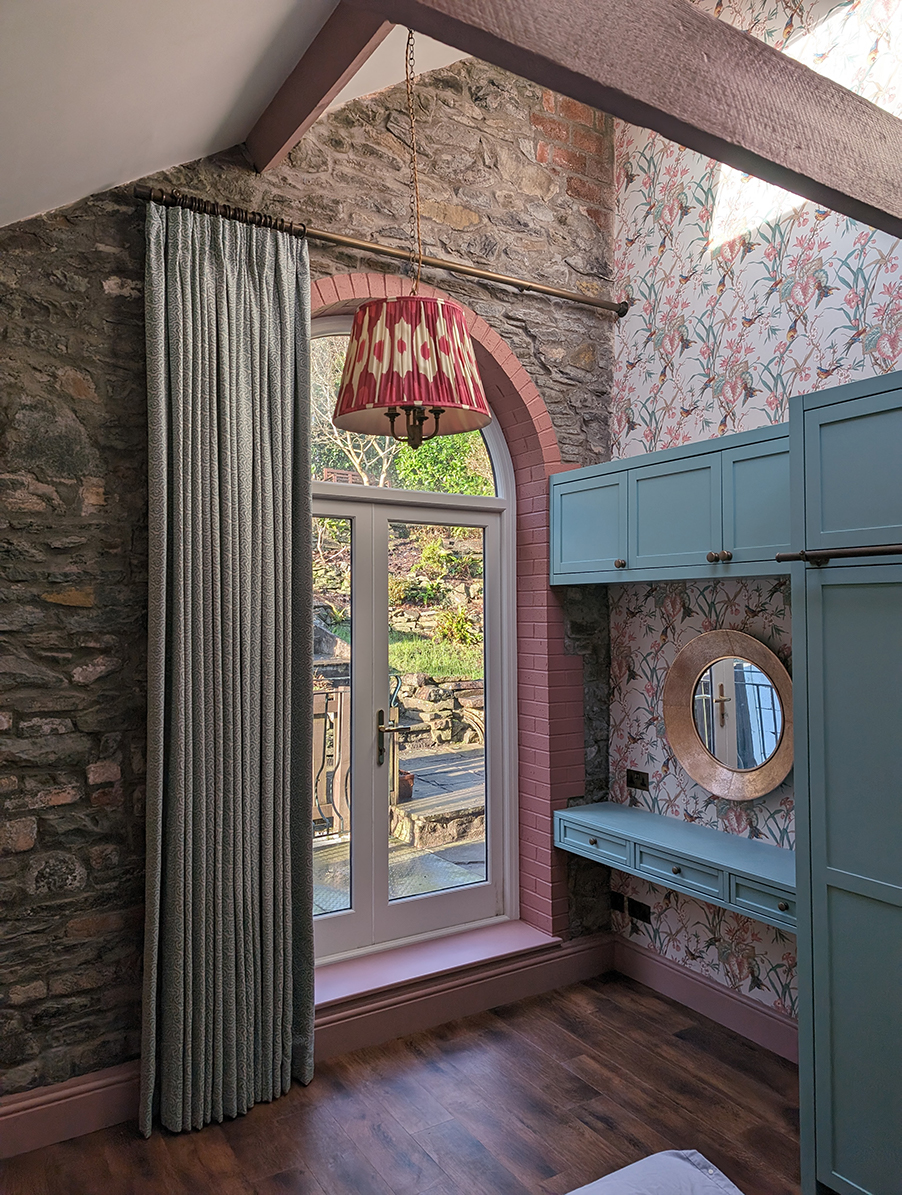
After all the finishing touches were chosen, including a practical indoor/outdoor rug, mirrors, lampshades, bedding, smaller pieces of furniture and a stool, the room was ready to be installed. We managed the whole process for the couple from the first fix electrics to plastering, decorating, curtain making, and flooring installation, even organising internal scaffolding so the trades could reach that high ceiling. We brought in the talented carpenter we work with to craft the storage perfectly and replace the skirting boards, and he did such a great job and tackled the wonky walls effortlessly. The decorators had to handle the tricky patterned wallpaper over large drops, coupled with the quirks of an old property (no straight lines!) and the finish is perfect. Everything was taken care of, including organising the plumber to remove the radiator so the walls could be wallpapered, and a handyman to hang the dressing table mirror in the perfect position. The whole team were amazing and we couldn’t be prouder of what we all achieved together. We will be photographing this room soon, but here are a few nearly finished pics: |
||
 |
||
 |
||
 |
Welcome to the design blog, where you'll see posts about anything from the projects we are working on, to the latest fabric and wallpaper collections, and all things interiors related. We love colour, pattern, architecture and old buildings, and we love to share our finds with you.
Happy reading!