


Interior designer as director?
 |
||||||||||||||||||||||||
|
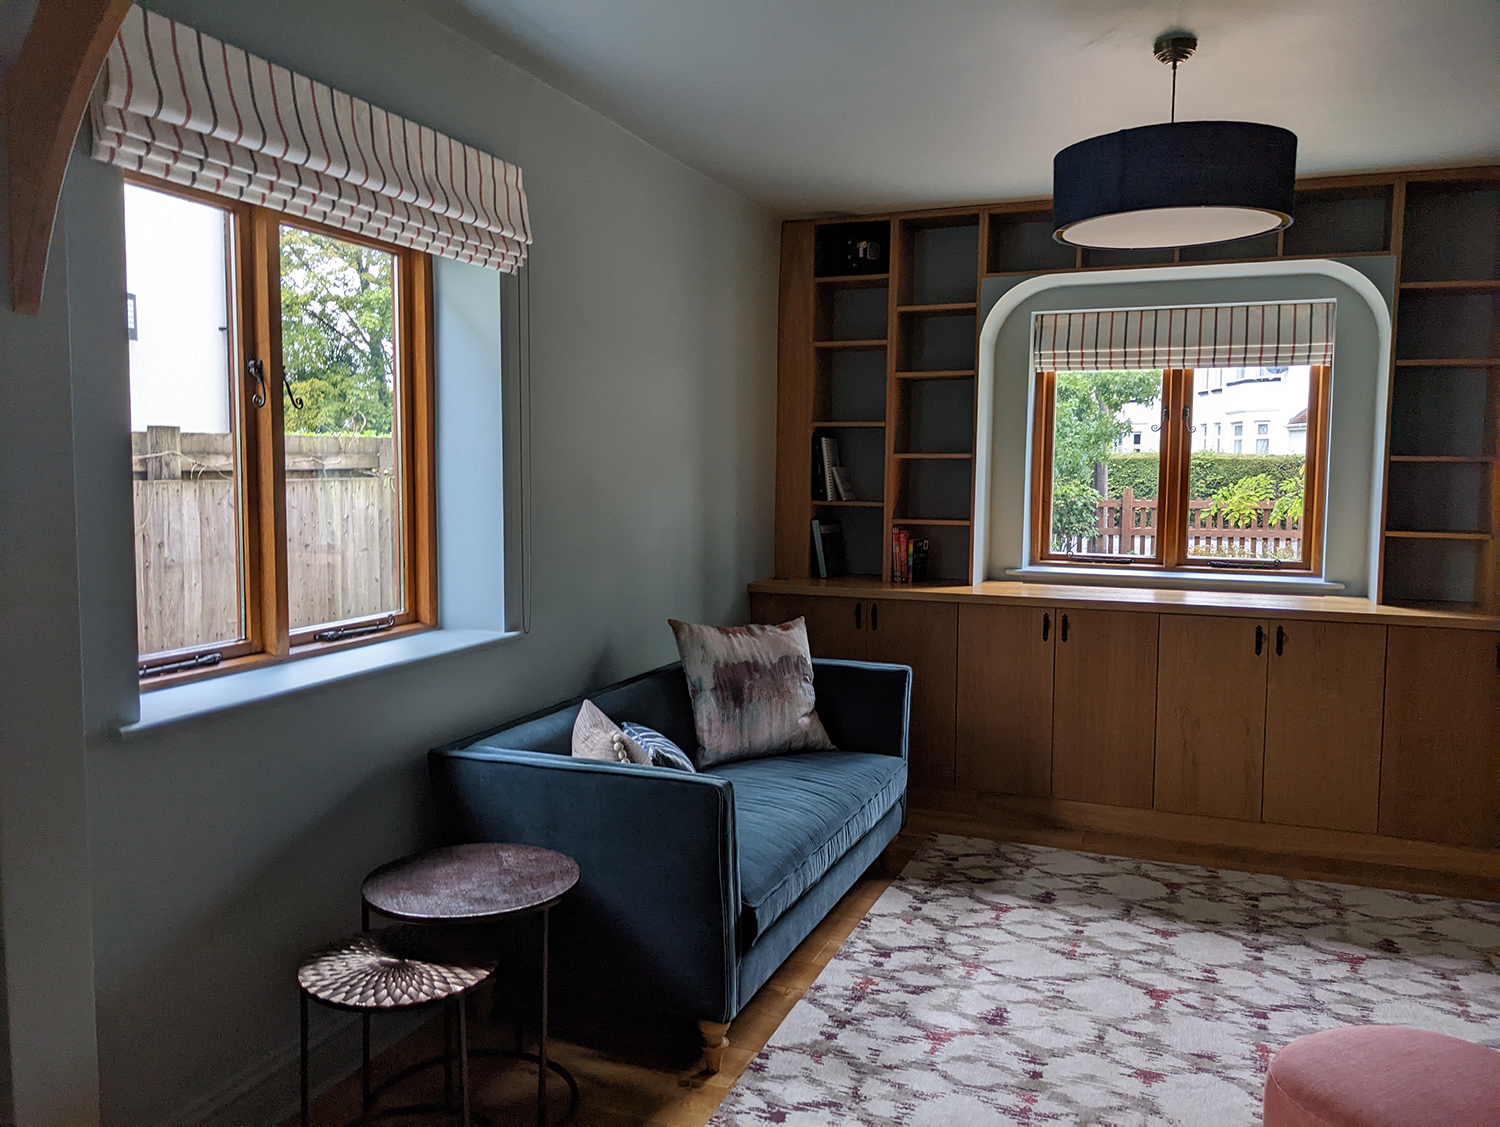
I was contacted in February this year by a lovely young family who were moving from overseas back to the Cardiff area. They needed help getting their newly purchased home ready for them to move in to in July, and as they weren’t living in the area at the time, they asked me and my team to organise everything. They asked us to get the furniture basics in (beds and sofas etc) and to decorate most of the rooms, with new blinds throughout. The couple also wanted some bespoke elements added to the house, including a hand crafted dining table, radiator covers and a bookcase with a window seat. Anything which has to be made by a craftsperson or be fabricated will always take longer than anything bought off the shelf, so I discussed this with the couple and we agreed to focus on the basics first. In the meantime, I would design the bespoke items, get them approved and get the process of making started, ready for fitting after the family had moved in. The first portion of the renovation would be to get the house ready for the couple’s moving in date, and the second part would be to get the bespoke elements completed. So this blog will be in two halves - the first one documenting the push to get the basics done before the family moved in, and the second half will be about the bespoke and unique elements. The couple got in touch in February and were moving in in July, so that gave us nearly 6 months to get all that done - sounds fairly simple and straightforward, doesn’t it? Except that we had just been through the pandemic and lockdowns which caused all sorts of supply chain issues (lots of out of stock furniture), and a huge surge in work for all tradespeople meant that labour was very hard to come by. For example, one of the carpenters I use was fully booked for a year and a half. So it would be a challenge, but I was confident we could pull it off. Here's what the house looked like when I first saw it: |
||||||||||||||||||||||||
 |
||||||||||||||||||||||||
|
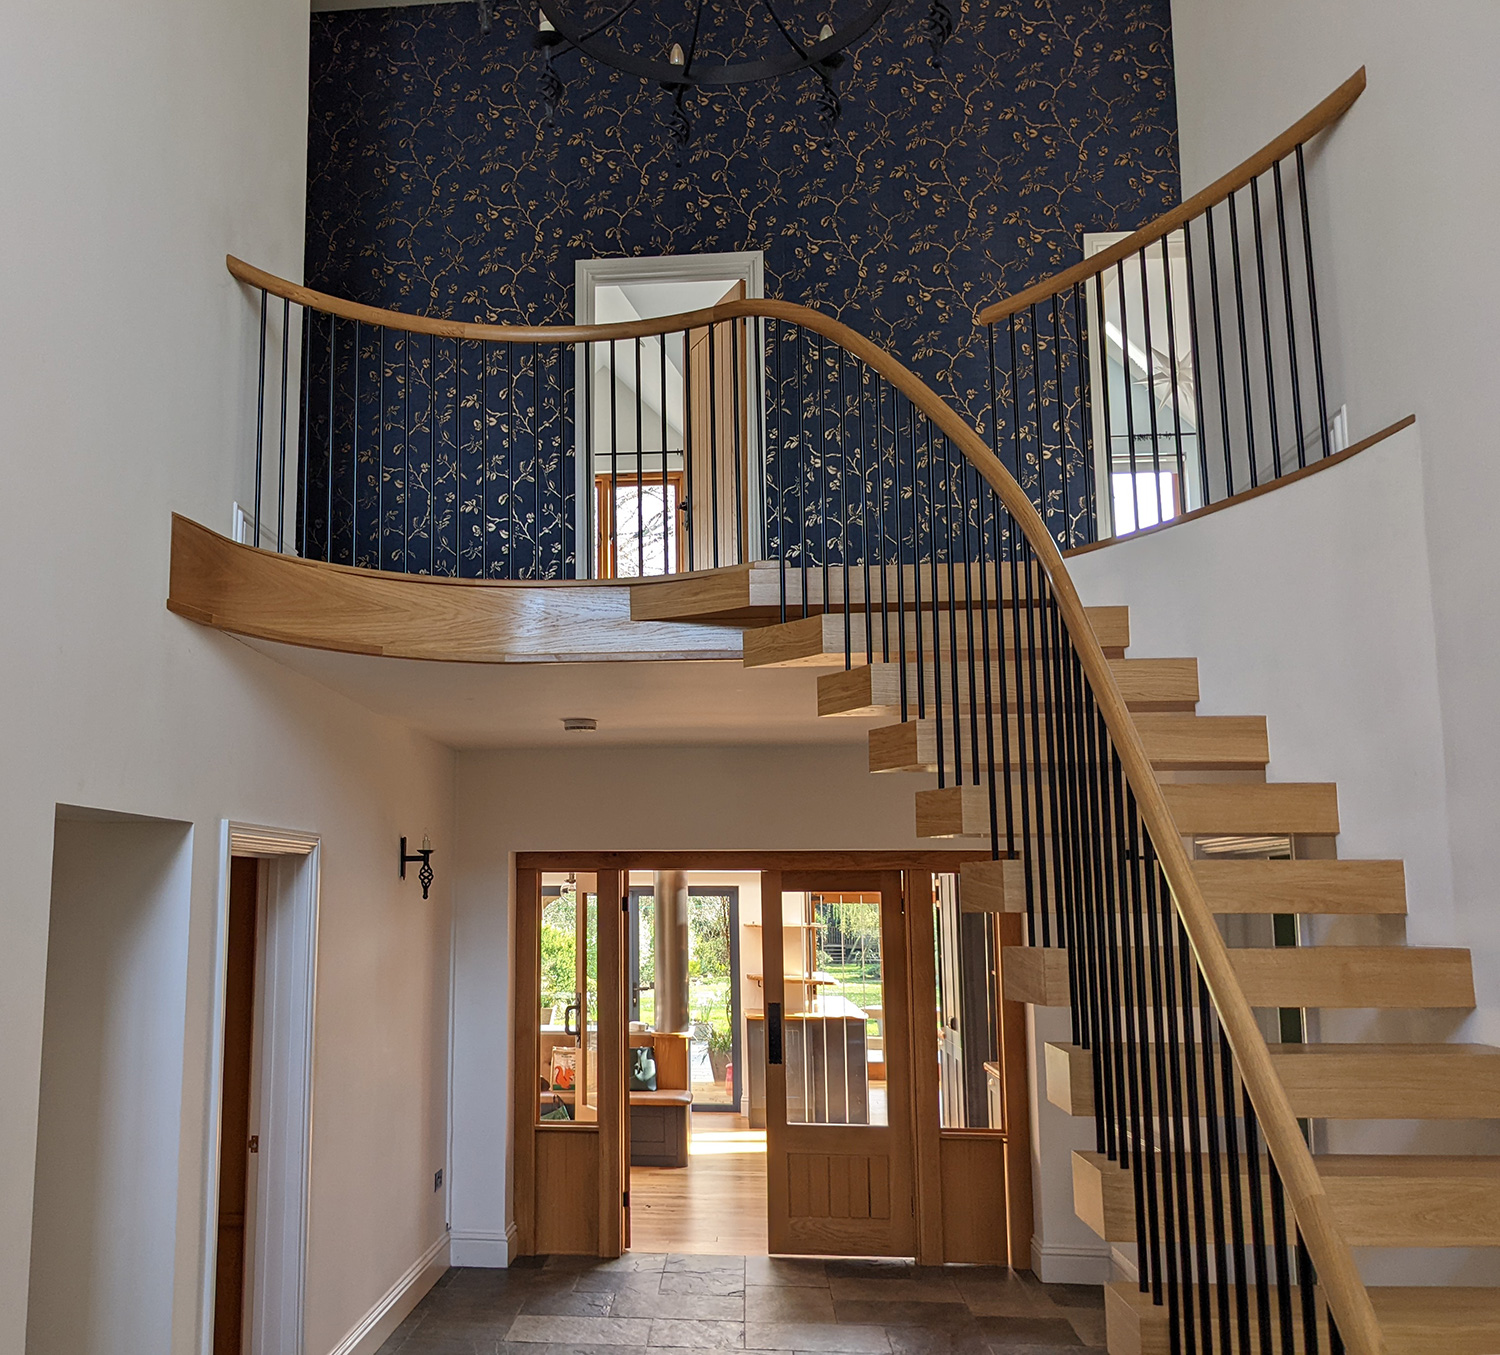
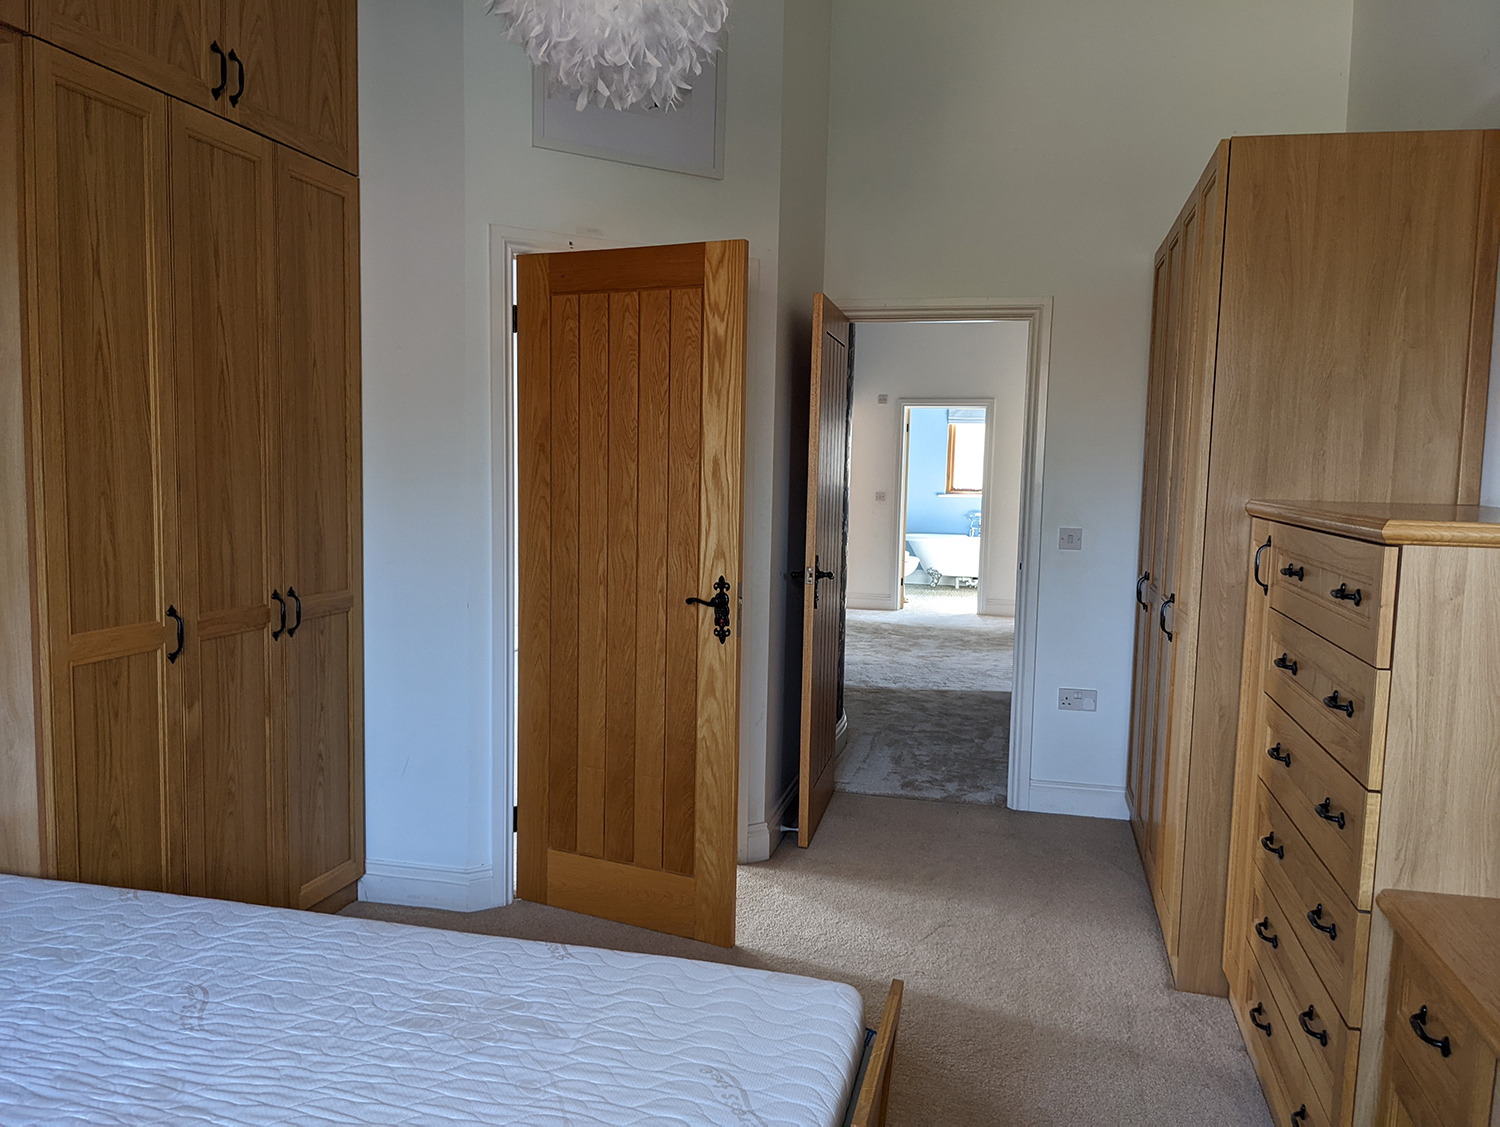
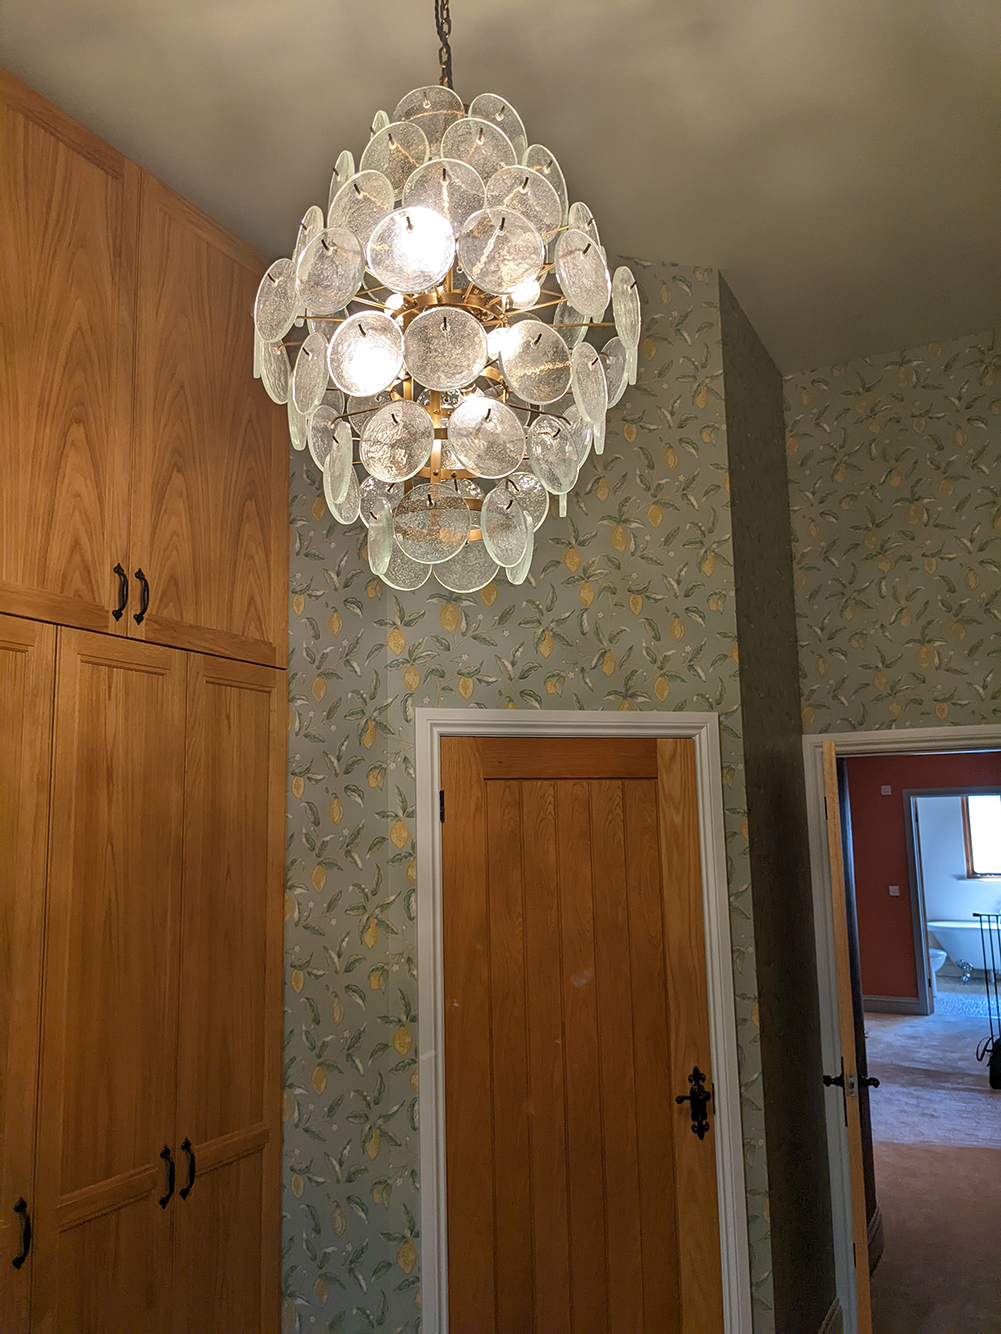
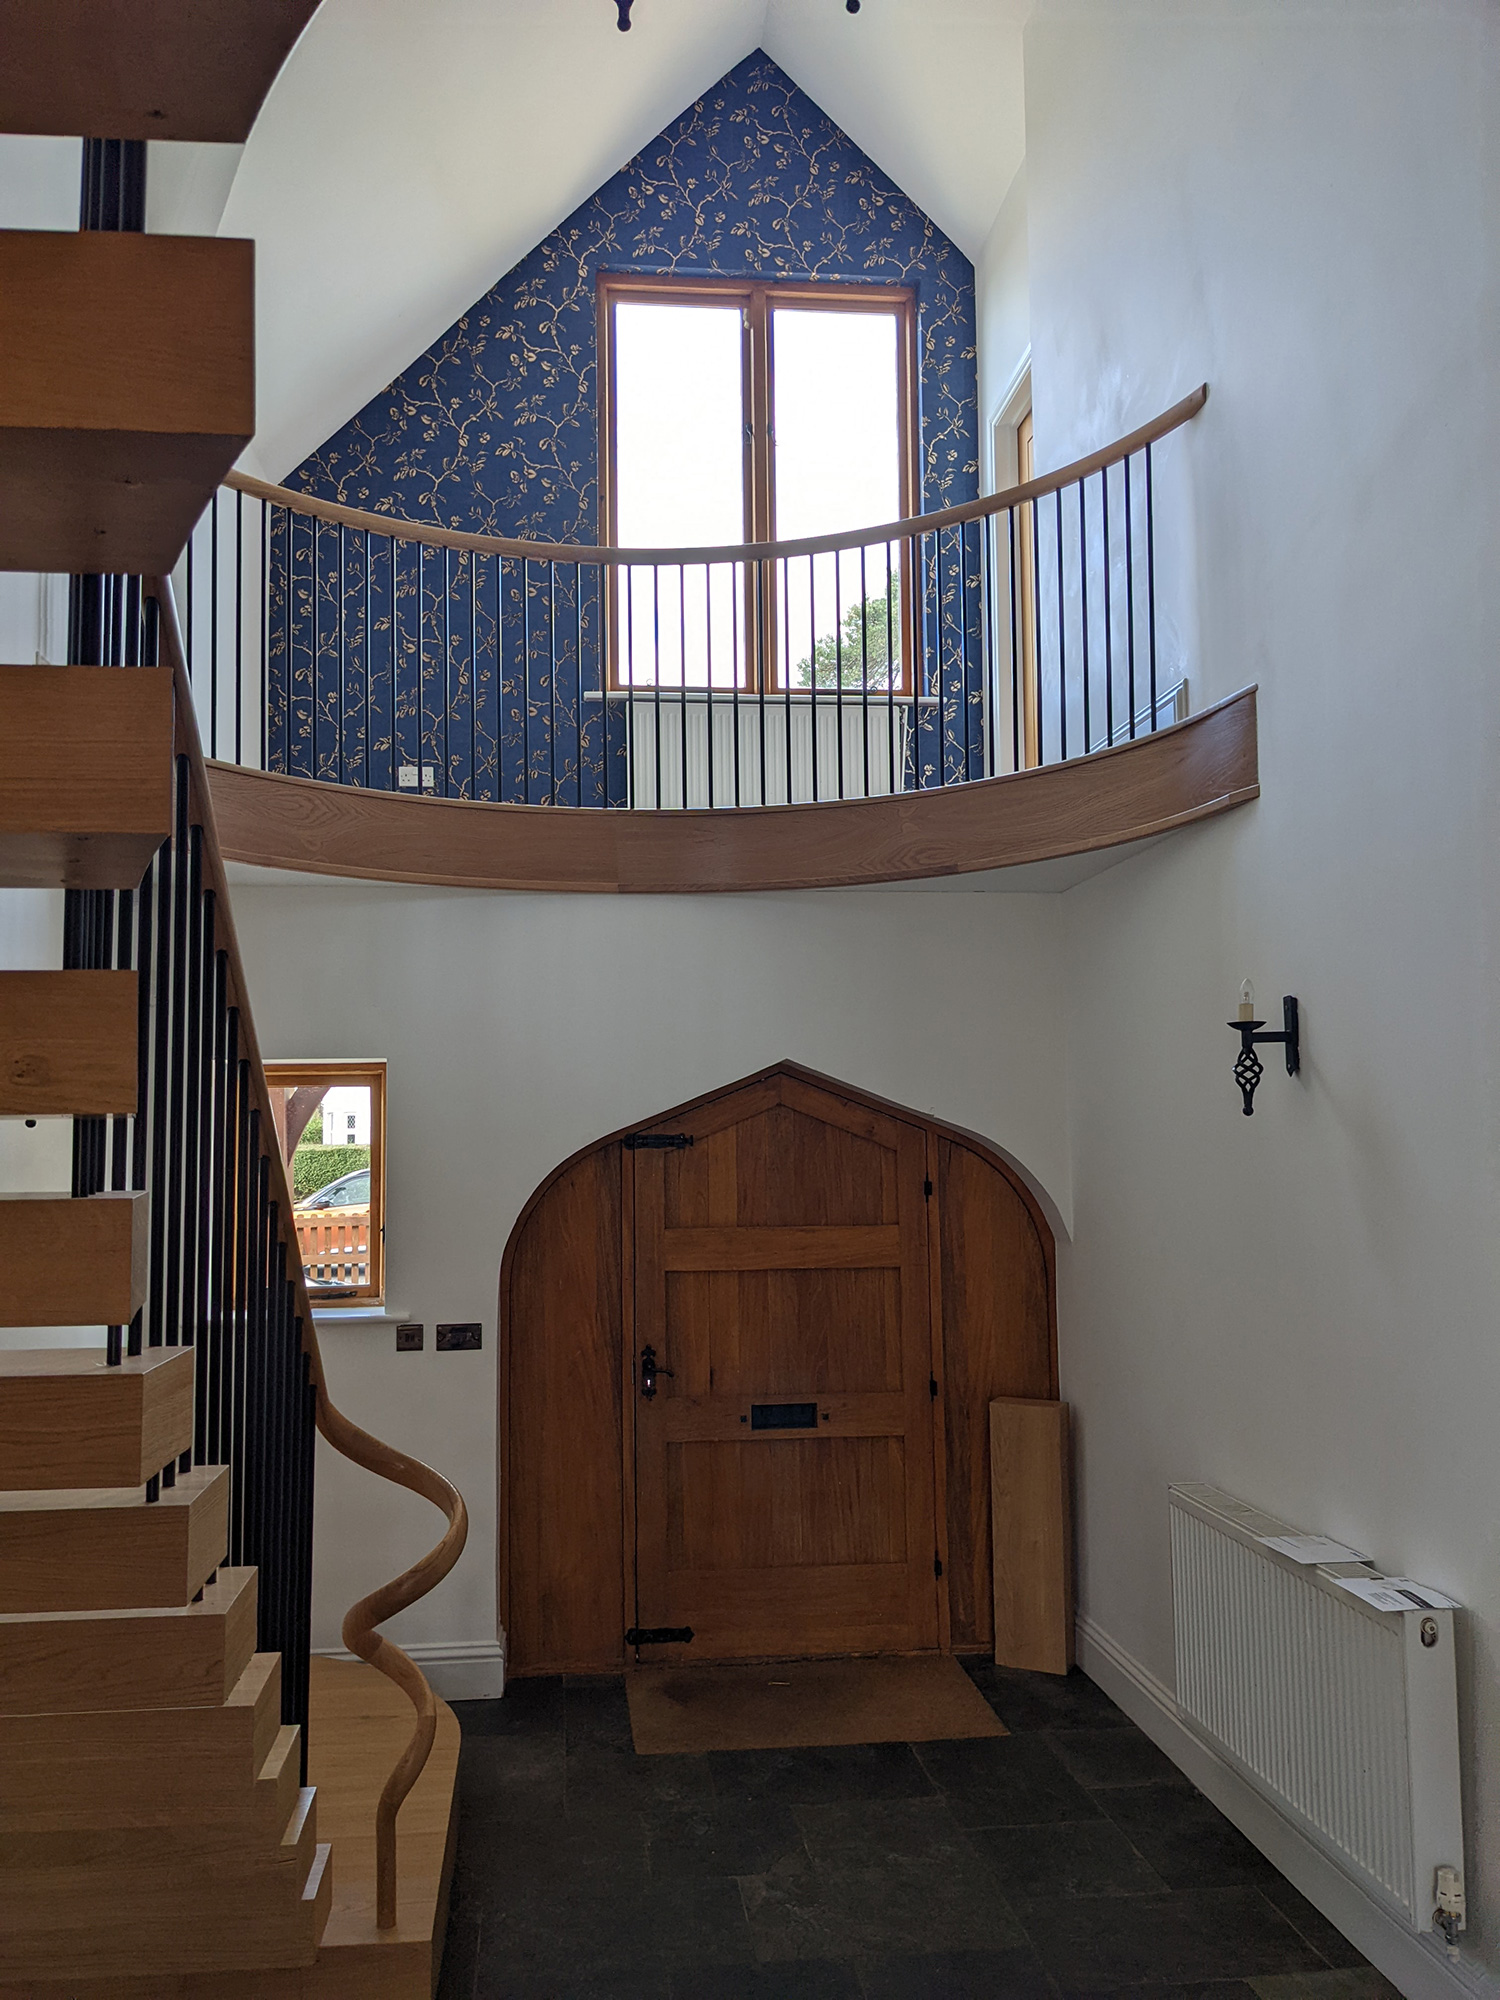
A before photo of the hallway showing the mezzanine |
||||||||||||||||||||||||
|
||||||||||||||||||||||||
|
||||||||||||||||||||||||
|
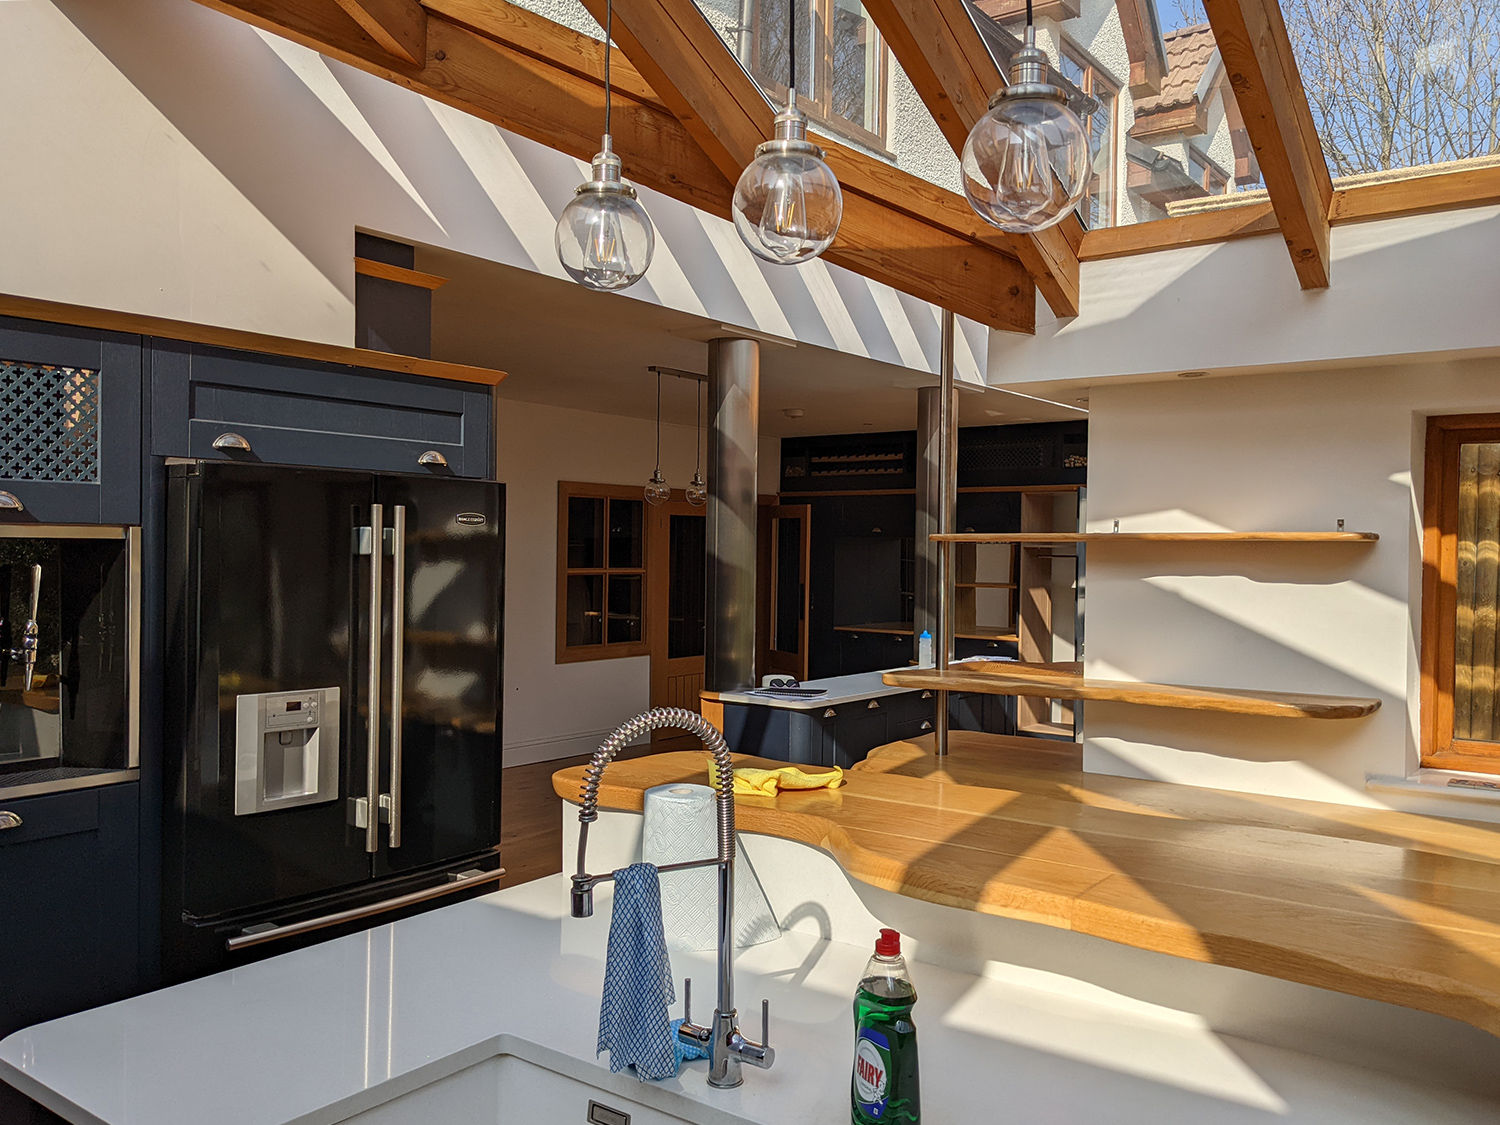
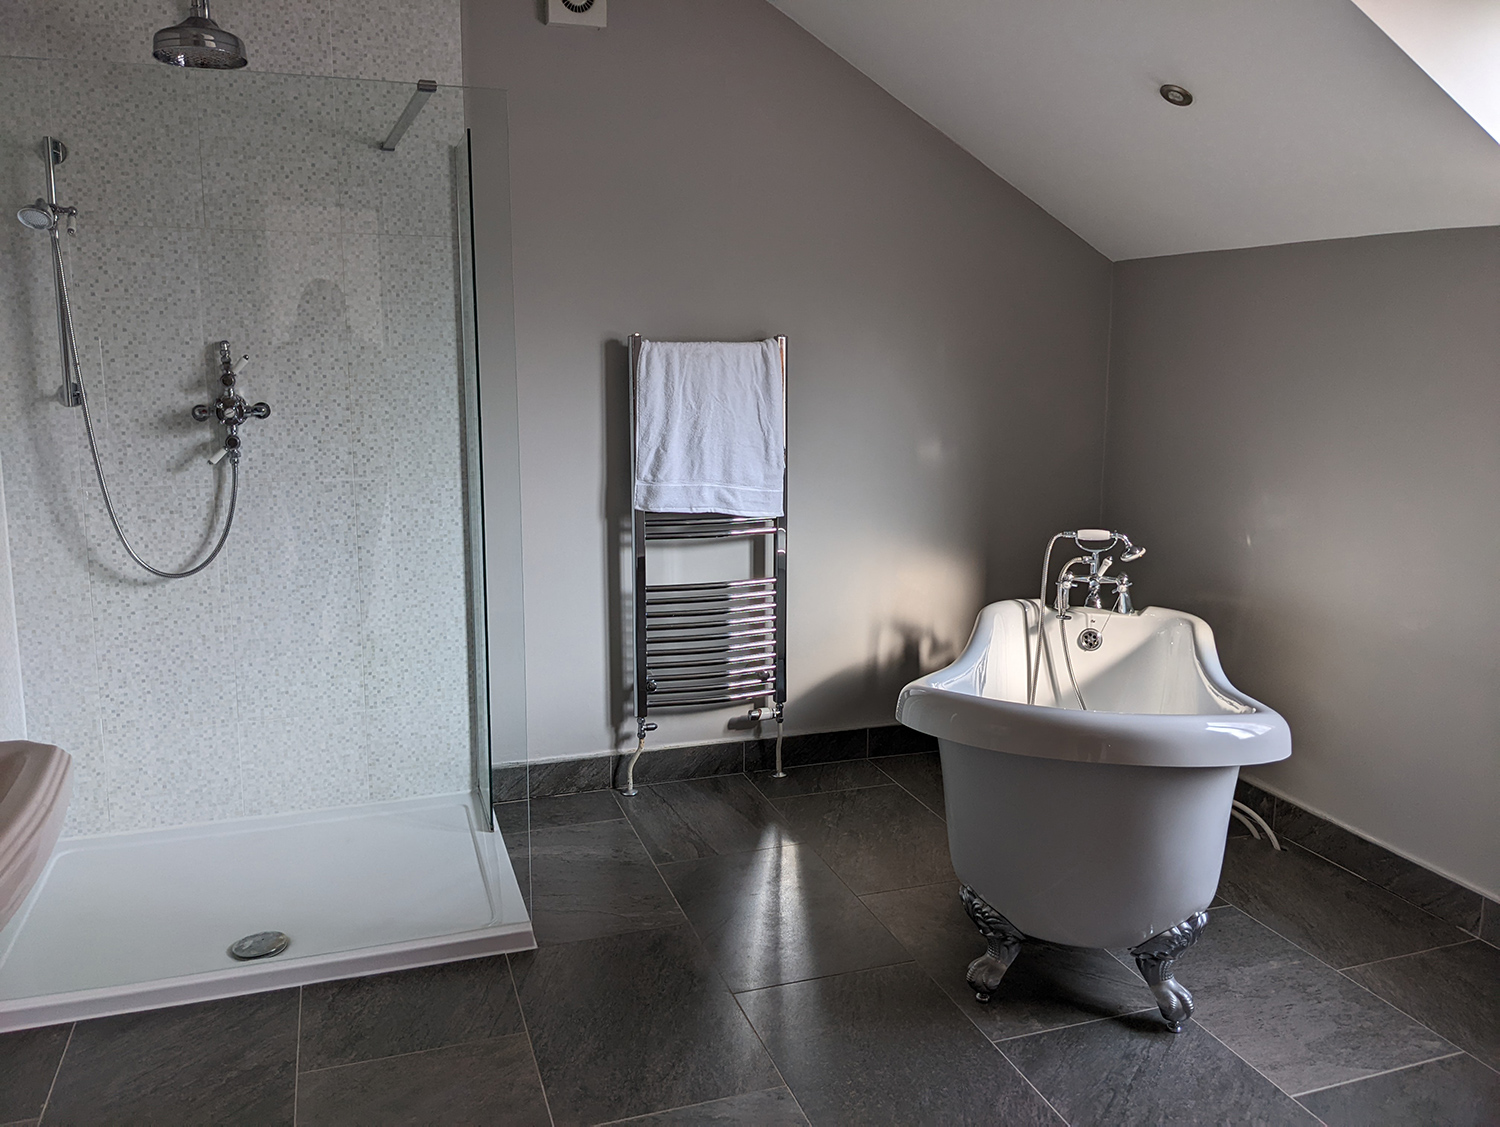
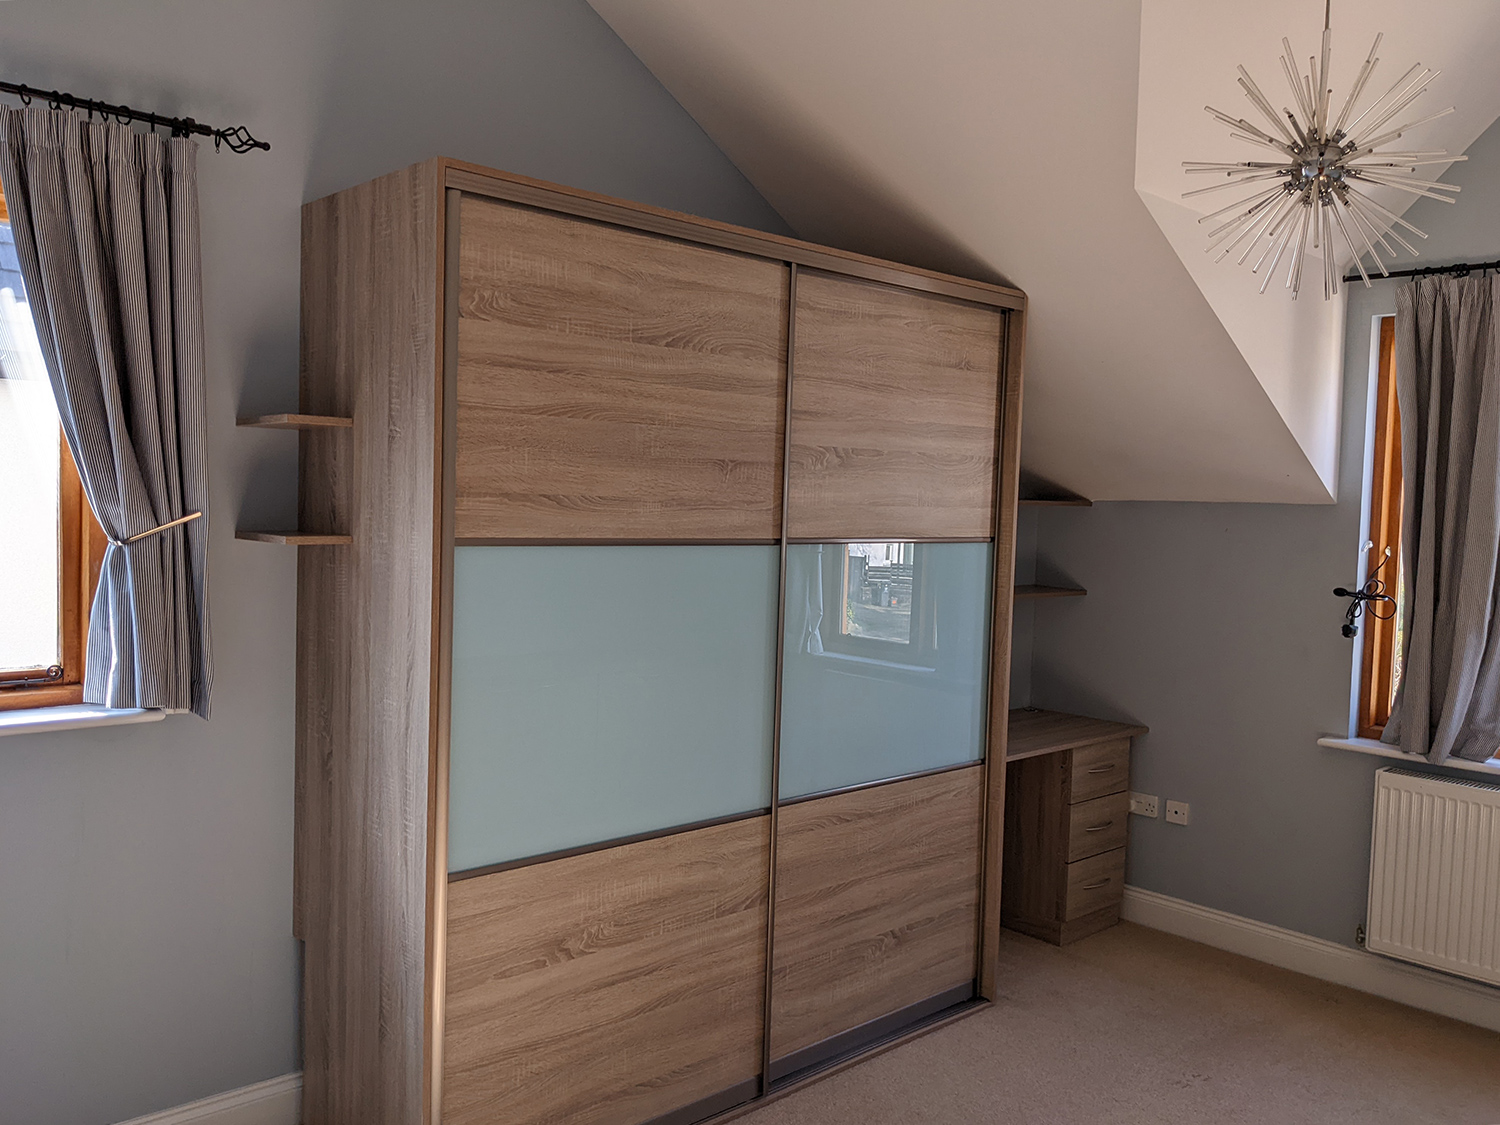
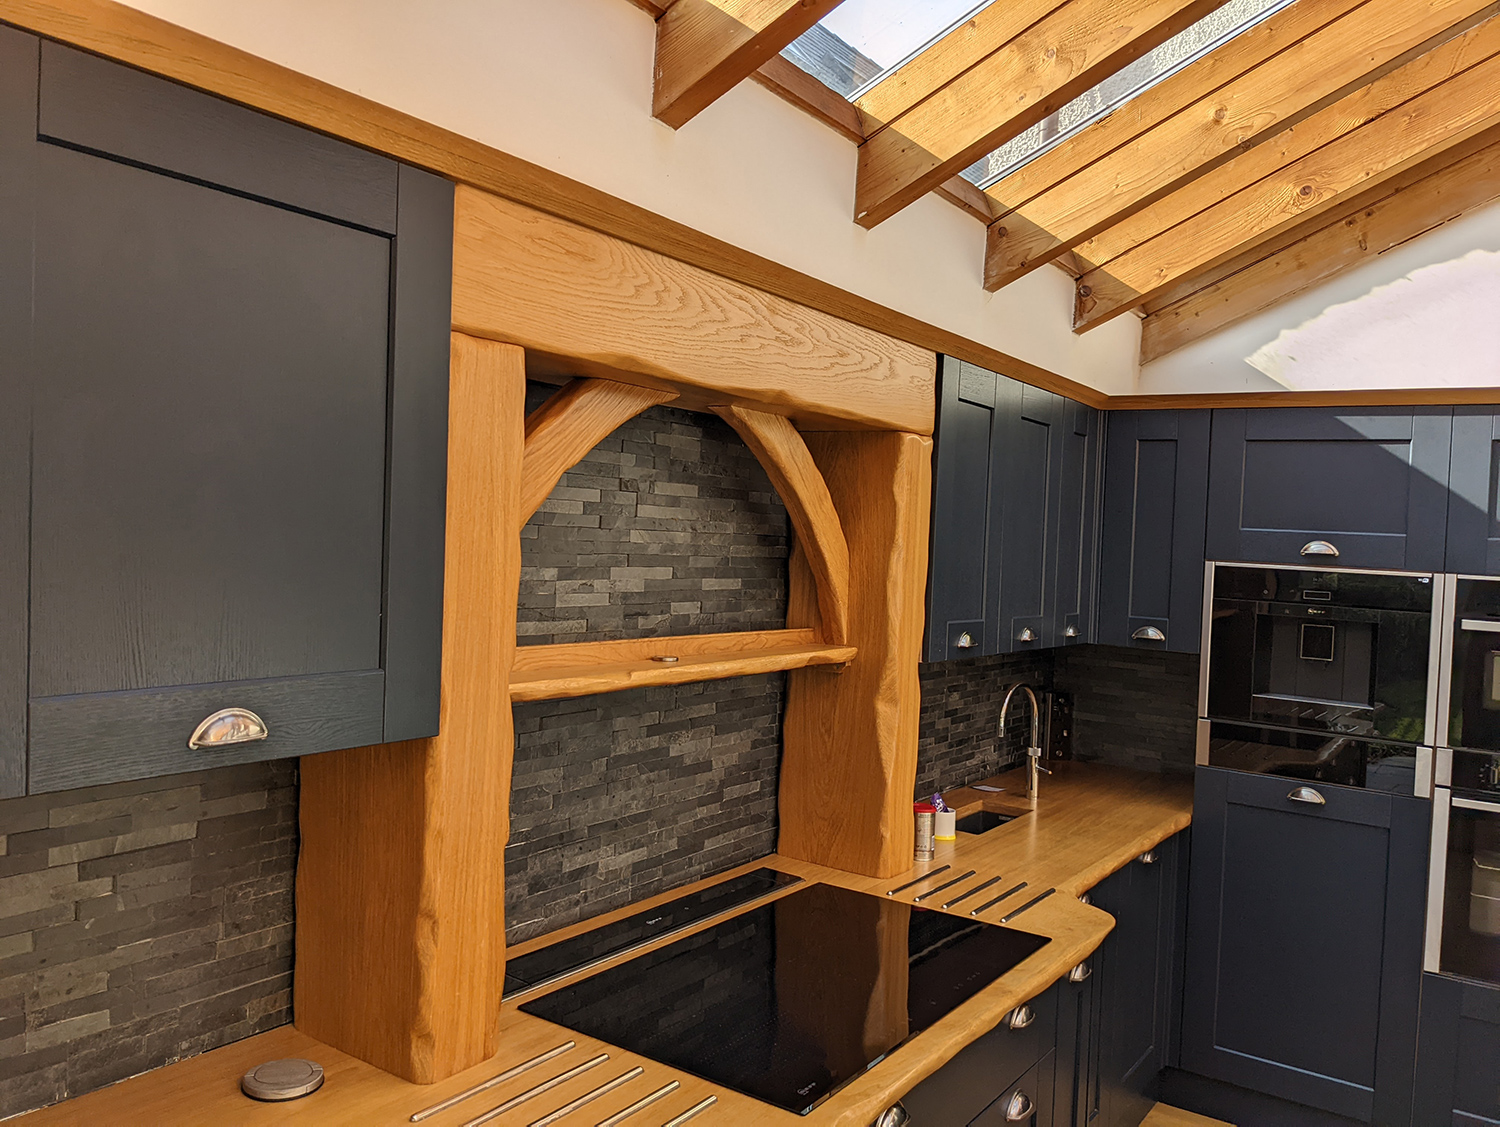
The first stage was for me to go and view the property, and produce a report of what I thought needed to be done, and what I thought would improve the house. Next, the couple and I had a virtual consultation and discussed what was possible, and came up with a list. Before the family could move in, most of the rooms needed redecorating, beds were needed in four of the six bedrooms, sofas and seating were needed in three of the living spaces, the lighting needed to be changed in most rooms, and blinds needed to be made and fitted in all rooms. We also added some extras to the list. We agreed that the tiling in the kitchen area was too dark, and as it was a split-face textured stone tile, it wasn’t very practical or easy to keep clean, so we would change it. The couple also wanted a solid wood floor in the bedroom rather than carpet, they wanted to add some bathroom cabinets, and we agreed to remove most of the fitted furniture in the children’s bedroom. |
||||||||||||||||||||||||
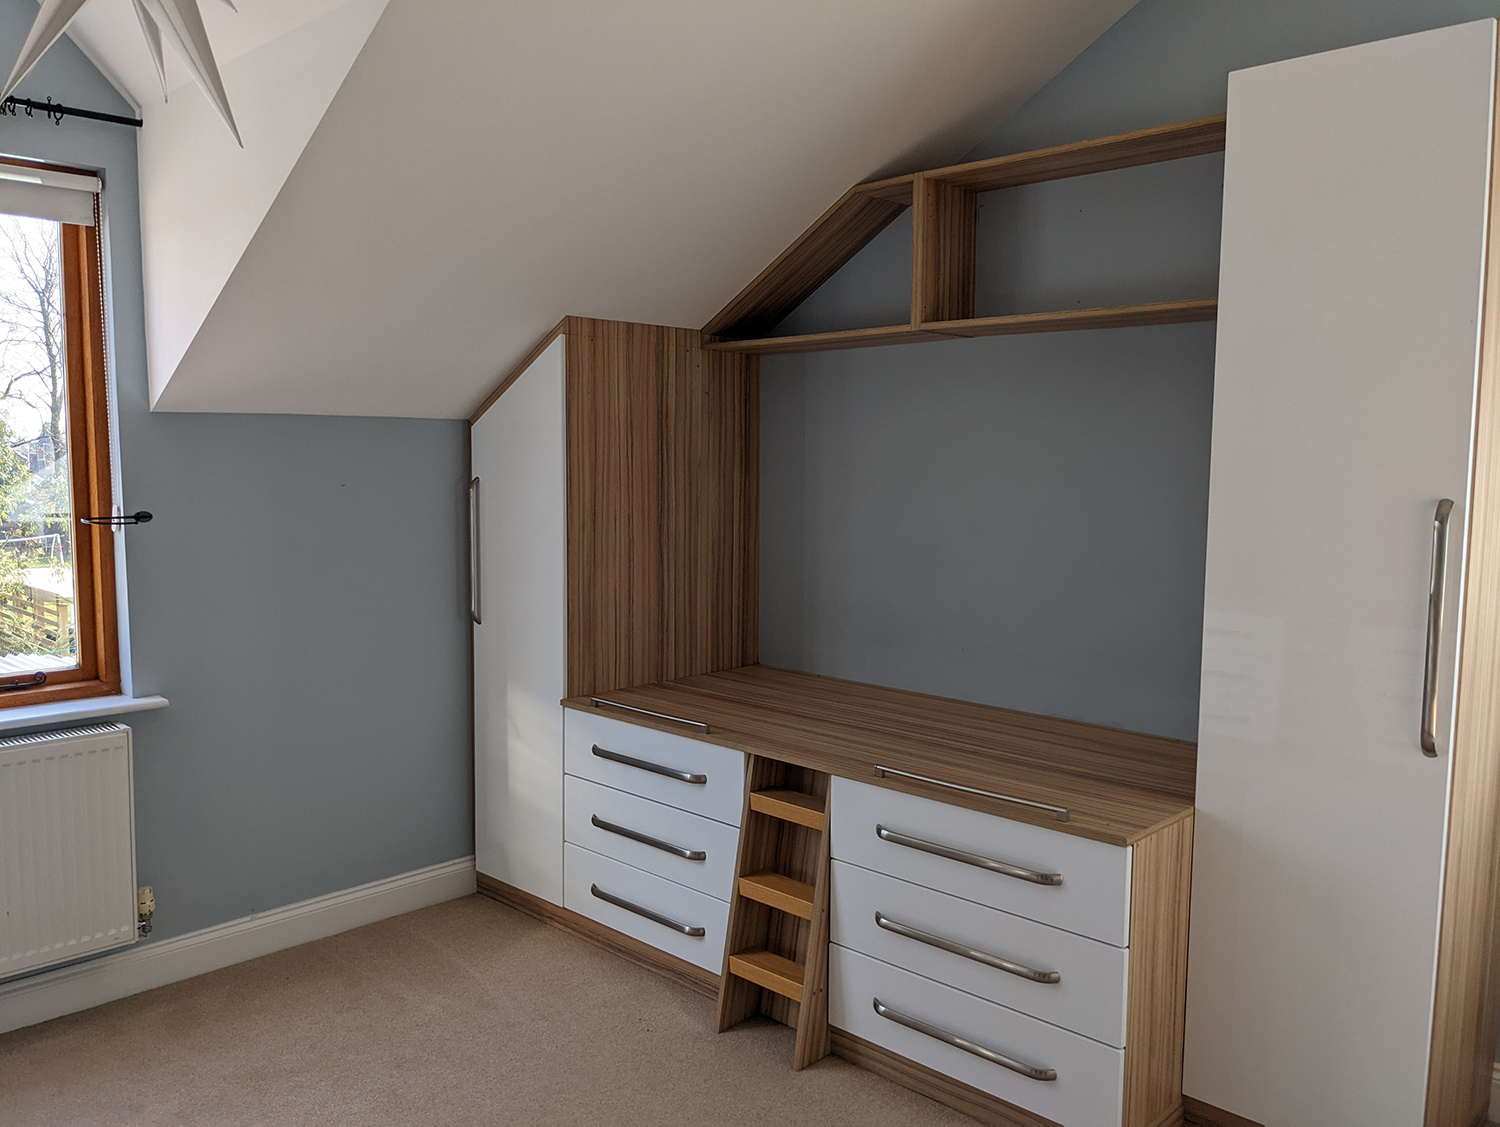
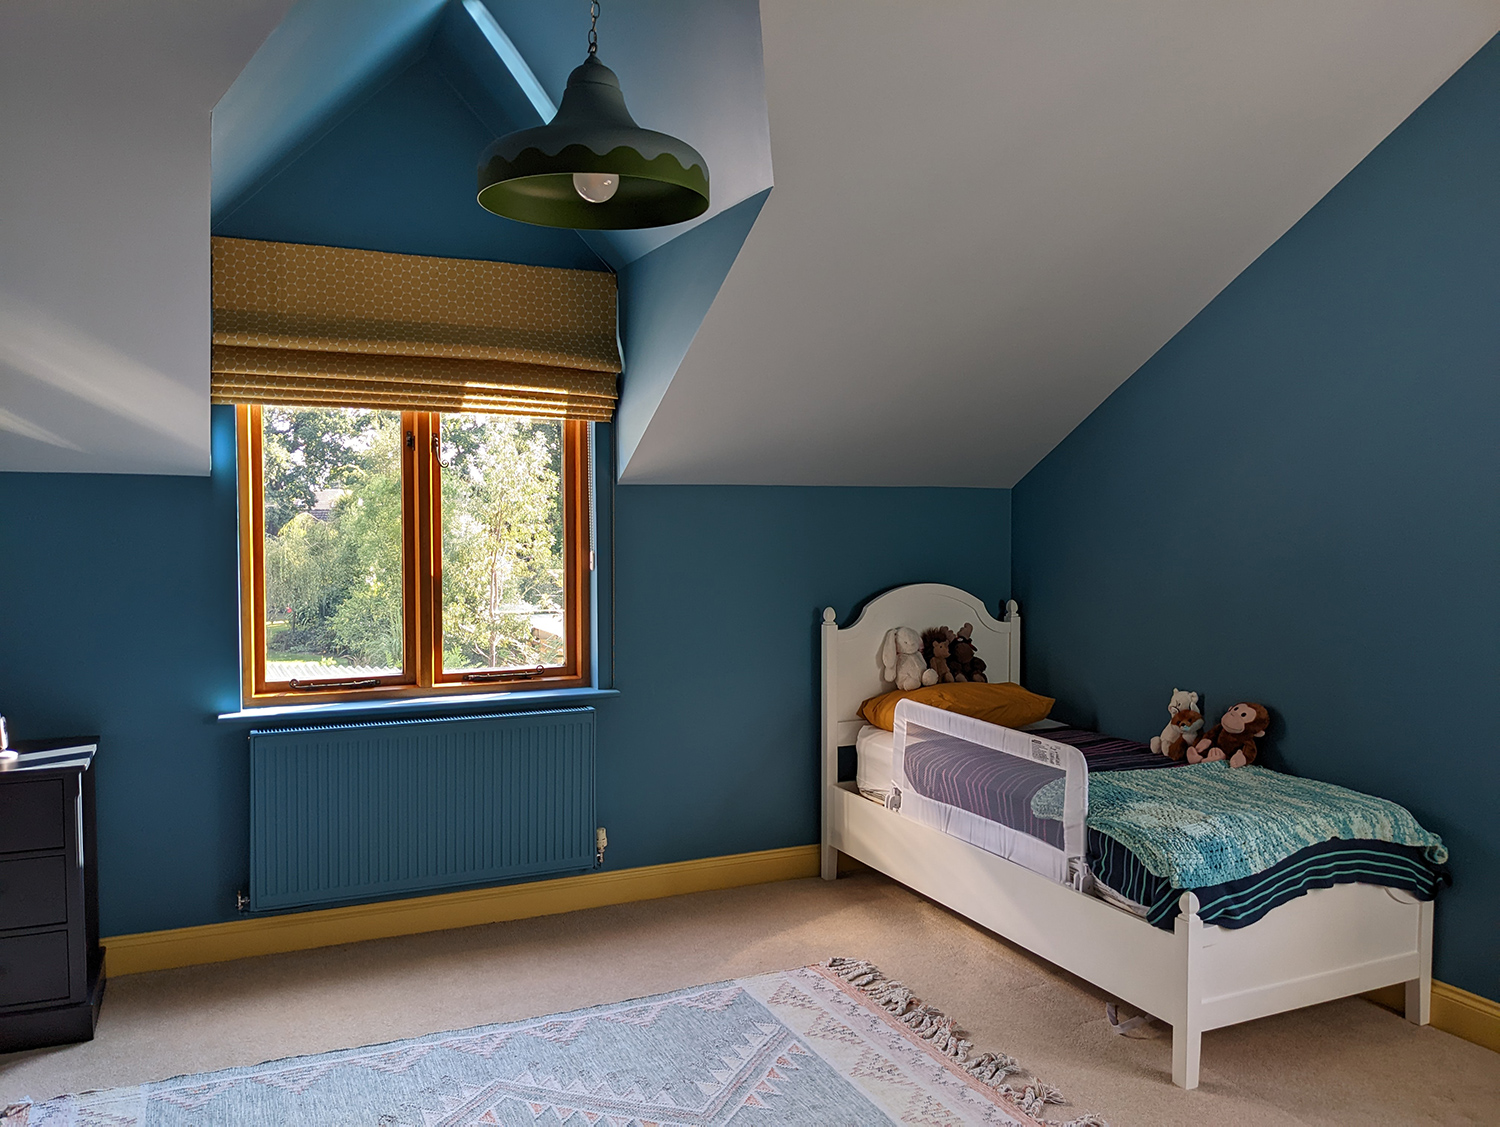
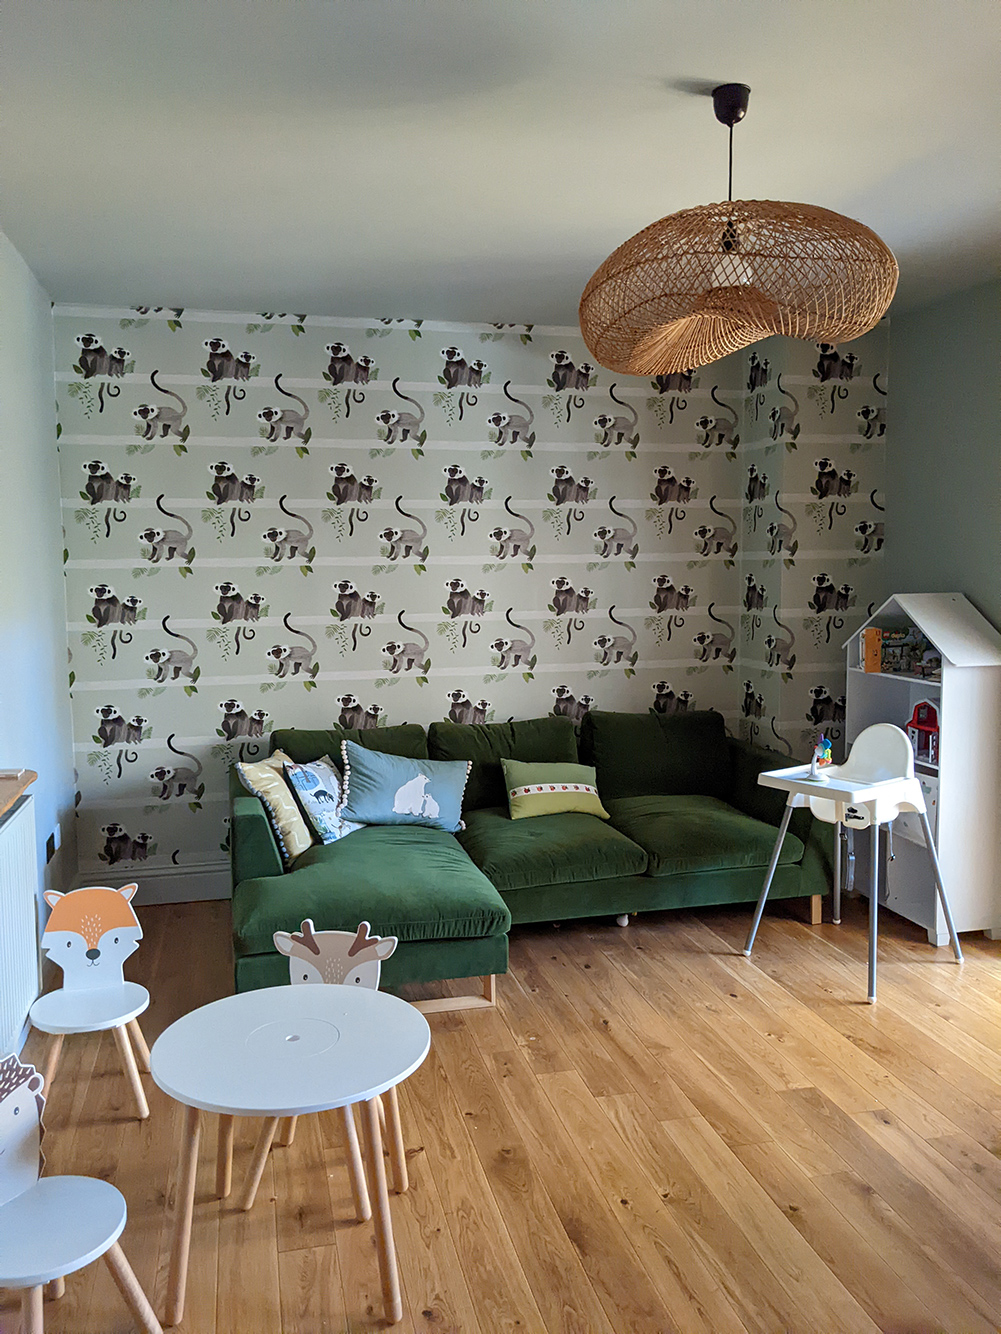
As you can see from the photos, there were single beds on platforms (one on each side of the room) in what would be the kid’s bedroom. As the children were very small, this wasn’t safe for them (they could easily fall out of bed), so we agreed to remove these beds and replace them with a toddler bed and a cot. |
||||||||||||||||||||||||
|
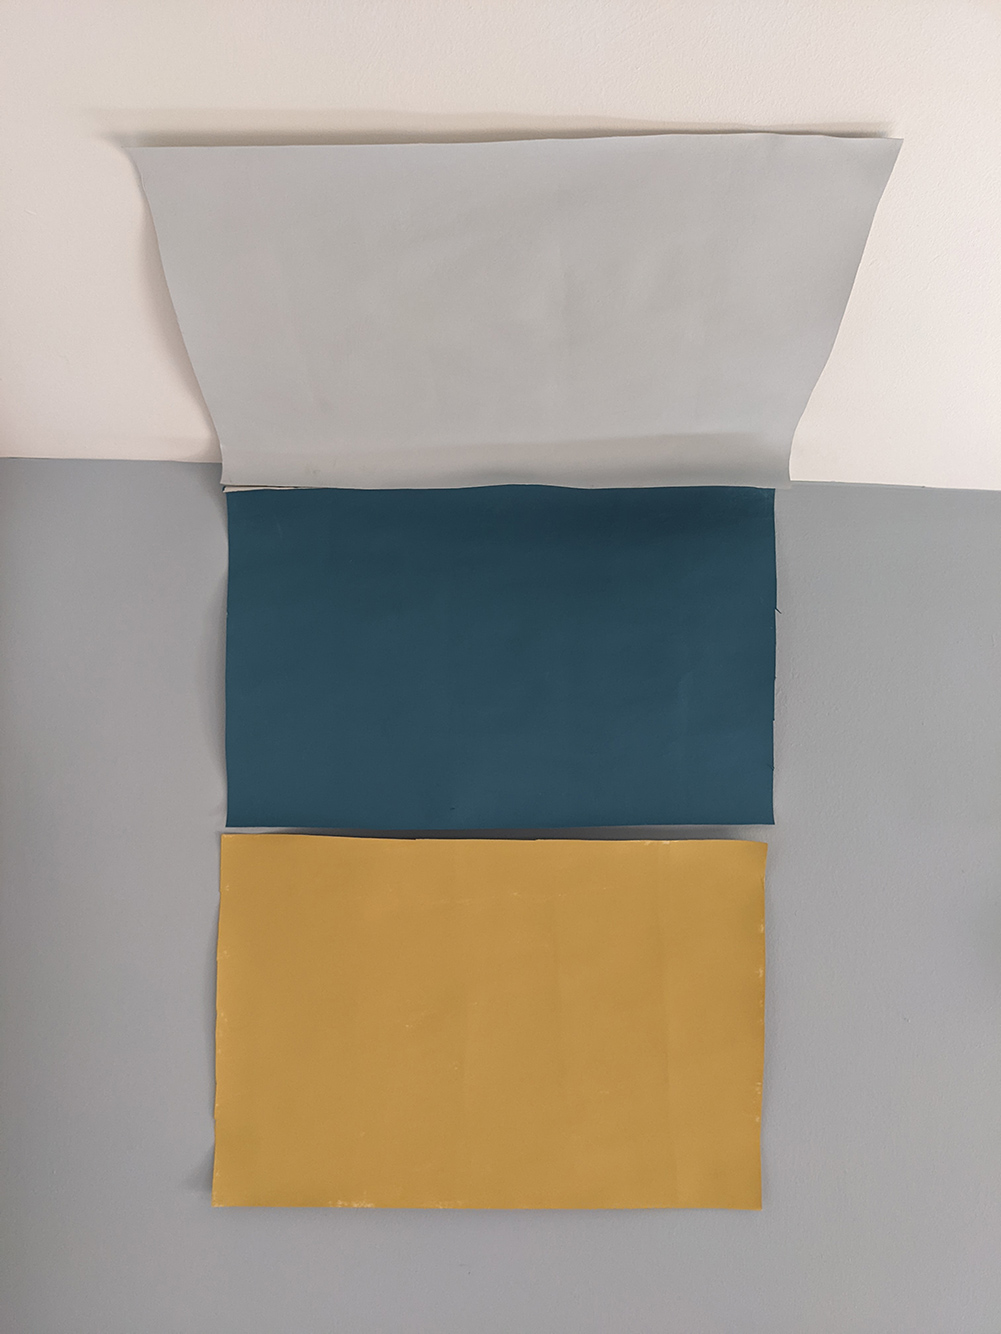
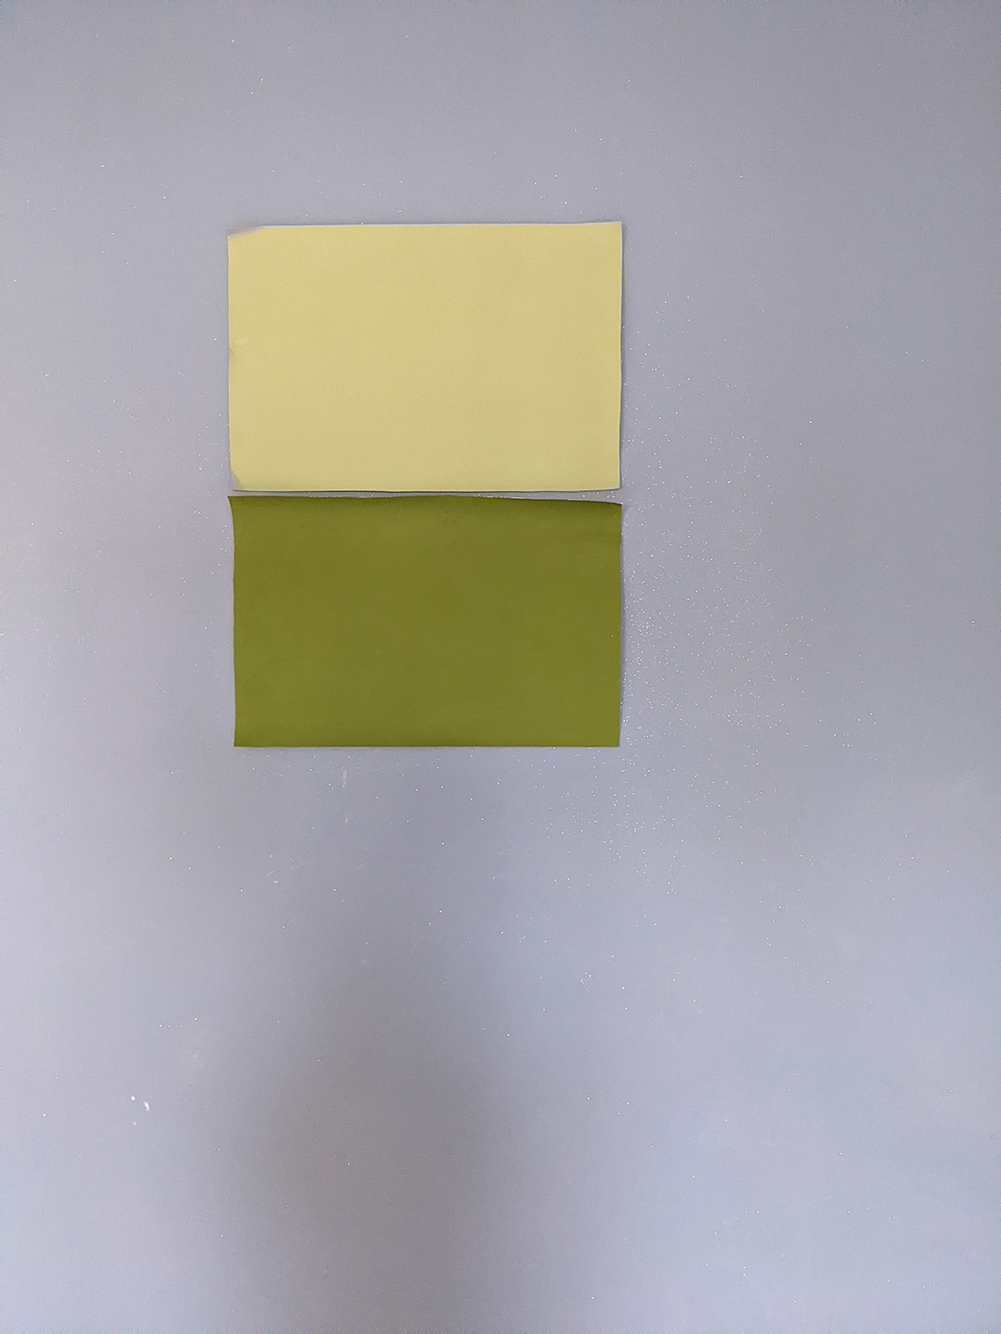
Once we had decided on the priorities, I came up with a plan and a timetable. As most sofas take around 12 weeks to be made, I decided these and the beds should be ordered first. I had to use suppliers who I trusted to make good quality furniture and who would deliver when they promised to. I set up a strict ordering schedule, which meant that everything had to be approved to tight deadlines too. The couple wanted to see three options for every item, so I would choose items during the week, and send the options by the Friday of that week. The couple would look at the options over the weekend and send their feedback to me by Monday, ready for me to order the approved items. The items which took less time to be delivered (such as side tables) were chosen further down the schedule, and items which needed to be installed (like lighting) were further up the schedule. I have to say, the couple’s commitment to the timetable was fantastic, and they didn’t miss a deadline for the 11 weeks we were working this way. At the same time as sourcing the furniture, we were choosing paint colours for all the rooms and some wallpapers for three rooms too - again three options for each, so I gave the couple a ‘light’ ‘dark’ and ‘medium’ option for each room. This was quite tricky to do, as I had to make sure that whichever option they chose would work with all the other colours, so if they chose the light colours in one room, they would work with the dark colours in another room, and the medium colours in a different room. I had to keep my eye on the overall creative vision at all times. I then painted large swatches of the chosen paint colours and took them to the house to test them in the light in each room. The couple obviously couldn’t be there for that part, so they had to trust me that these colours would be right for their home. |
||||||||||||||||||||||||
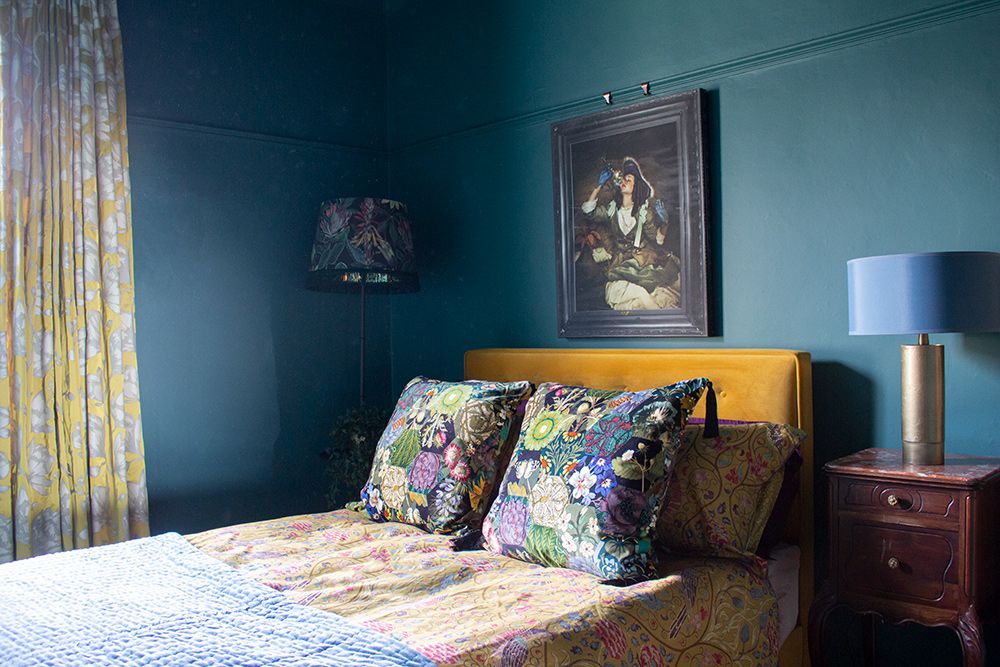
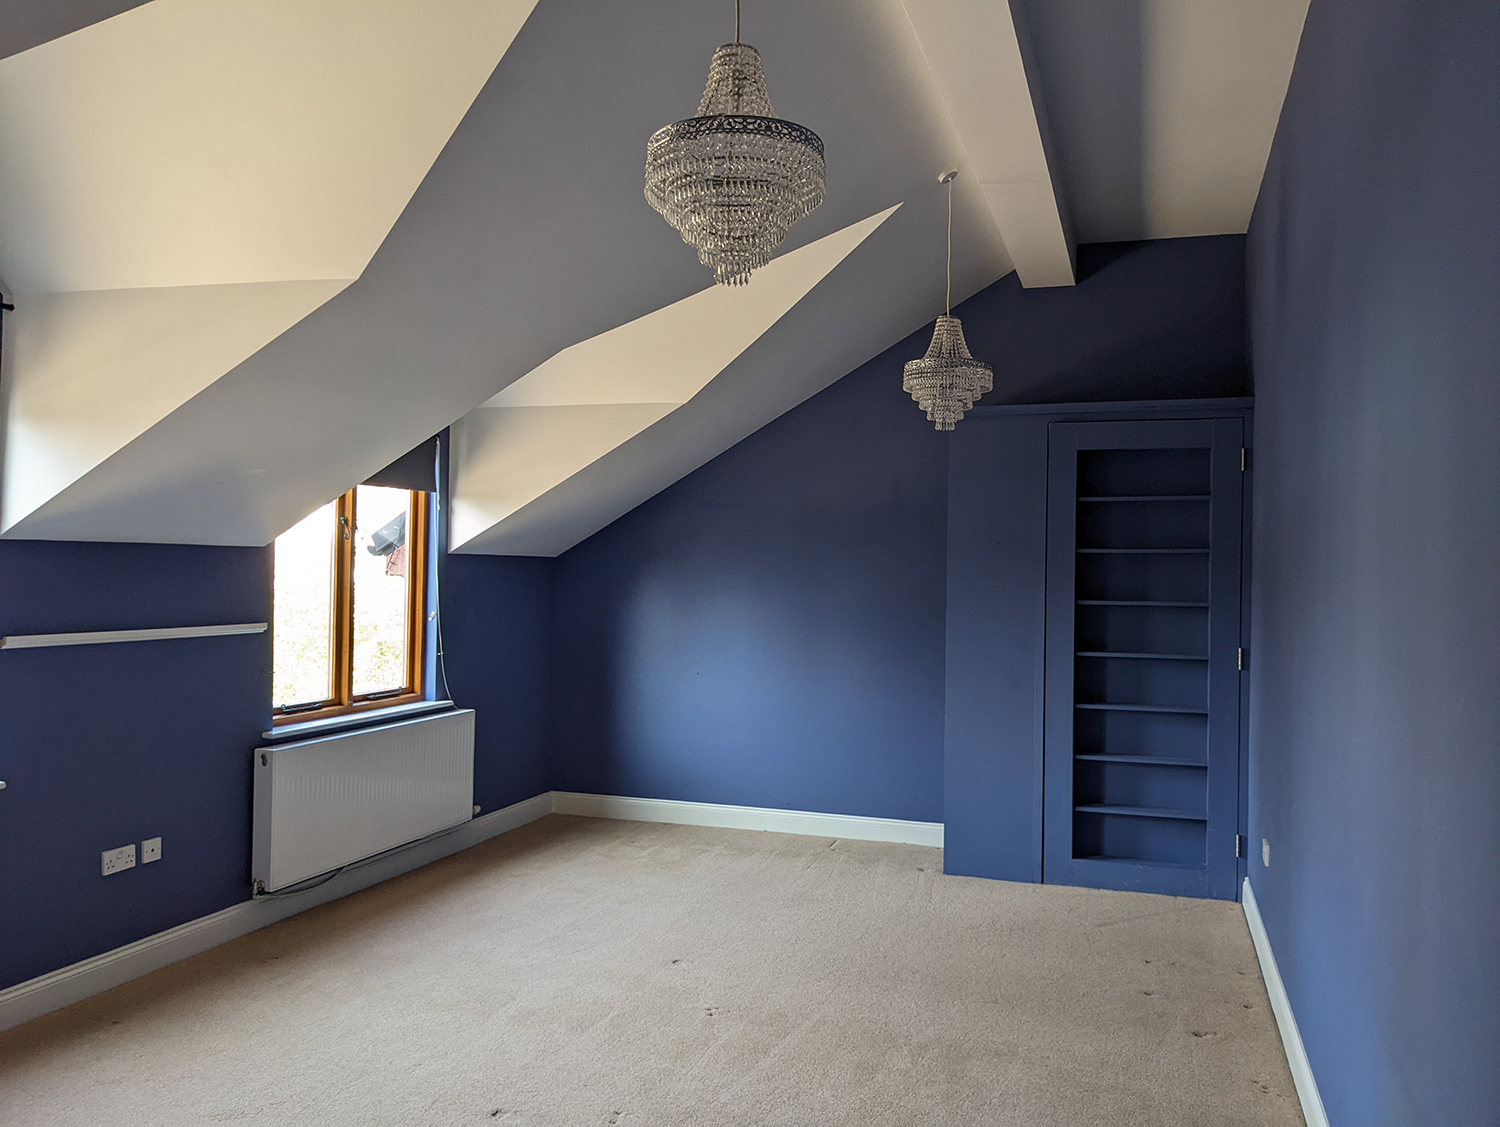
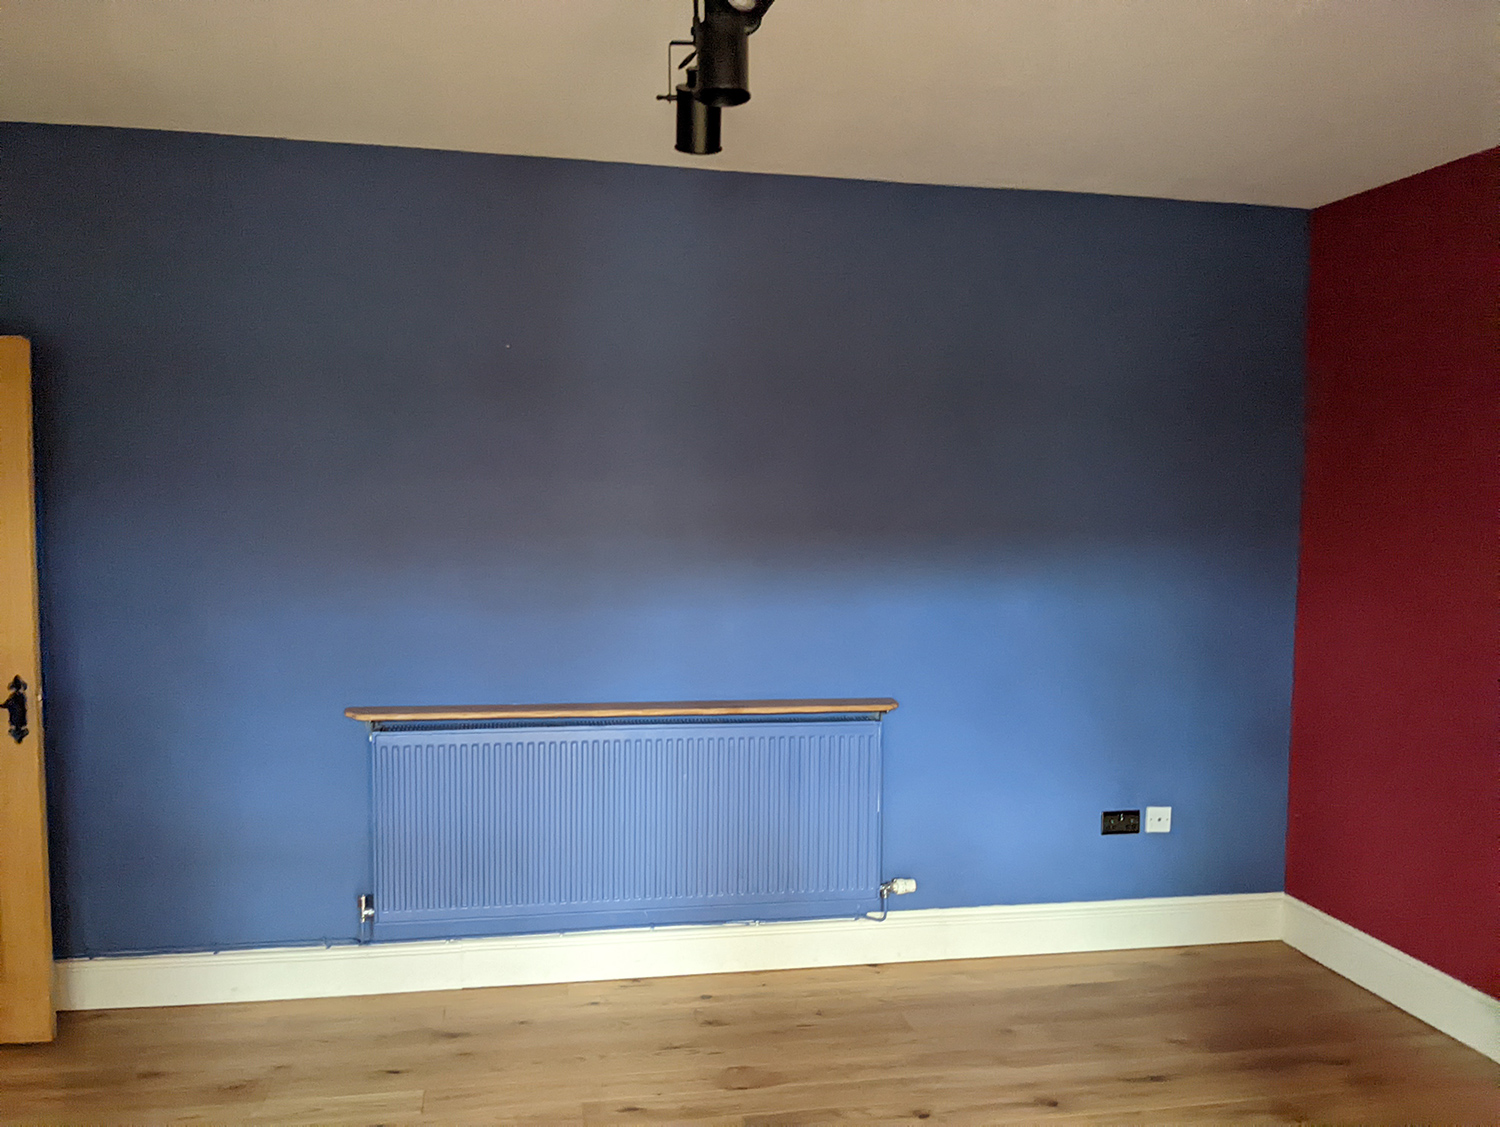
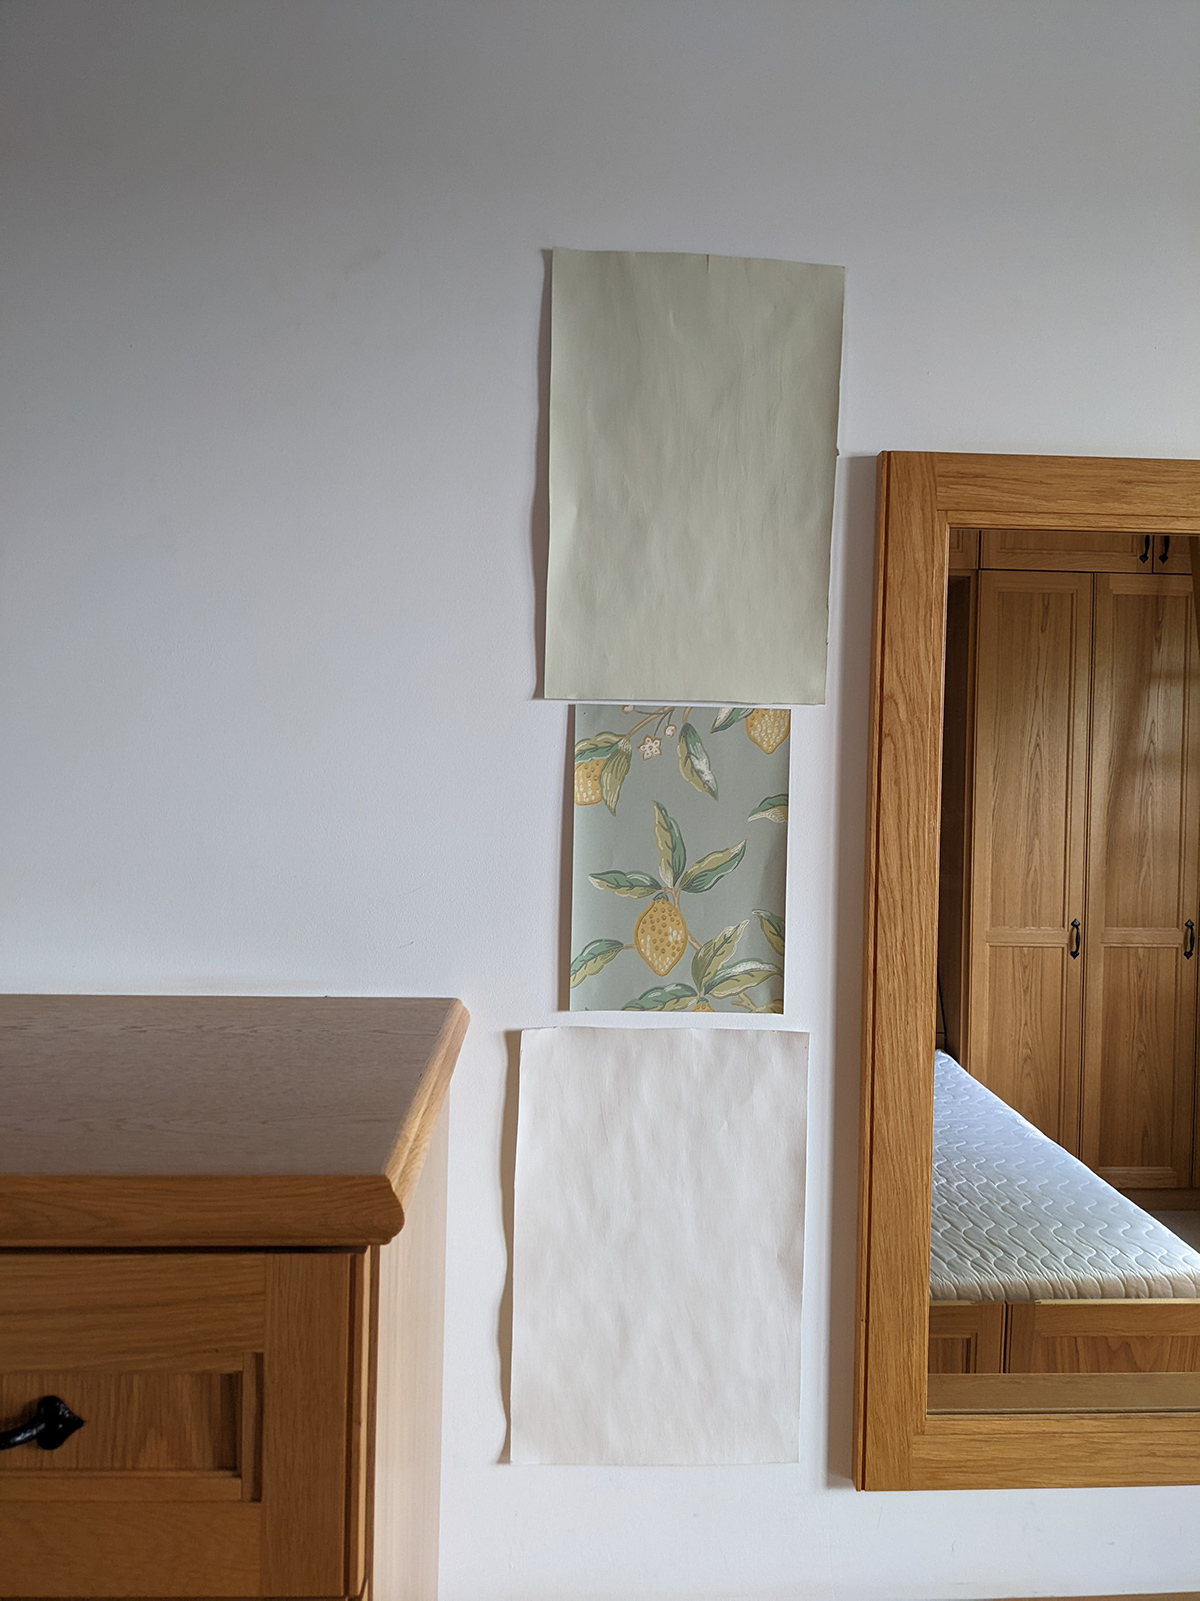
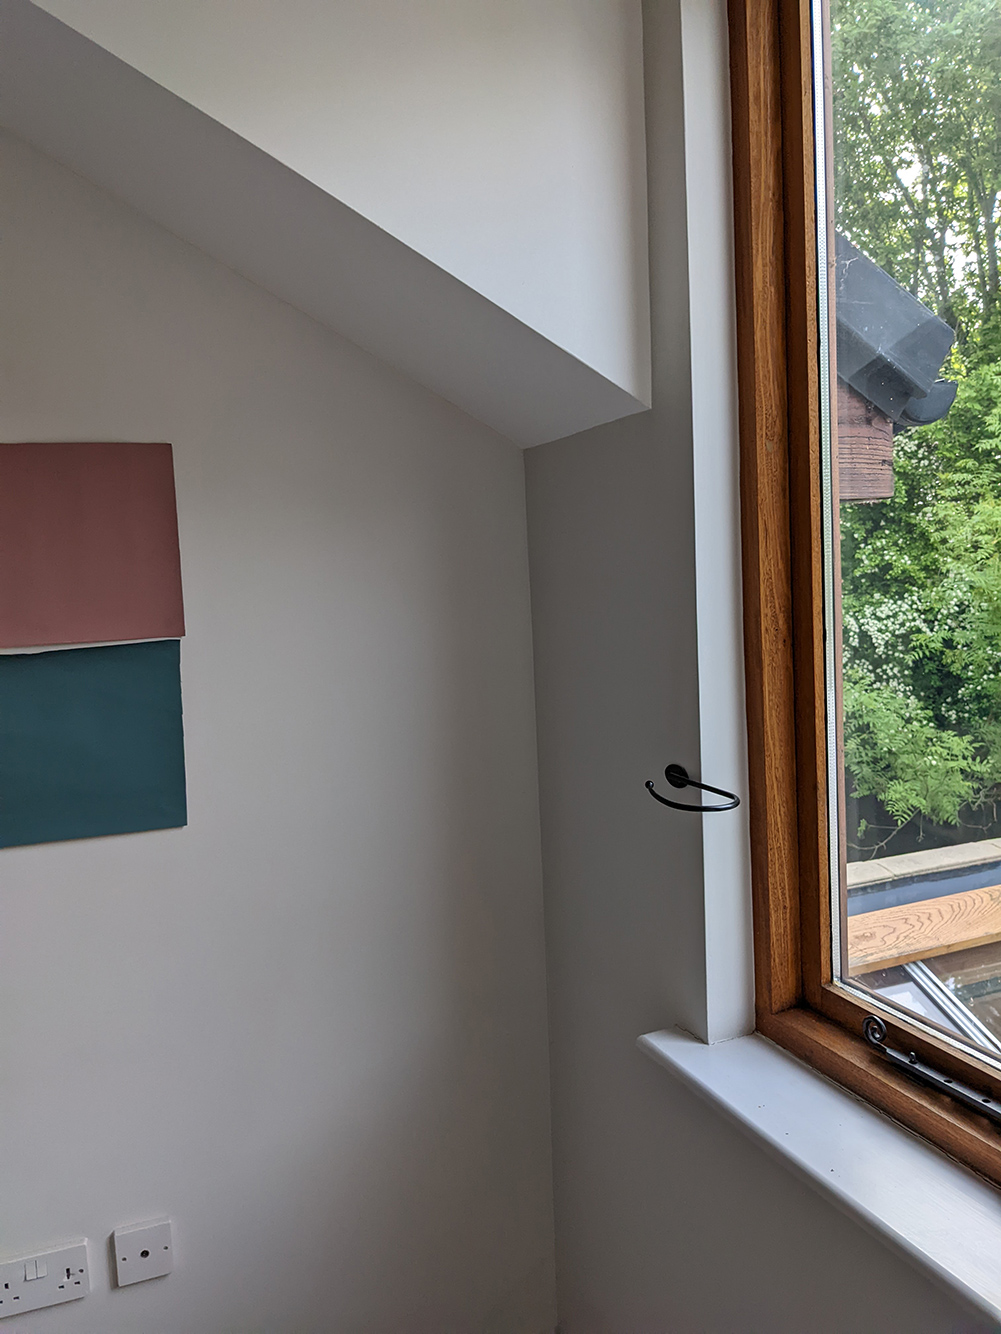
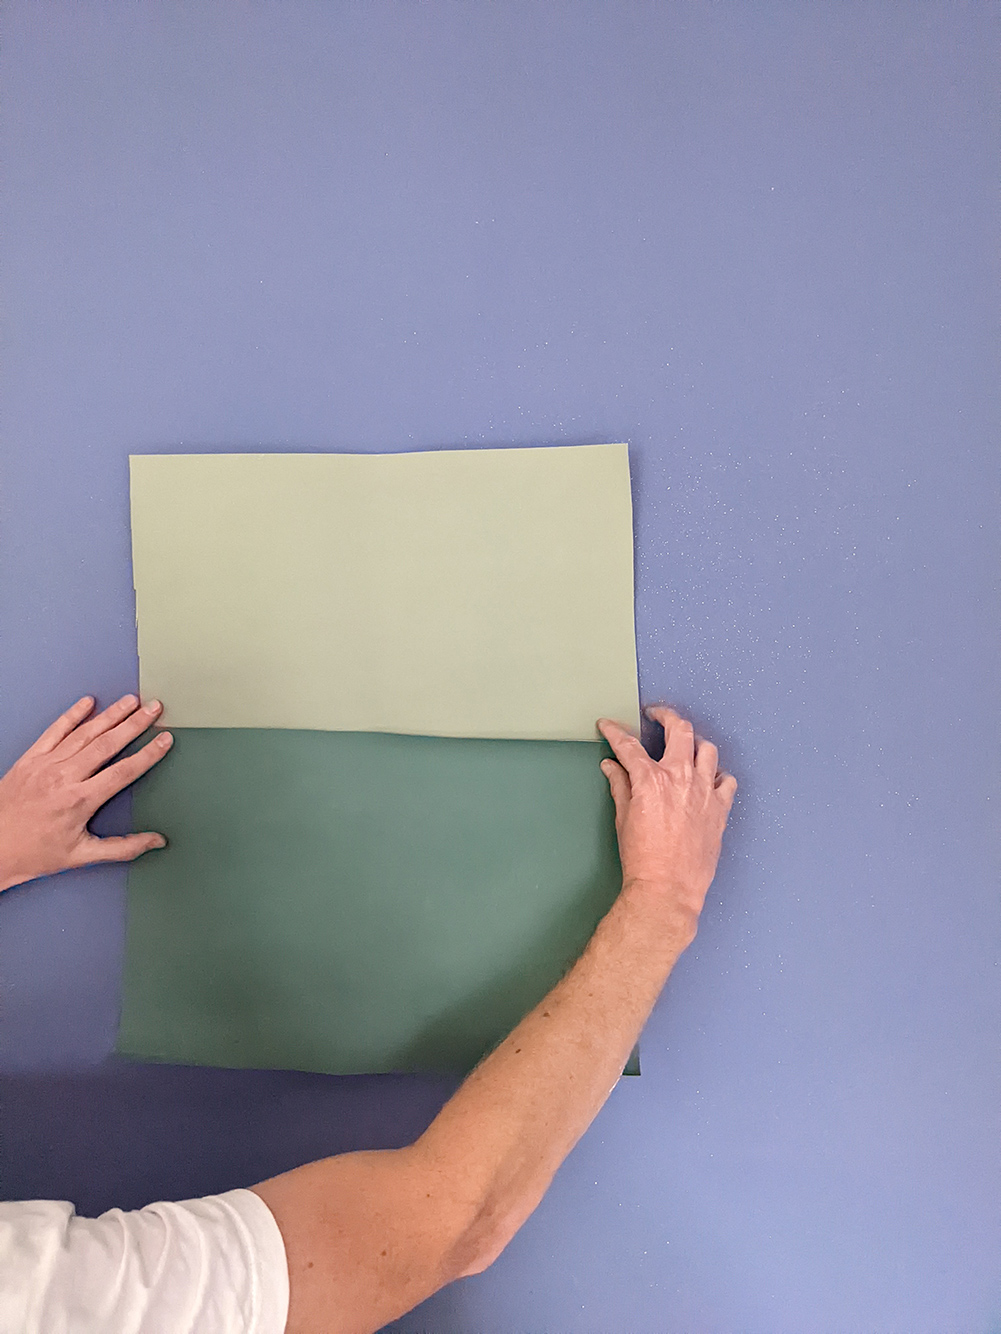
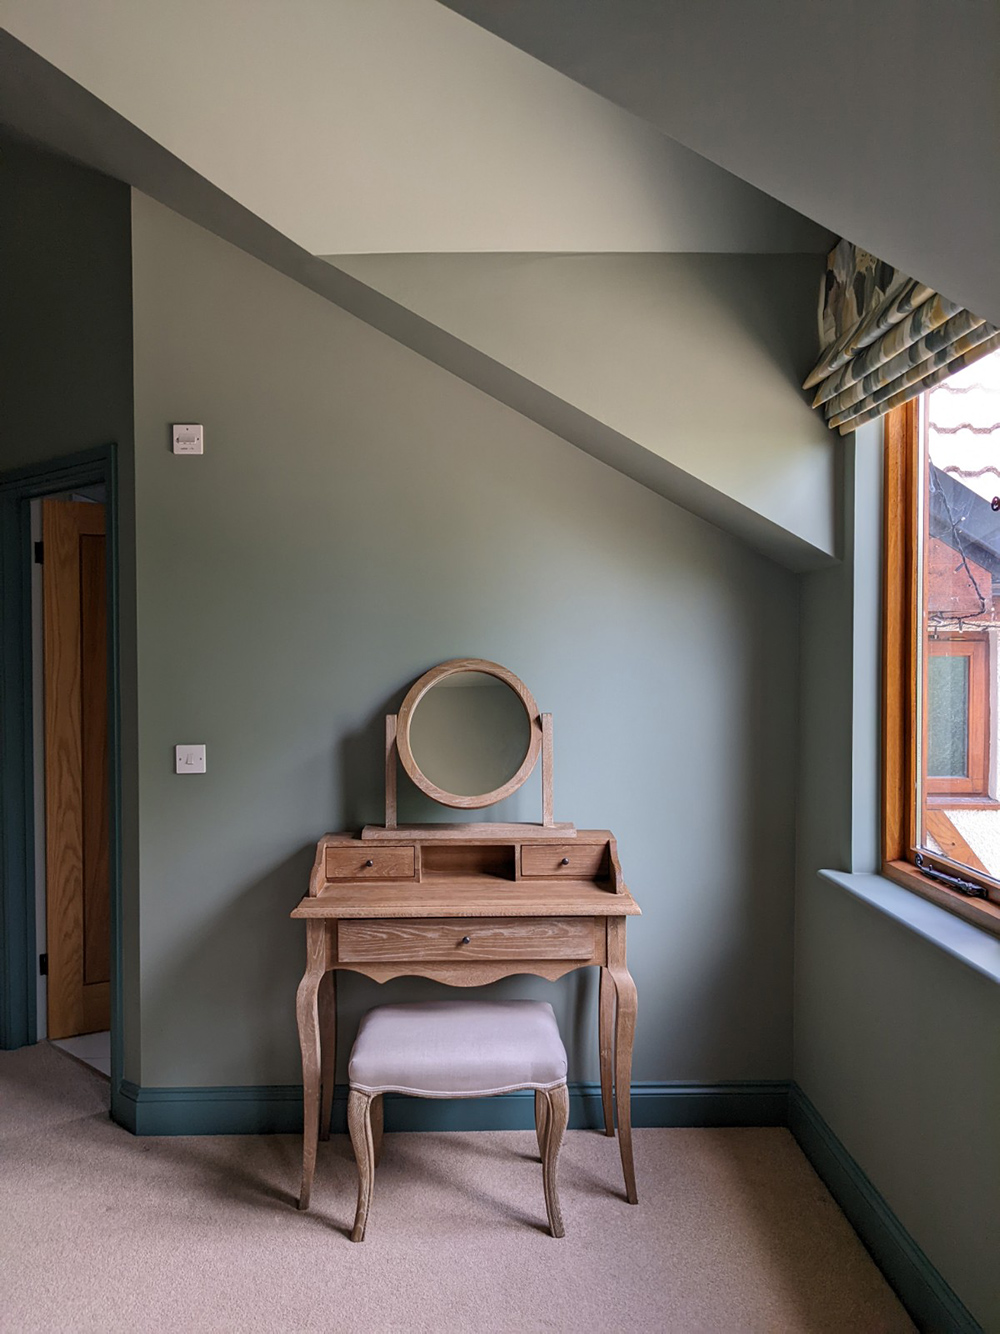
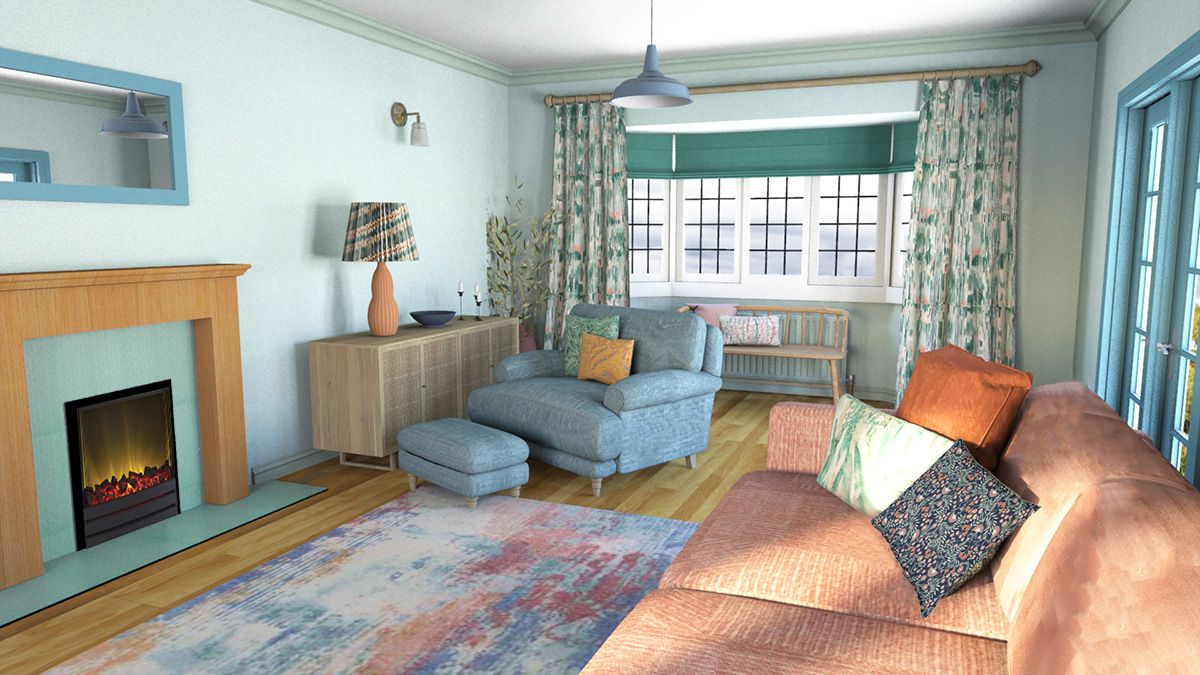
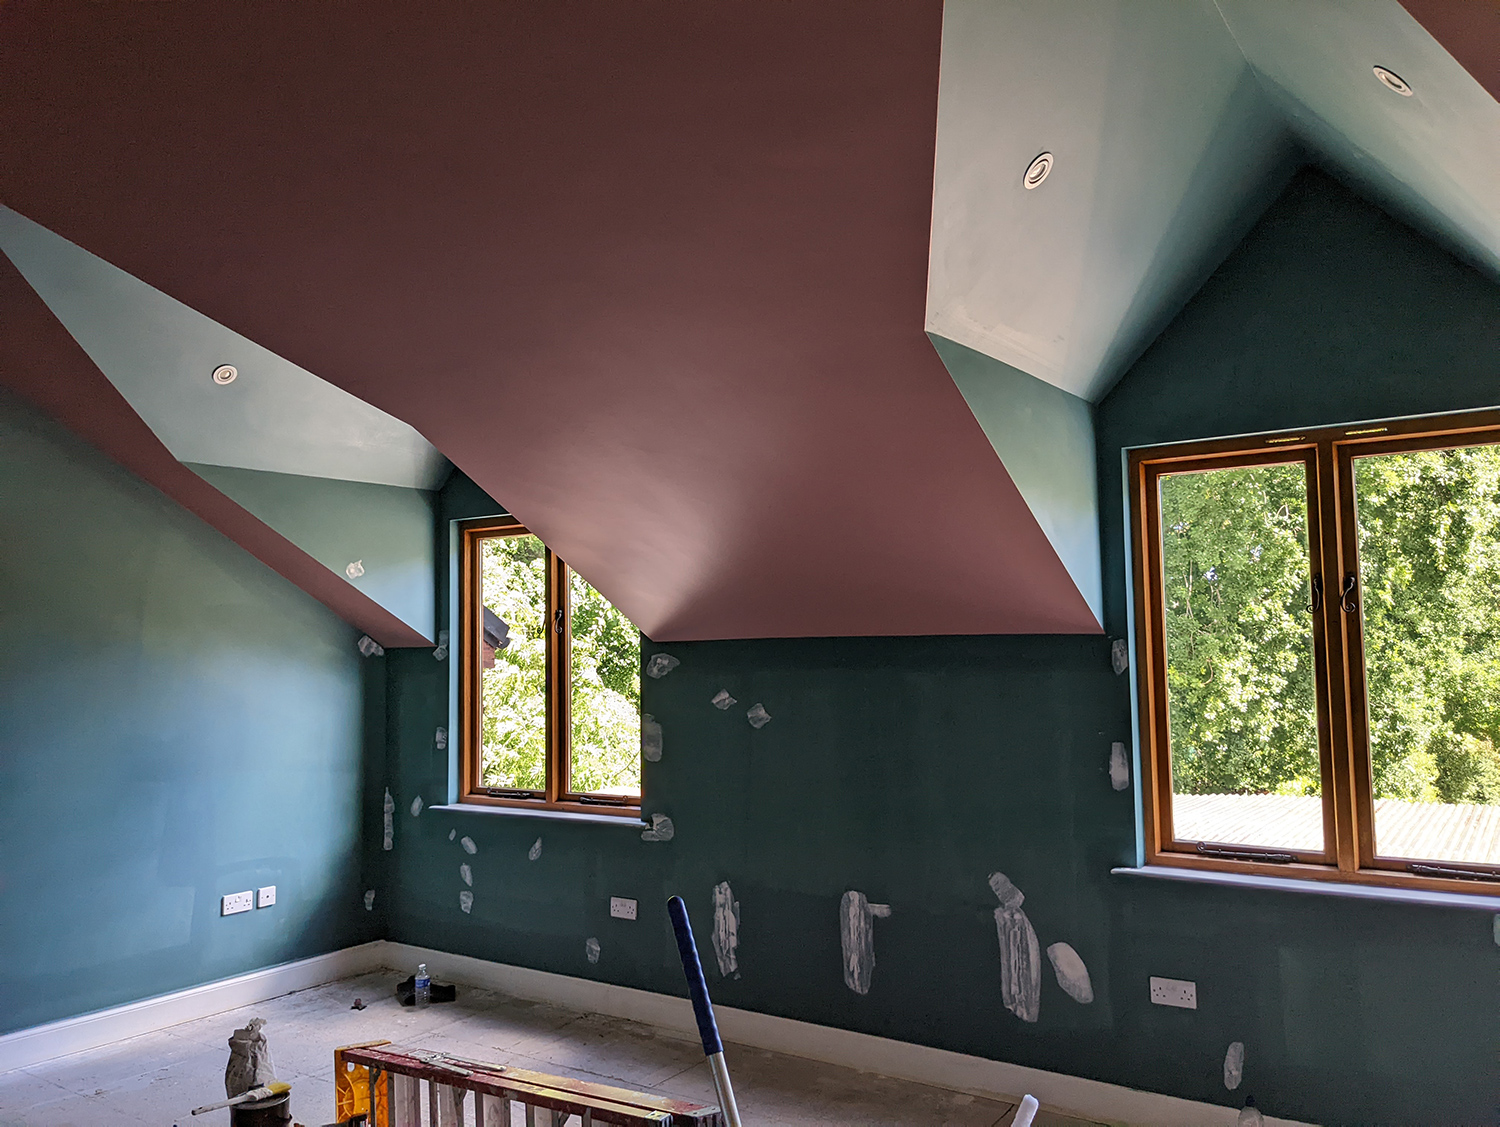
There was only one room where I thought the colours didn’t work when I looked at the swatches on the walls. This was guest bedroom number one - we had chosen Little Greene’s Sage Green and Jewel Beetle, but in the room, the yellow undertones of these colours were too strong, so I suggested Windmill Lane and Pleat instead, as their base tones are blue rather than yellow. |
||||||||||||||||||||||||
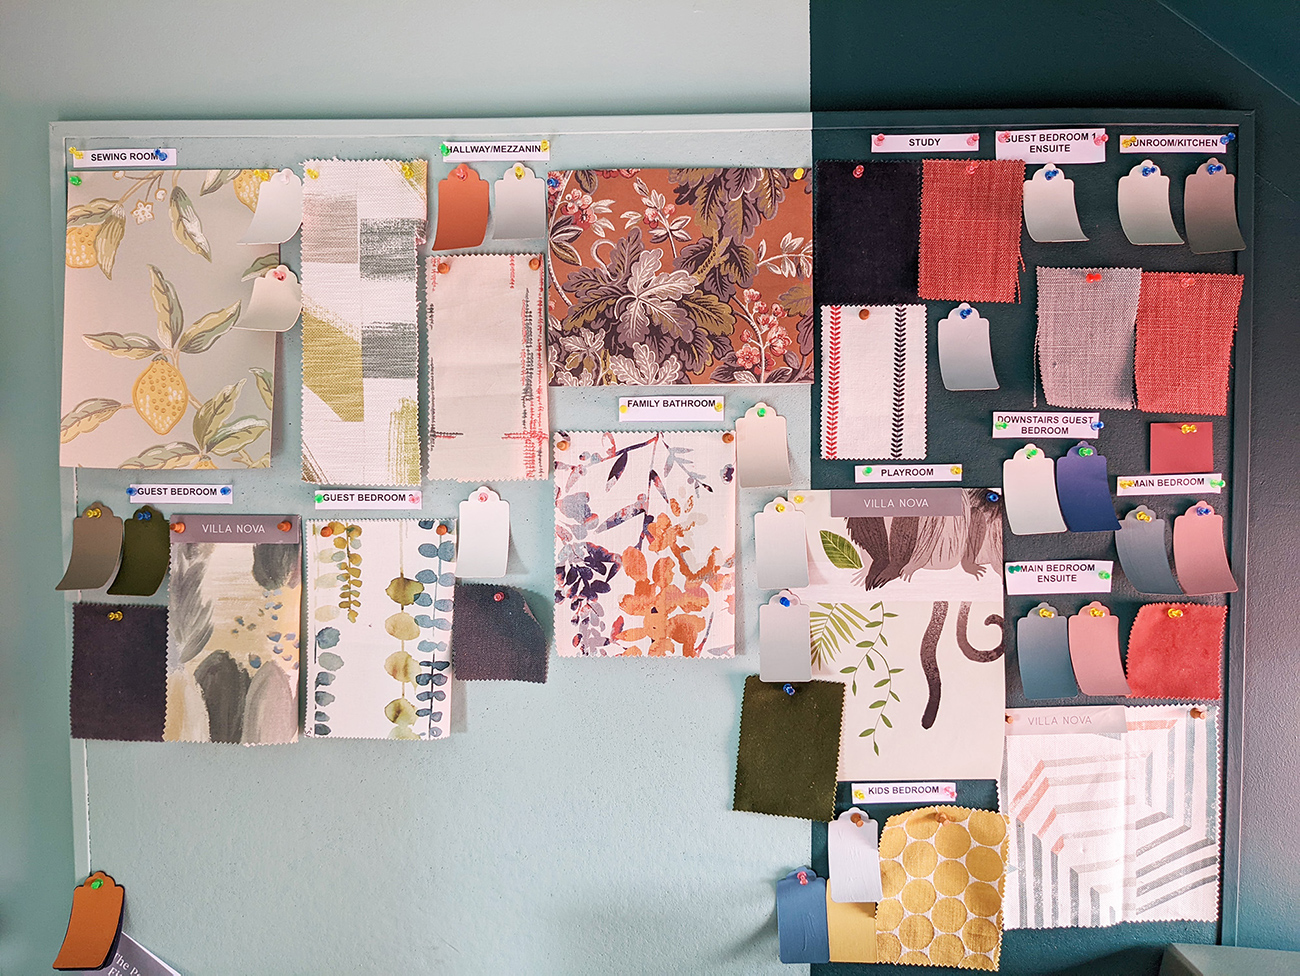
Once the paint colours were chosen I could then find fabrics for the blinds which were going to be made. Again I offered three options for each room, and even though I had swatches of each fabric in front of me, there wasn’t time to send them overseas for approval, so the clients had to work from photos and trust that the fabrics would look great together. Once these decisions had been made, I put everything together on a pinboard so that I had a visual record of what had been chosen, which I could reference as I was sourcing the remaining items. |
||||||||||||||||||||||||
 |
||||||||||||||||||||||||
| My pinboard with all the fabric, wallpaper and paint choices | ||||||||||||||||||||||||
|
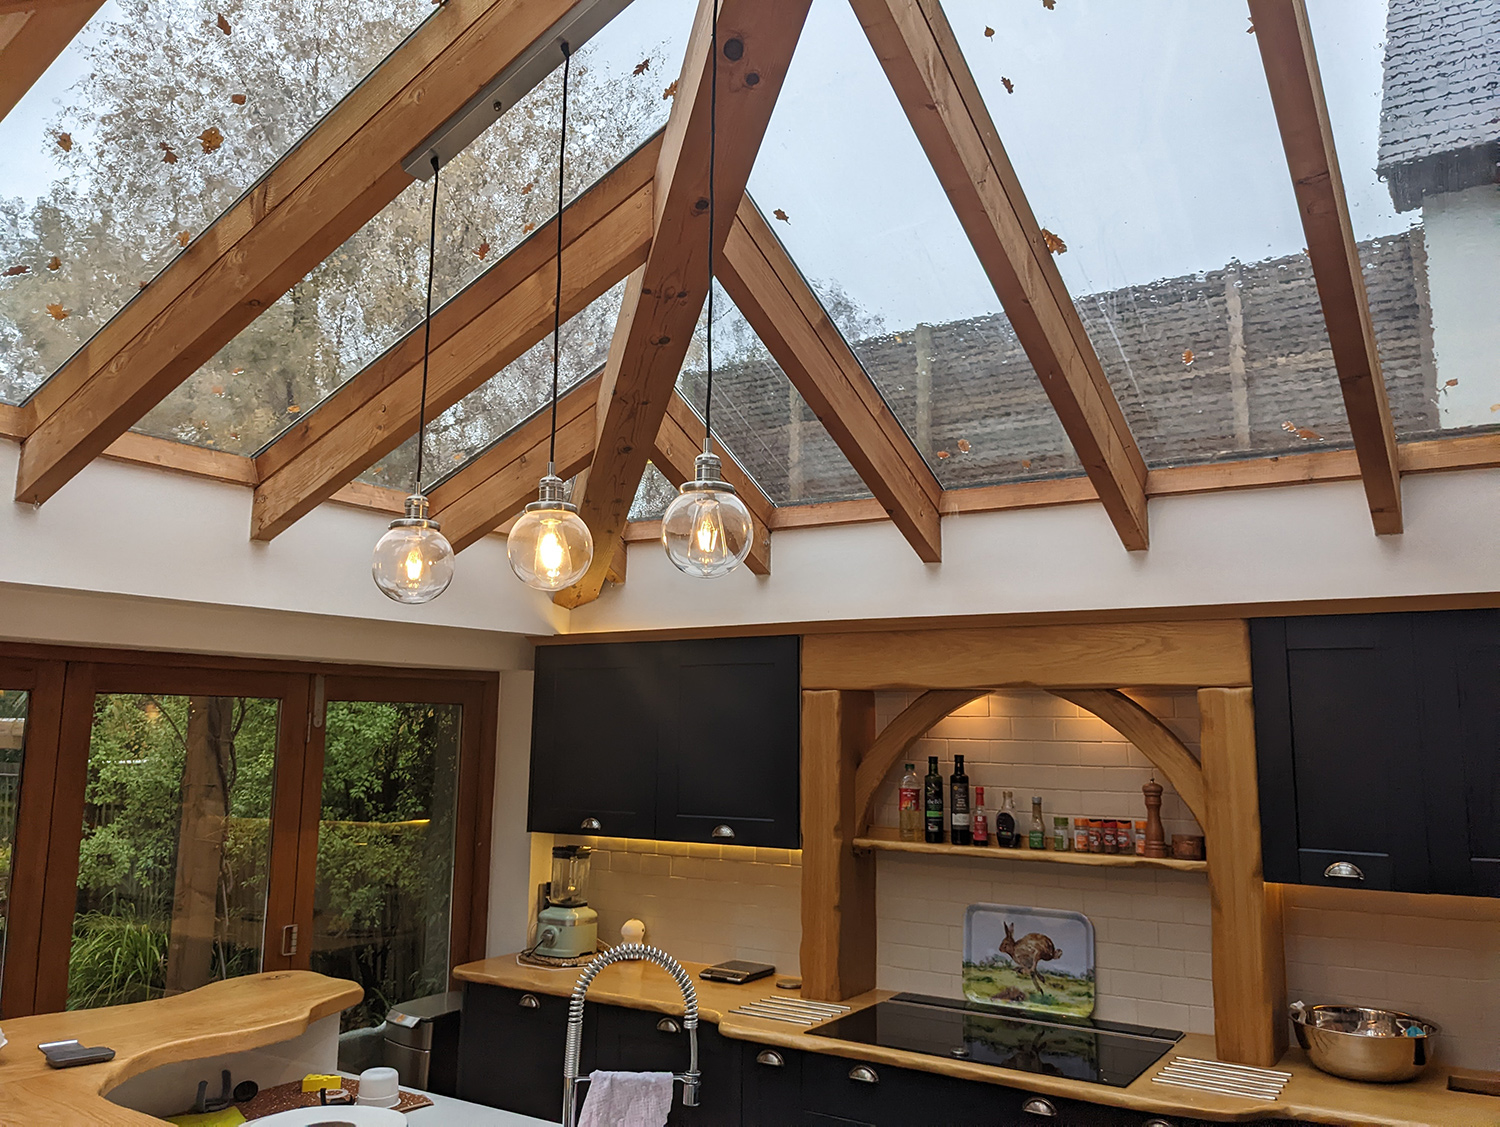
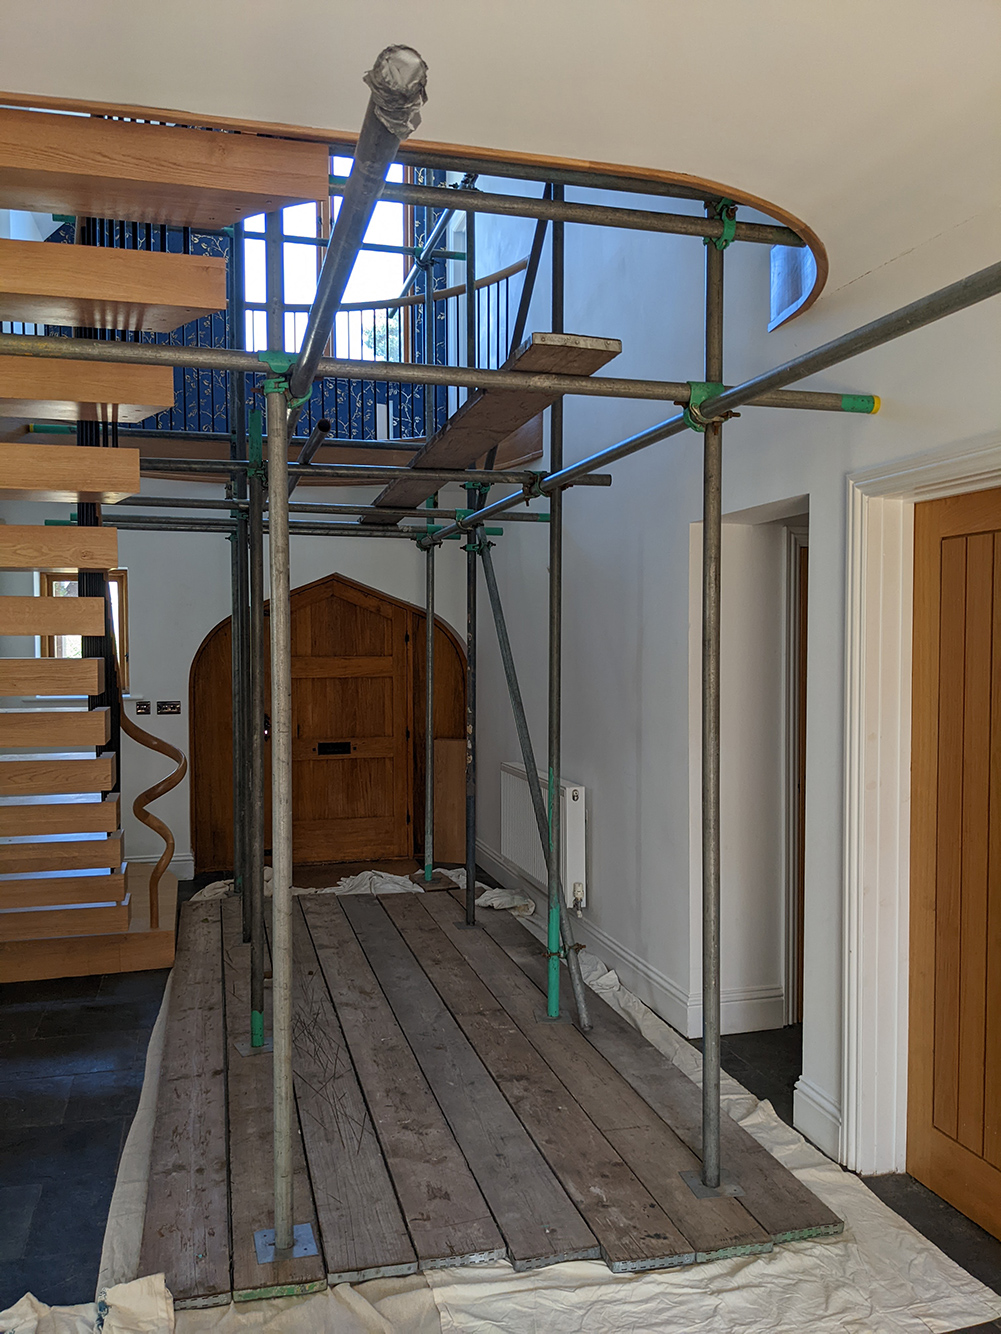
So, the furniture was on order and the blinds had been measured by the curtain fitter and were being made by my amazing workroom. Next, we had to get the lovely paint and wallpapers we’d chosen on the walls. I’d spoken to the decorator I use who had the largest team as soon as this project started, to give him time to schedule the work in. He was fantastic and juggled his workload around so we could get the majority of the rooms decorated before the July deadline. There were two rooms we agreed would be decorated after the family moved in, as we would be fitting motorised blinds in the kitchen/dining room roof which involved drilling holes in the ceilings and walls, which is obviously something you wouldn’t do after decorating. As we were also changing the ceiling lights in every room, this needed to be done before the decorating as some of the new fittings were a different size to the old ones, which would leave an unpainted circle on the ceiling if done afterwards. We needed to choose and have the new lights delivered and fitted before painting some rooms, so I had to juggle the decorator and the electrician around each other. As the hallway was so tall, we also needed internal scaffolding to allow the decorators to reach the walls there. This took some careful planning so we wouldn’t damage the floor and also so that it wouldn’t be in the way when the other trades were working in the house. |
||||||||||||||||||||||||
 |
||||||||||||||||||||||||
| The internal scaffolding being installed in the hallway | ||||||||||||||||||||||||
|
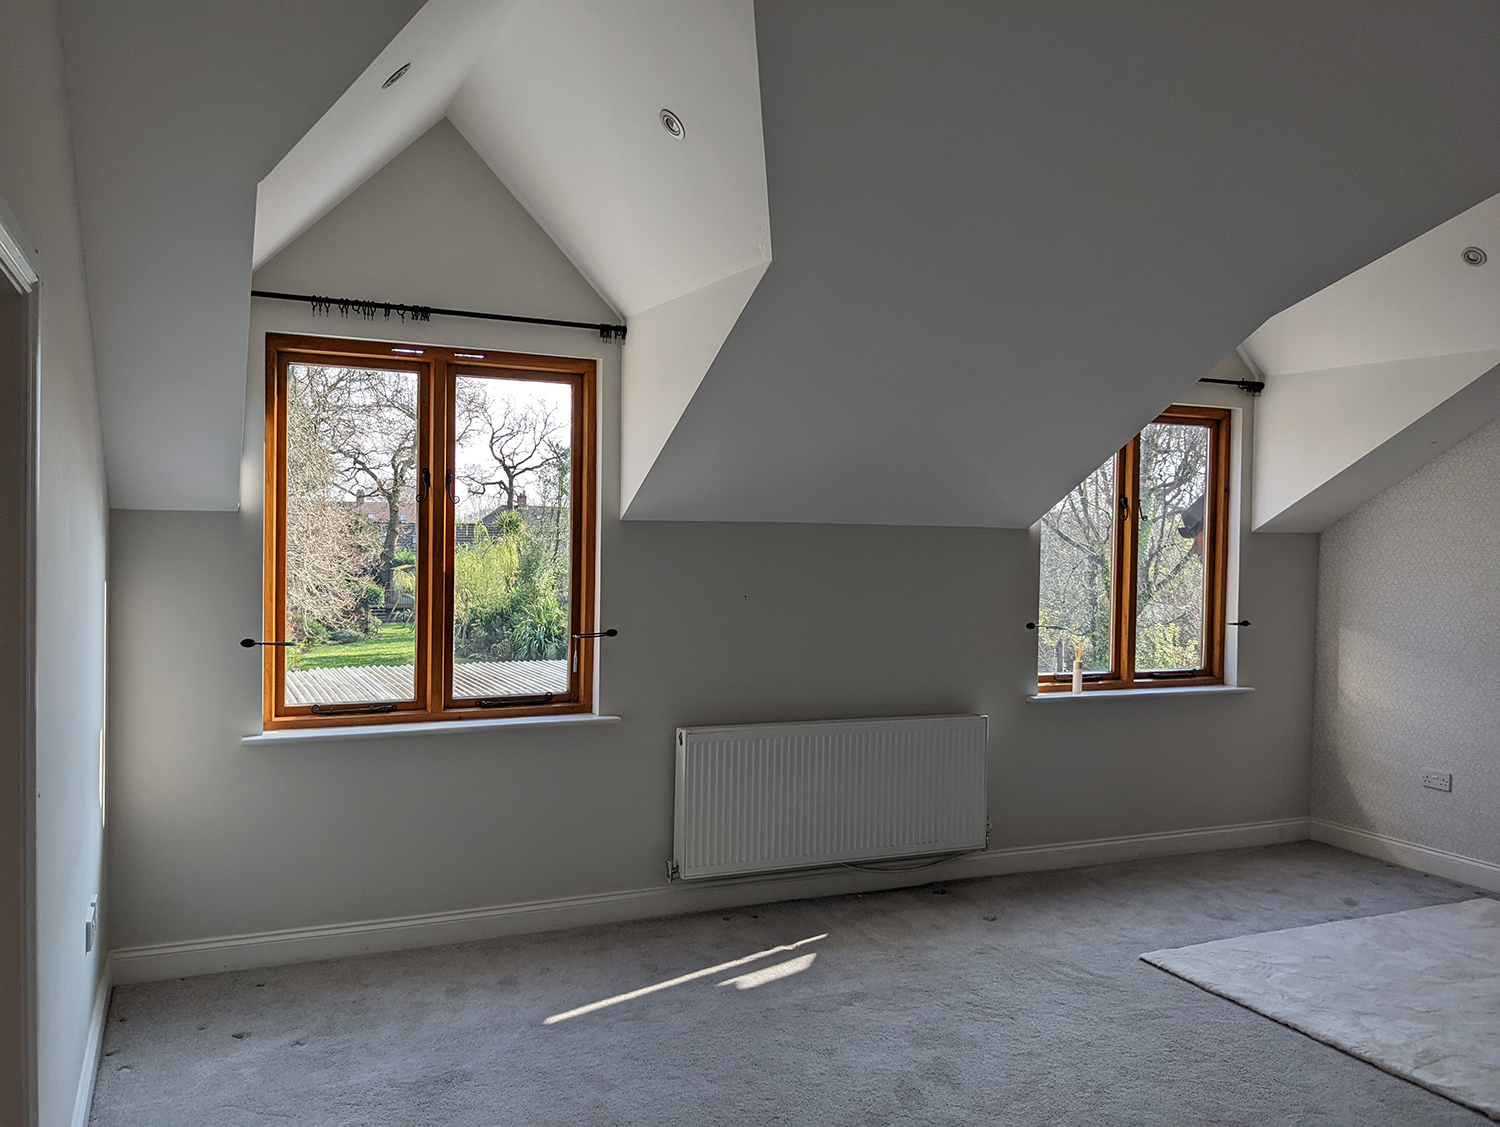
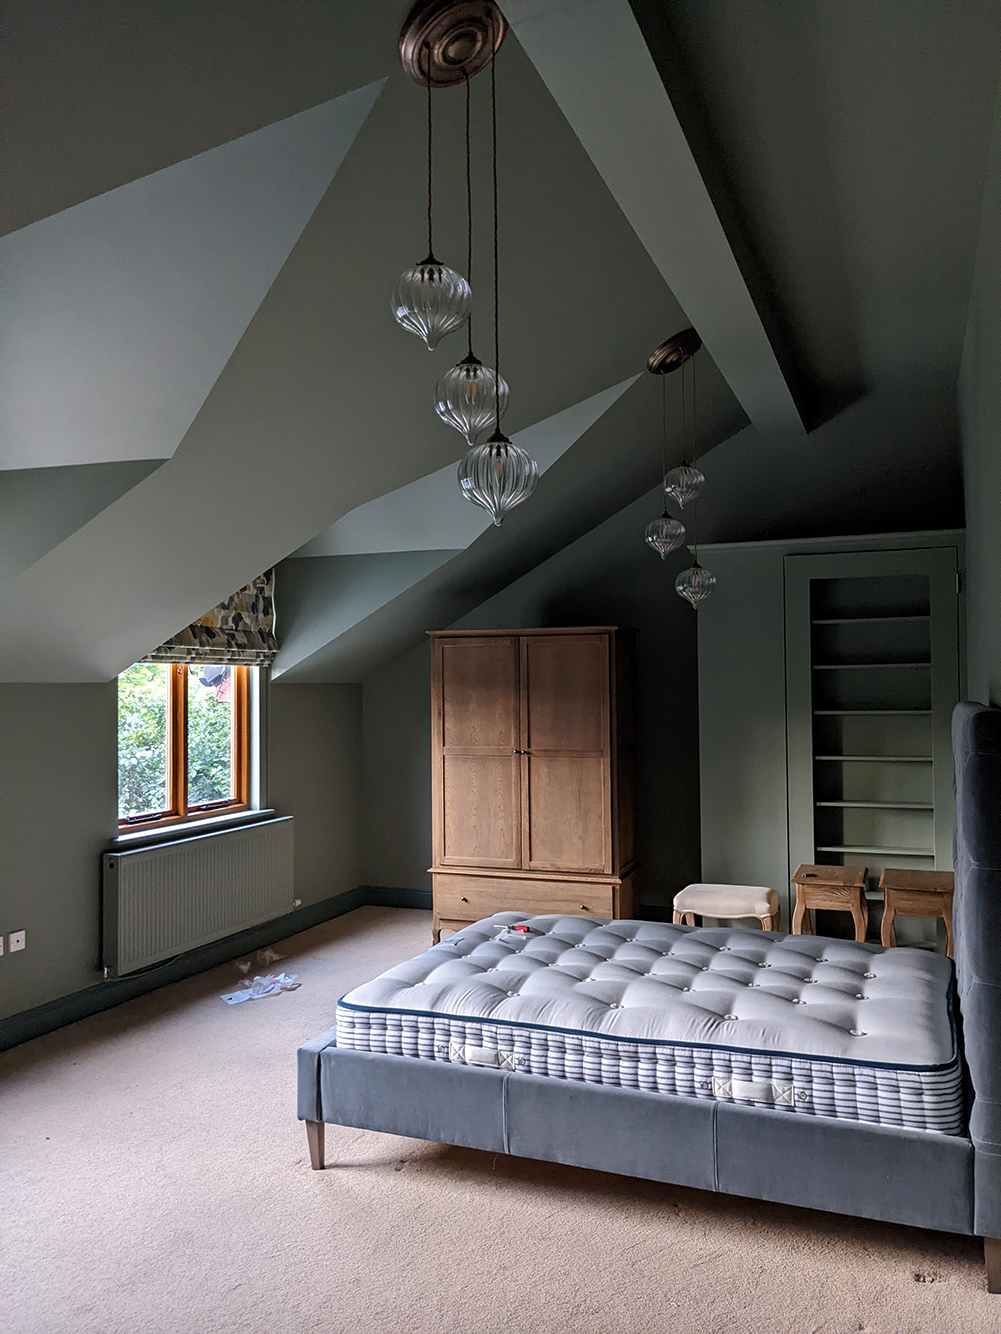
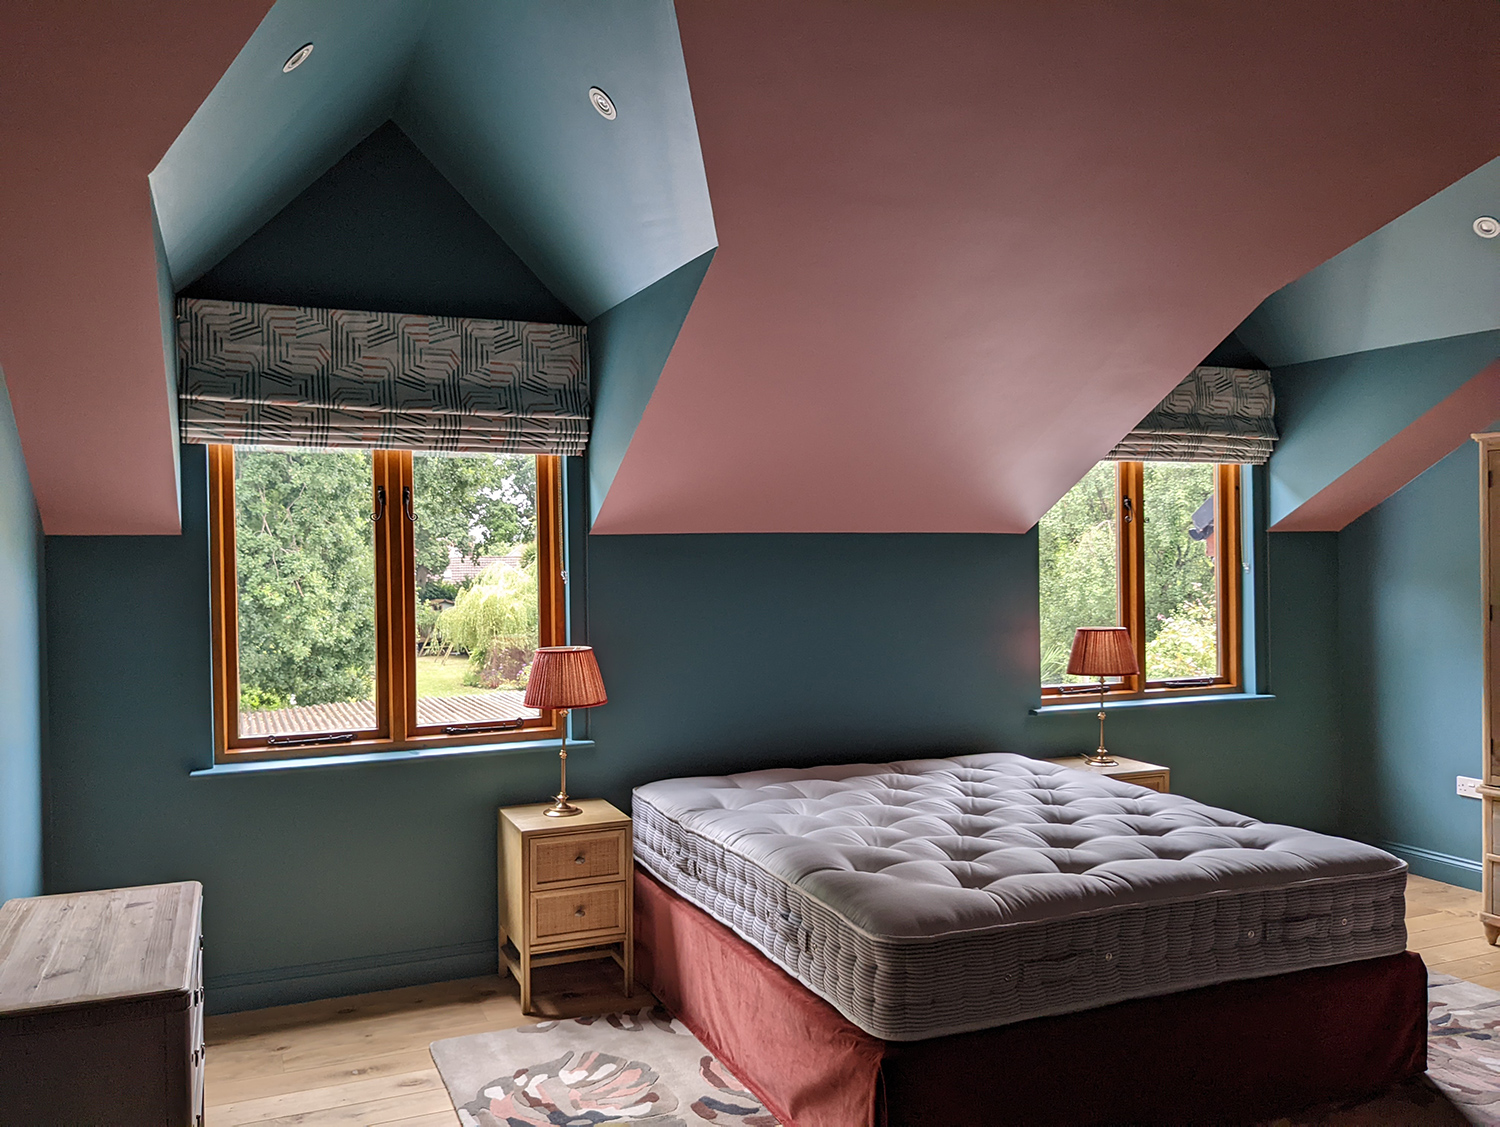
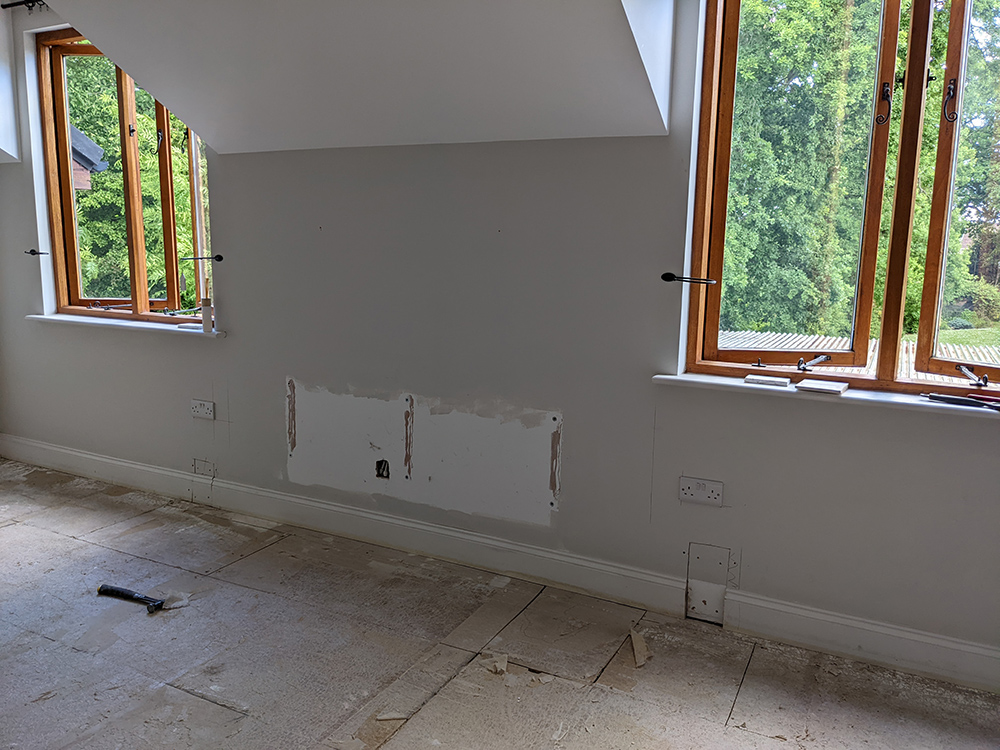
I also had to arrange for the flooring in the main bedroom to be done before we painted there. There was a carpet in this room, but it had seen better days, and as the clients love oak, they decided they wanted to replace it with a beautiful solid oak floor. We chose the floor, with lots of looking at samples and photos of installed floors, which took a little time, but that was the easy part. We had decided that the best place for the new bed would be in between the two windows, but there was a radiator there, so I arranged for my plumber to move it. I had drawn a floorplan for each room in order to place the furniture and make sure it would fit, and I needed to find a place for it where it wouldn’t be in the way of the other furniture. That done, I also realised that there were no plug sockets where the new bed would go, so the electrician had to add some in. This was difficult, as when we lifted the floor up we found that there was a steel beam holding up the extended part of the house running all along the wall where we needed to put the sockets. It meant that we couldn’t run the electrical cable under the floor, so we made the decision to carefully cut through the skirting board and place it back afterwards. The decorator filled it very well and you now can’t see that it has been cut at all. |
||||||||||||||||||||||||
 |
||||||||||||||||||||||||
| The main bedroom with the skirting board cut to add the plug sockets | ||||||||||||||||||||||||
 |
||||||||||||||||||||||||
|
The main bedroom whilst it was being decorated with the holes filled |
||||||||||||||||||||||||
 |
||||||||||||||||||||||||
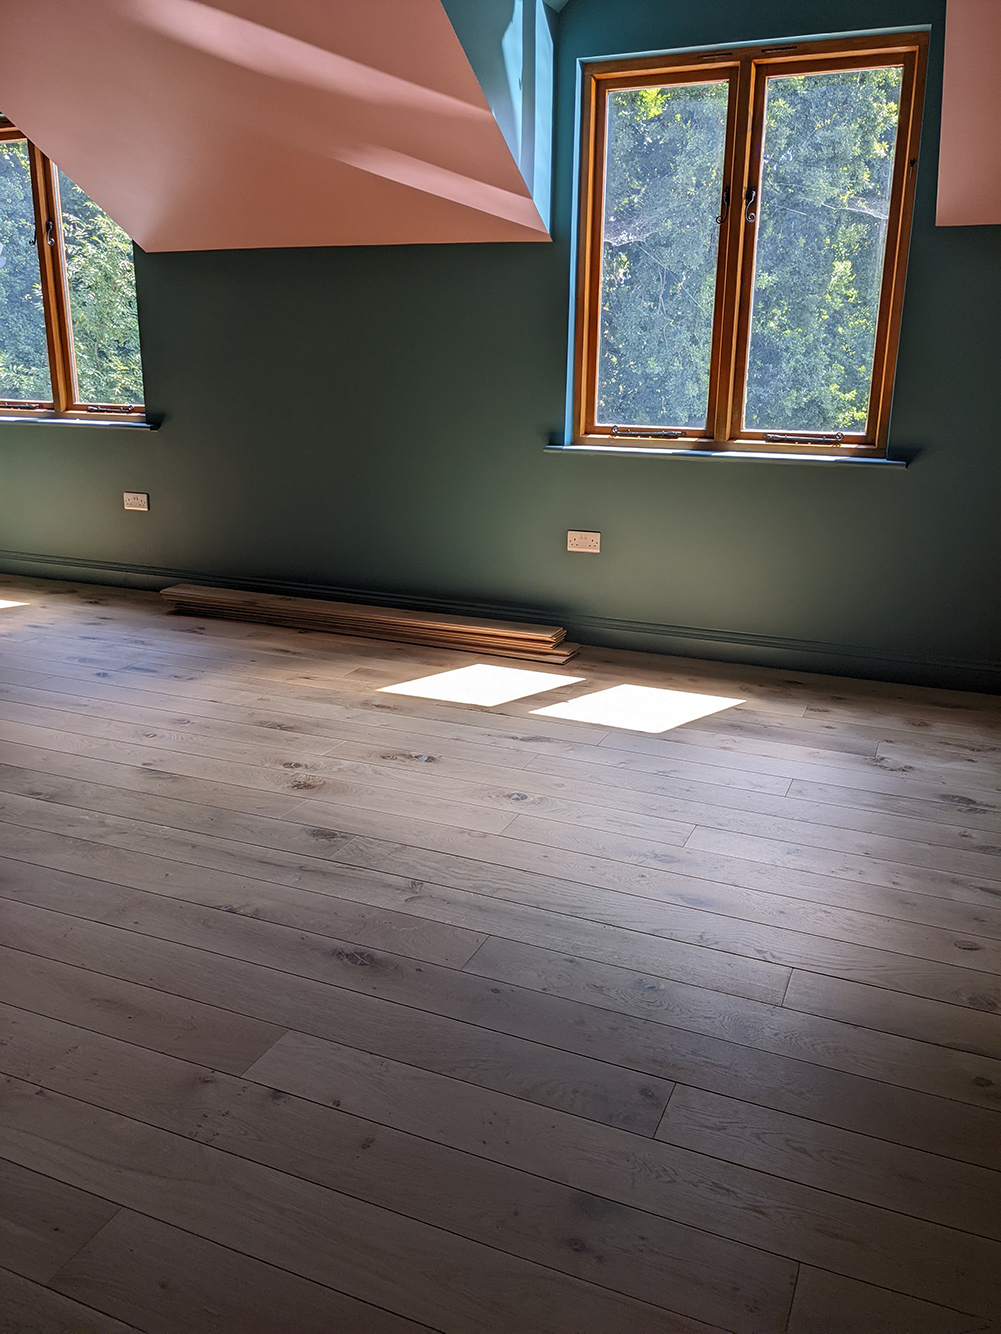
| The beautiful new oak floor in the main bedroom | ||||||||||||||||||||||||
|
|
||||||||||||||||||||||||
 |
||||||||||||||||||||||||
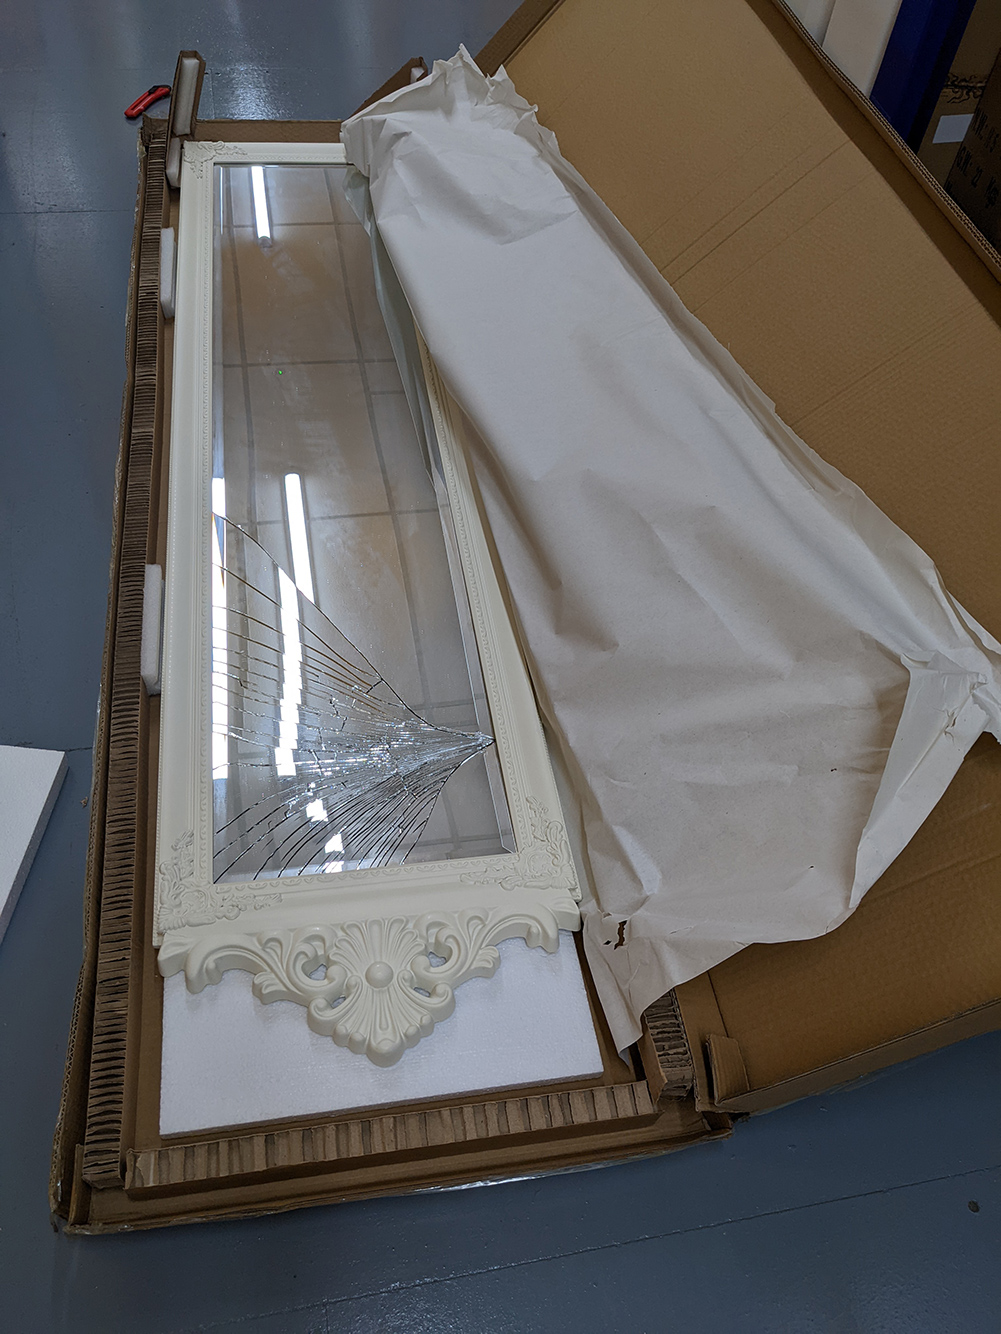
| The broken mirror, still in its packaging | ||||||||||||||||||||||||
|
|
||||||||||||||||||||||||
I’d made floorplans and blue tacked them to each named room, so everyone could see where the items needed to be, but I still needed to spend time going from room to room answering questions and solving problems. We were also making sure all the new lights and lamps had the correct bulbs fitted, the rugs had been installed in the right place with underlay, and the cushions were plumped and looking lovely on each sofa. I also had a cleaning team going behind us making sure all the installation dust and debris was taken care of. It was definitely organised chaos! On the final day before the family moved in, I made sure everything was perfect, and left them a large bunch of flowers from a local florist and some champagne chilling in the fridge. When they arrived, they told me the experience was ‘like a dream’ as they walked through the door and everything was done for them. This made all the hard work worth it! I couldn’t have done all this without my fantastic team of tradespeople, who were flexible and quick thinking when it came to solving problems, and I’m very grateful to them. We are still working on the house, as we are now making the bespoke elements of my design happen, which I’ll show you in another blog, so stay tuned. |
Welcome to the design blog, where you'll see posts about anything from the projects we are working on, to the latest fabric and wallpaper collections, and all things interiors related. We love colour, pattern, architecture and old buildings, and we love to share our finds with you.
Happy reading!