Work in Progress - A work from home solution
 |
||||
|
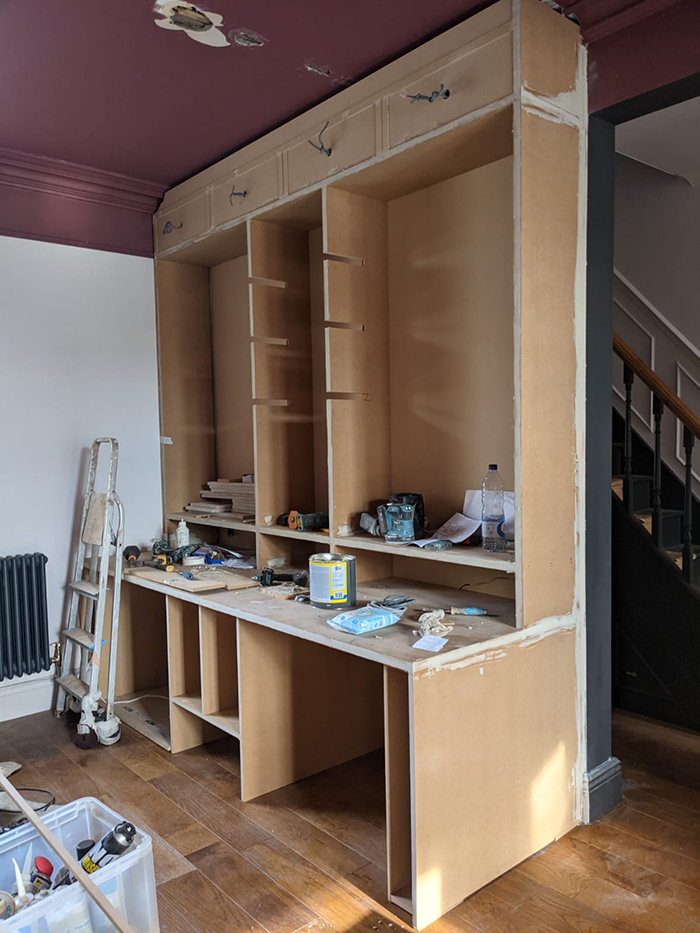
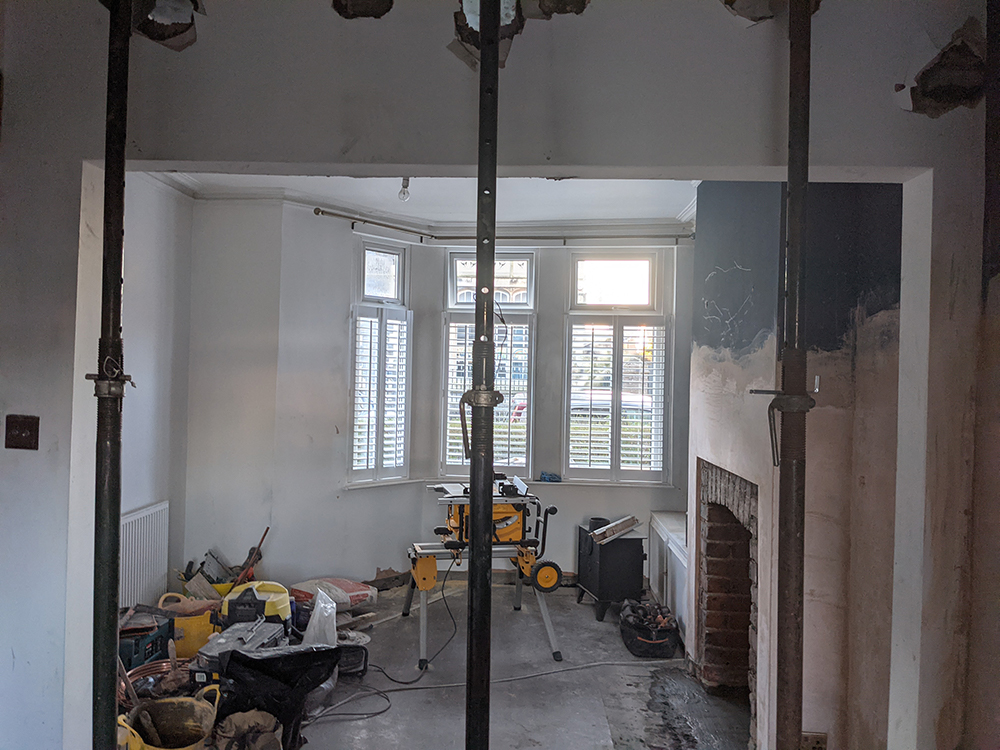
This time last year a young couple got in touch to say that they were in the process of buying a new house and needed help. It was a classic situation - they knew the house needed work and had just found out that it needed damp proofing as soon as possible. It is a Victorian terrace and the Victorians didn’t add damp proofing when building their homes, instead they used air vents and things like tarring the edges of floorboards to keep damp at bay. Thankfully things have moved on a bit since the 1800s, but damp proofing this Victorian terrace would mean all the internal walls downstairs would have to have the plaster hacked off and then be replastered. Apart from a lot of mess, this was an opportunity for the couple to rethink the layout of the internal walls, and decide how they wanted to use the space. As is common in houses of this age, the two main reception rooms had been ‘knocked through’ by the previous owners. This couple knew that at least one of them would be working from home permanently, along with the other one for the foreseeable future, and that they wanted a room or area for working in one part of this double length reception room. This scenario might sound very familiar to you, as since lockdown many offices have closed and lots of us are working from home now. The result is that the once popular move of knocking walls down to create larger open plan spaces doesn’t seem like such a great idea anymore (unless you want to hear the noise from anyone else in the house and have no place to think or make calls when you are working). So, help was needed fairly quickly. I went to see the house and meet the couple and discuss their needs. We spoke a lot about whether to put some walls back in, what size those rooms would be, and the impact it would have on the available natural light. We also discussed how it would feel to be working in a space which would be potentially smaller than the current long room. Here’s what the rooms when I first saw them: |
||||
 |
||||
 |
||||
|
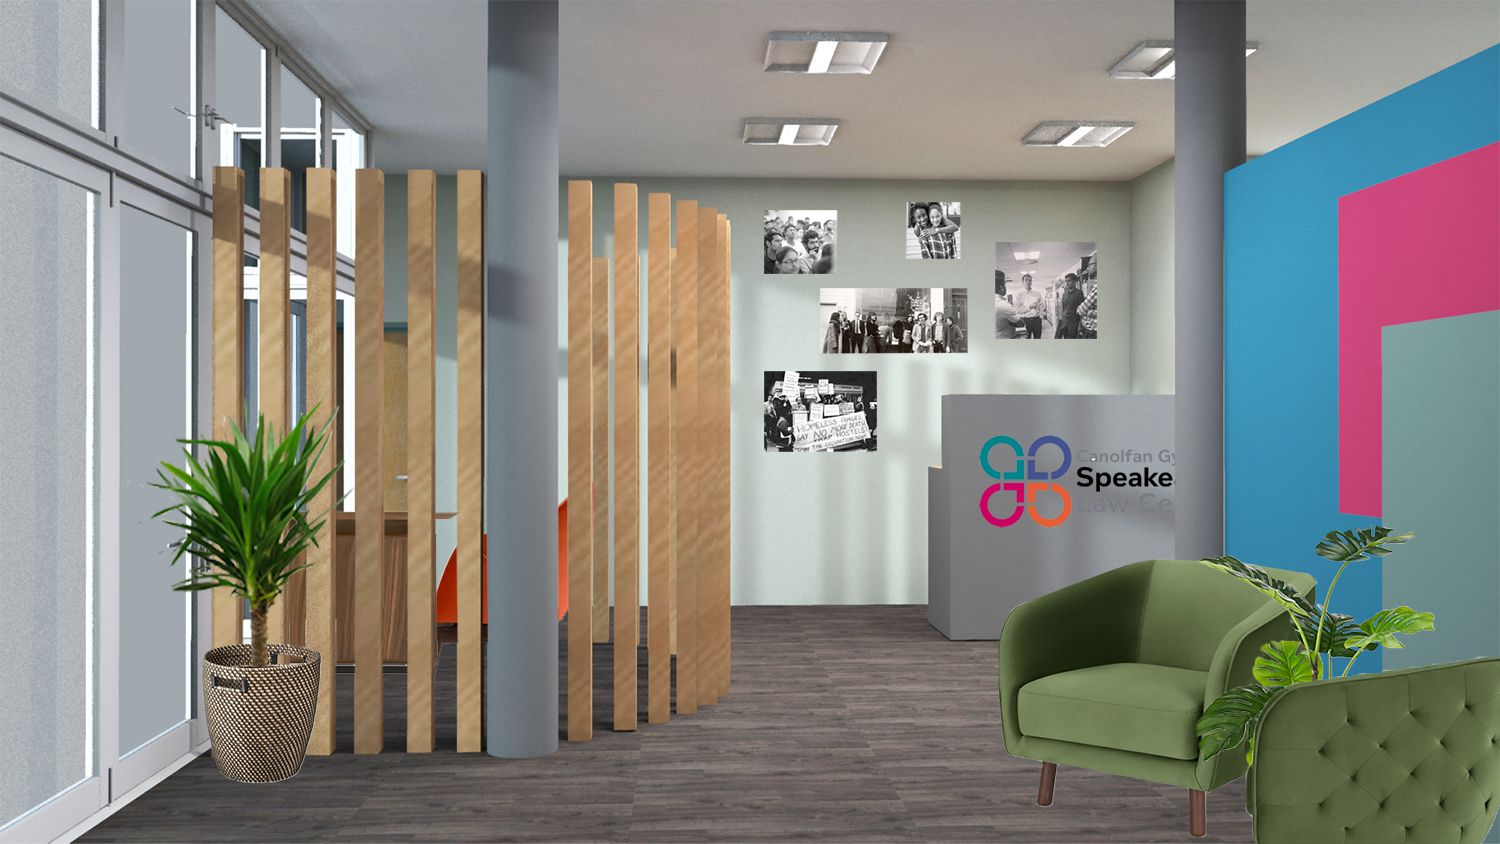
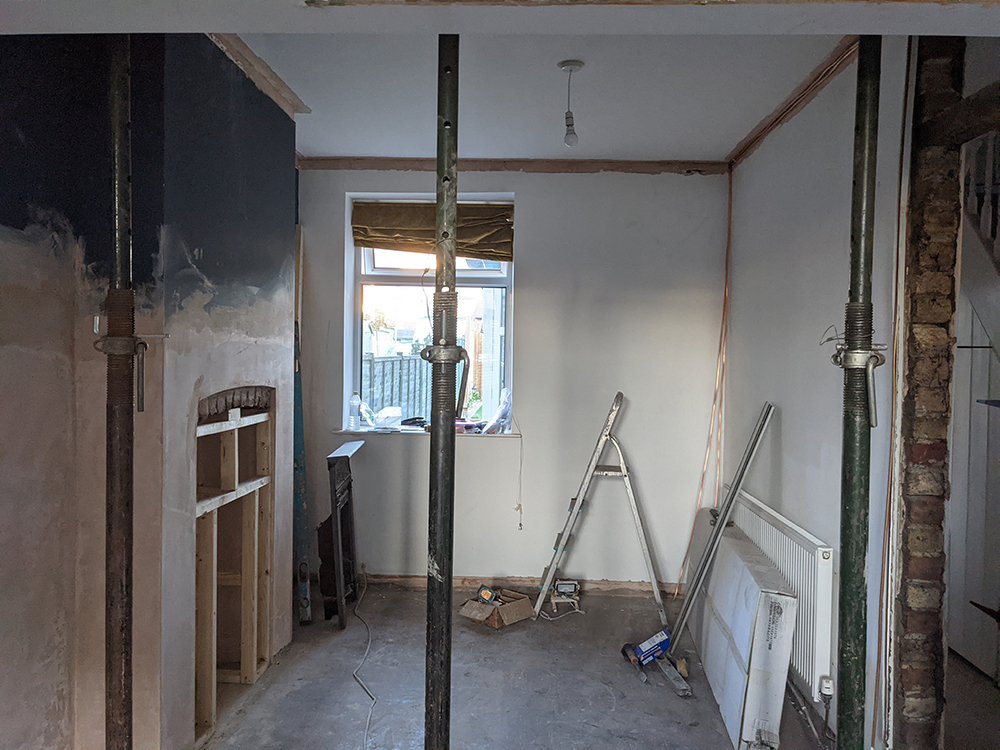
As you can see, it’s the classic Victorian layout - a bay window at the front letting in lots of light, and a much smaller window at the back of what would have been the dining room. If we put the wall back in the middle of the two rooms, the back room would suffer from a lack of light, and more walls would mean more doors to get through them, reducing the space available for furniture etc. So, we weren’t keen on putting the middle wall back up where it was. We discussed making a small box type room in the back portion for the desk area, but I really felt that this would feel too small to work in, and would leave the rest of the room as an awkward shape. I asked if one of the bedrooms could be turned into an office, but this house also had the usual Victorian terrace layout of two bedrooms and a bathroom which had been moved upstairs, and they didn’t want to lose their spare bedroom, so that was a no go. When I asked more questions and really drilled down into what the problem was, it became clear that the sight of computers and general office mess was much more of a problem than needing to soundproof their new ‘office area’. They actually liked the idea of working side by side (something I could never do with my husband!), so we were looking at hiding away the mess really. We talked about adding some sort of screen made of batons to hide things away, a kind of smaller version of the screen I designed for the Law Centre like this: |
||||
 |
||||
|
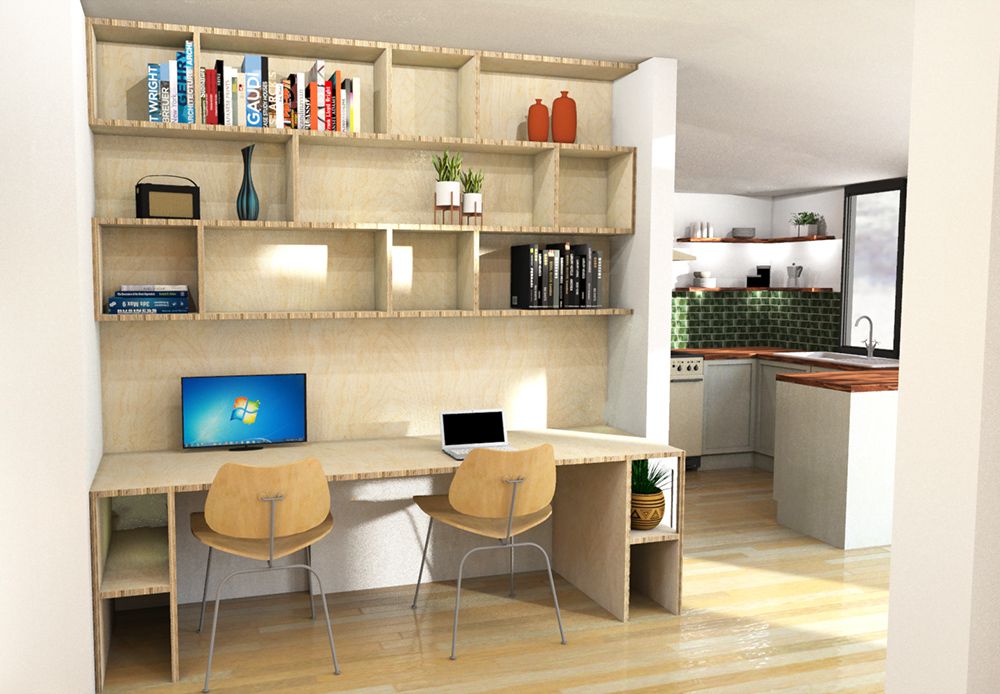
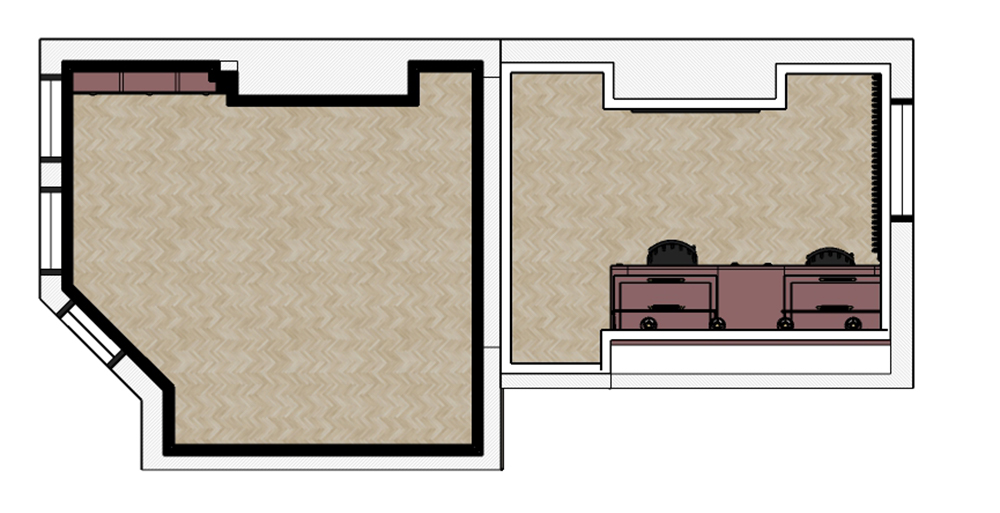
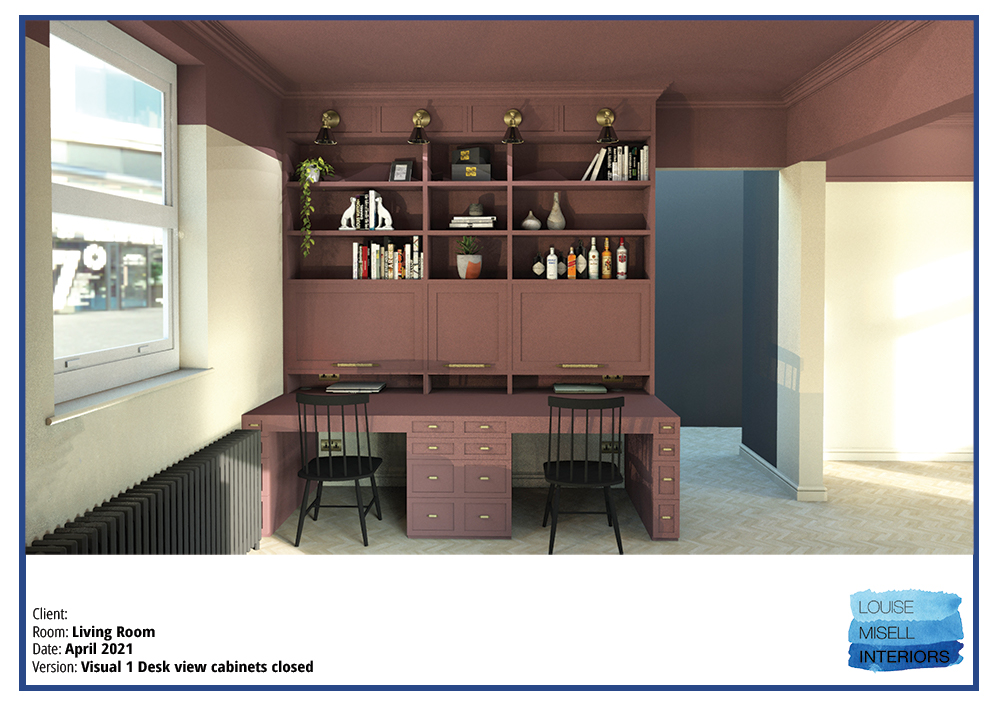
But actually, this look was too modern for my clients and they really wanted something which would be in keeping with the period of the house, and also look like a nice piece of furniture - something you might enjoy looking at, rather than it screaming office furniture at you every time you looked at it. So we decided that the chairs and the rest of the desk didn’t need to be hidden, and that it really was the monitors and the laptops that needed to be concealed. We agreed that the best place for this large piece of built in furniture was the wall in the old dining room opposite the fireplace, as that wall had the height we needed. The radiator was going to go on the other wall under the window,not leaving much space for anything else. Placing the desk on the tall wall meant the other half of the knocked through room could be used for the sofa and TV watching. Here’s the floorplan showing you where the desk would be going: |
||||
 |
||||
|
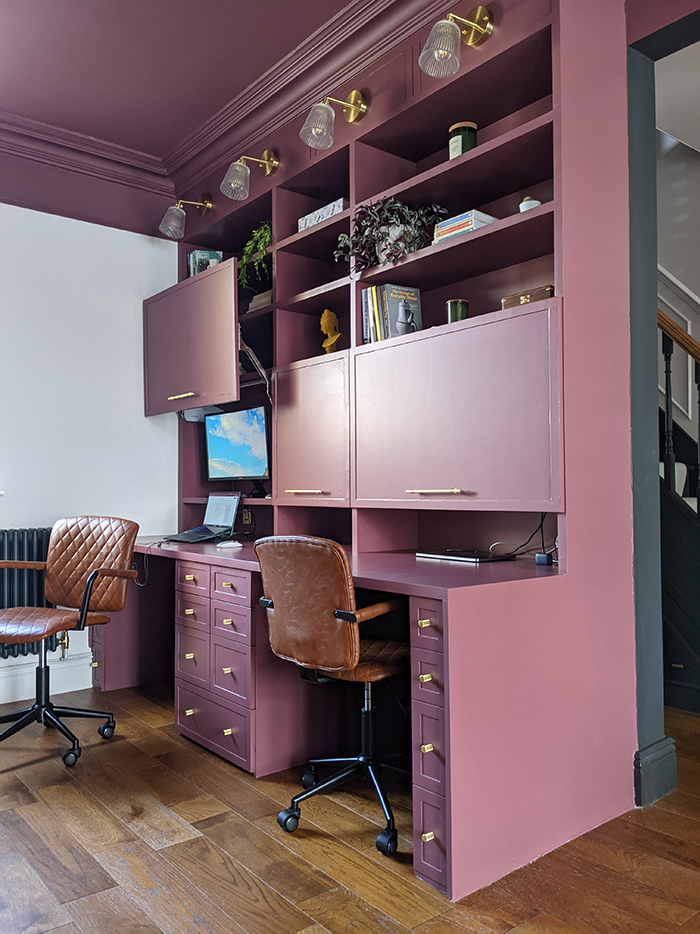
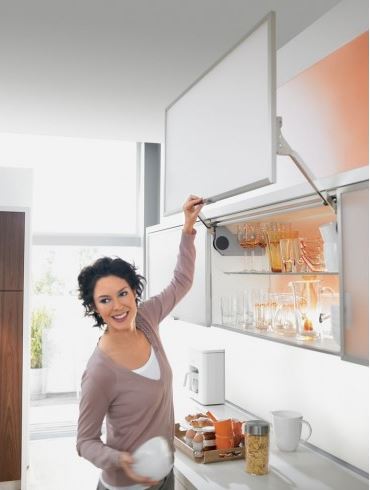
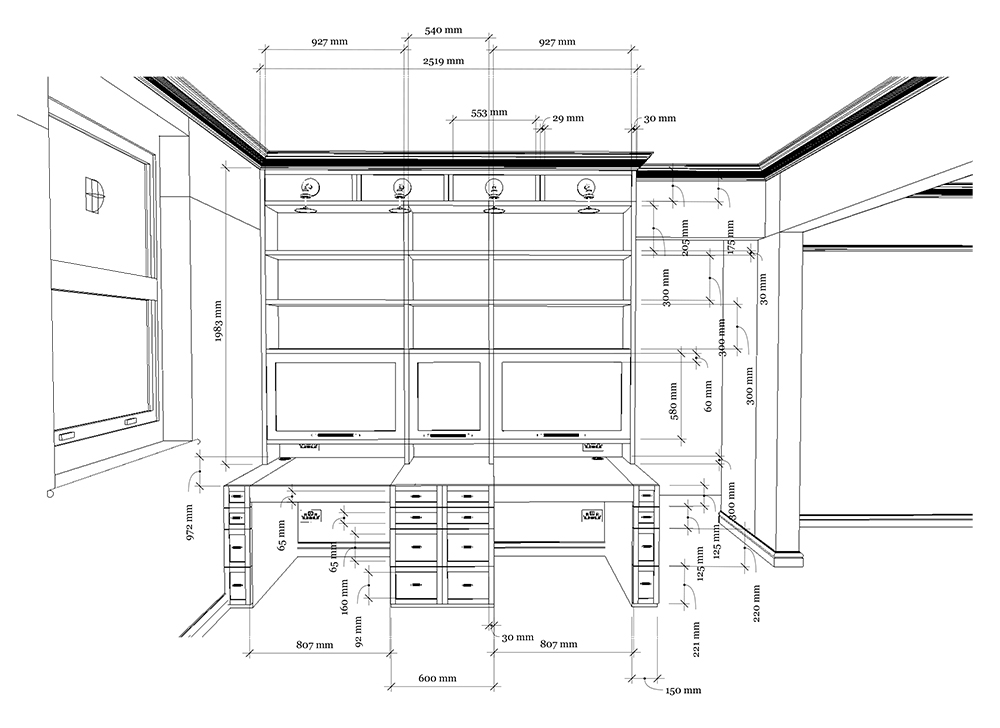
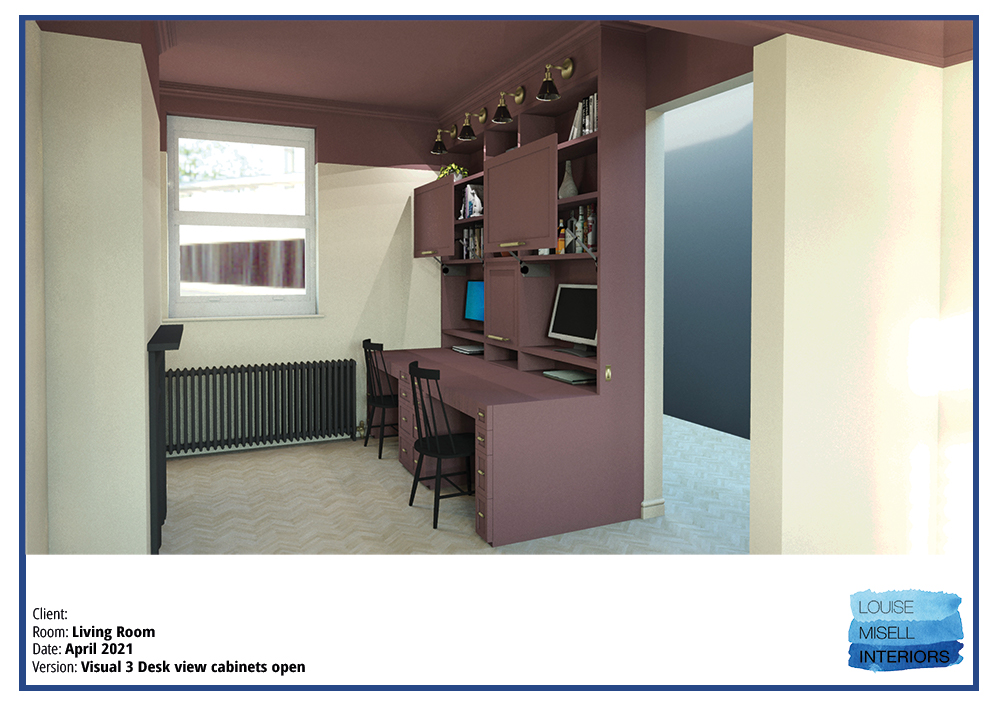
The desk with storage could then go up to the ceiling, and be a mix of open and closed storage. The couple really wanted a raised shelf which they could put their laptops under, and still have plenty of desk space to use in front of this area, so the desk would need to be quite deep. By this point, I had a pretty good idea of what was needed, but the main problem was how to hide the computer monitors. My first thought was a set of sliding doors which could be moved across from the centre to cover one or other of the monitors, but quite understandably, the clients wanted both monitors covered at the same time. Then we discussed having cupboard doors which would open outward, much like a kitchen cabinet. The problem here was that the doors would have to open more than 90 degrees so that the monitors could be used properly, and the desk would already have one wall up against it, preventing this from happening. I was also concerned that having opening doors like this would make the couple feel like they were working in a tunnel, and it wouldn’t feel like a nice environment to work in (something you really don’t want when you are working at home). I promised I’d come up with a solution and went off to scratch my head for a bit. I tried to design a couple of ideas, using my computer software. I really find that the software helps me to design and work through my thought processes, as I can see the design at the correct scale right in front of me, and work out where all the junctions of each part of the design will be. It also helps me to work out how each detail will work when a carpenter has to build it, using sizes of materials such as MDF which are available to buy. Anyway, I was thinking about hiding these monitors when it hit me - why try to reinvent the wheel? I could use something that already existed, such as the mechanism for pulling up the doors on kitchen wall cabinets like these ones: |
||||
 |
||||
| (excuse the cheesy brochure pic) | ||||
These hinges have been designed to pull the doors up and out of the way, so you can get to the items inside the cupboard, and they would work perfectly for this situation. So I sourced the hinges and checked they could take the weight of the doors themselves (the door sizes needed to cover the monitors were actually at the maximum these hinges could operate), and designed this part of the desk around them. |
||||
 |
||||
|
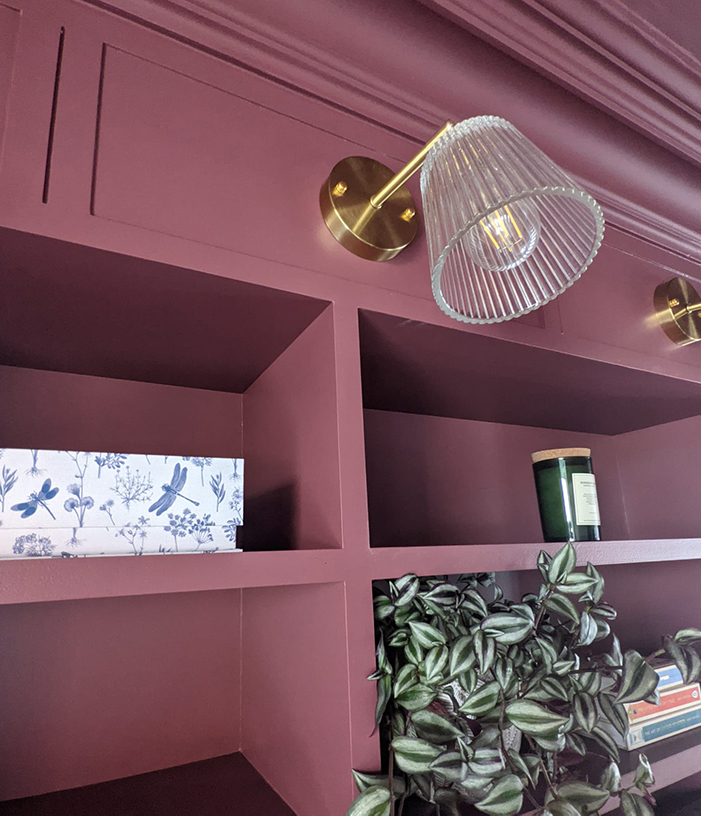
The next thing to tackle was the electrics - the couple wanted some lighting to help them see what they were doing but didn’t want it to look too industrial or too much like desk lights, so I found these ones which are perfect as the reeded glass diffuses the light, giving a softer glow than your usual task lighting. |
||||
 |
||||
|
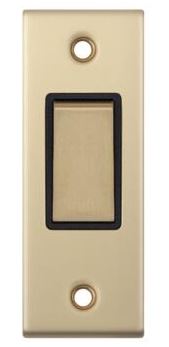
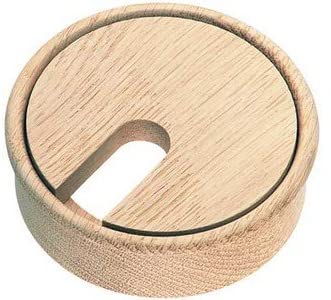
The couple wanted to be able to control these lights individually, so I sourced some really slim light switches (called architrave switches) which could fit on the side of the desk and not take up too much room. I also found some wooden cable covers which could be painted to match the finish on the desk, so the cables were as hidden as possible: |
||||
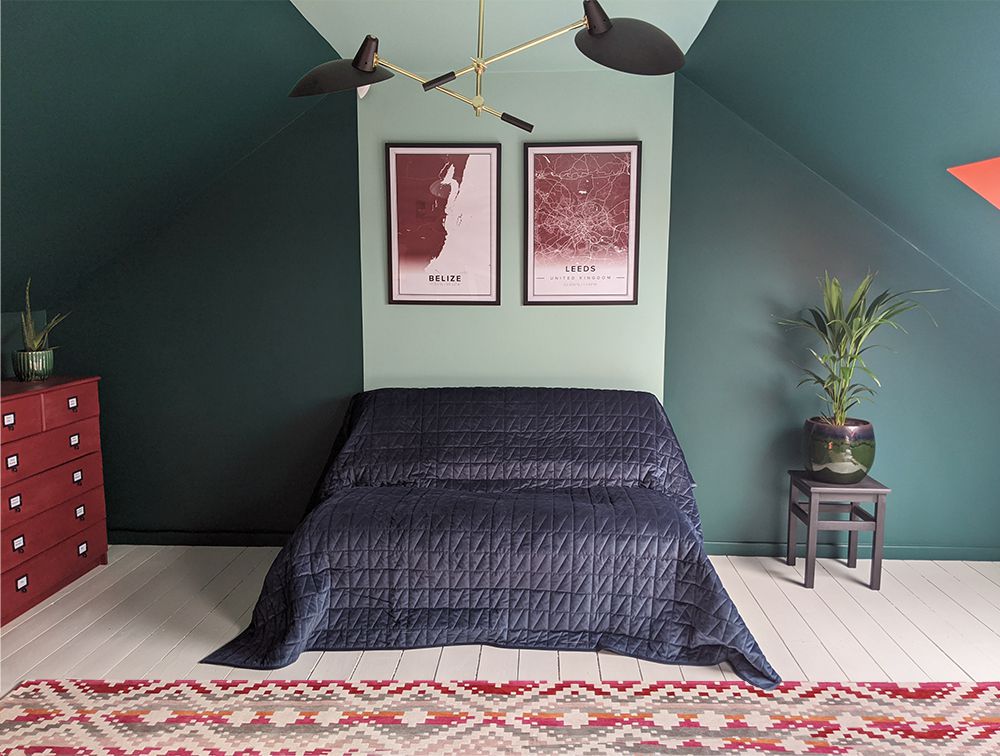
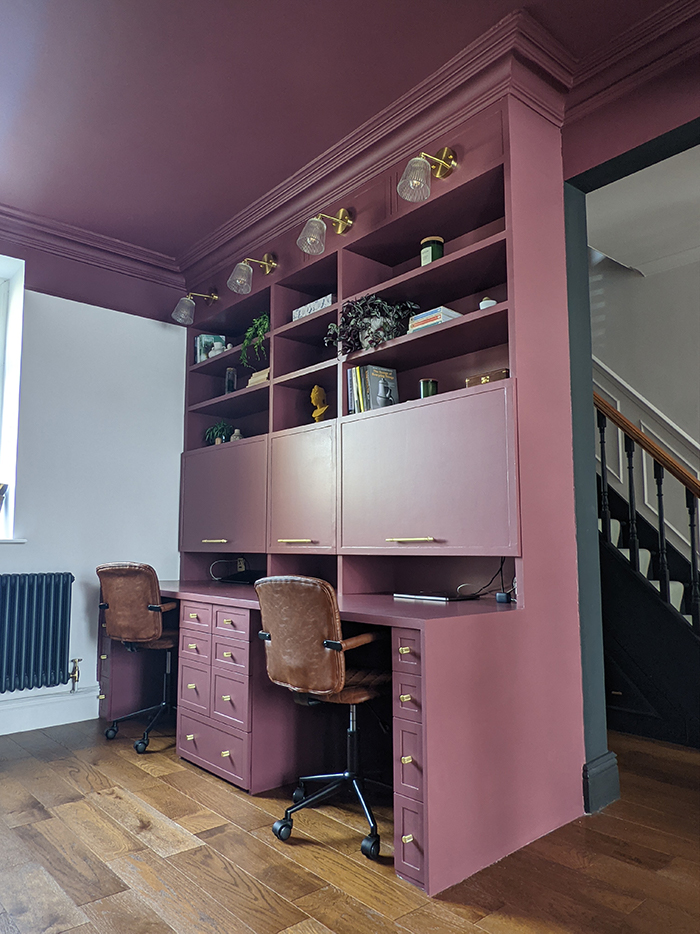
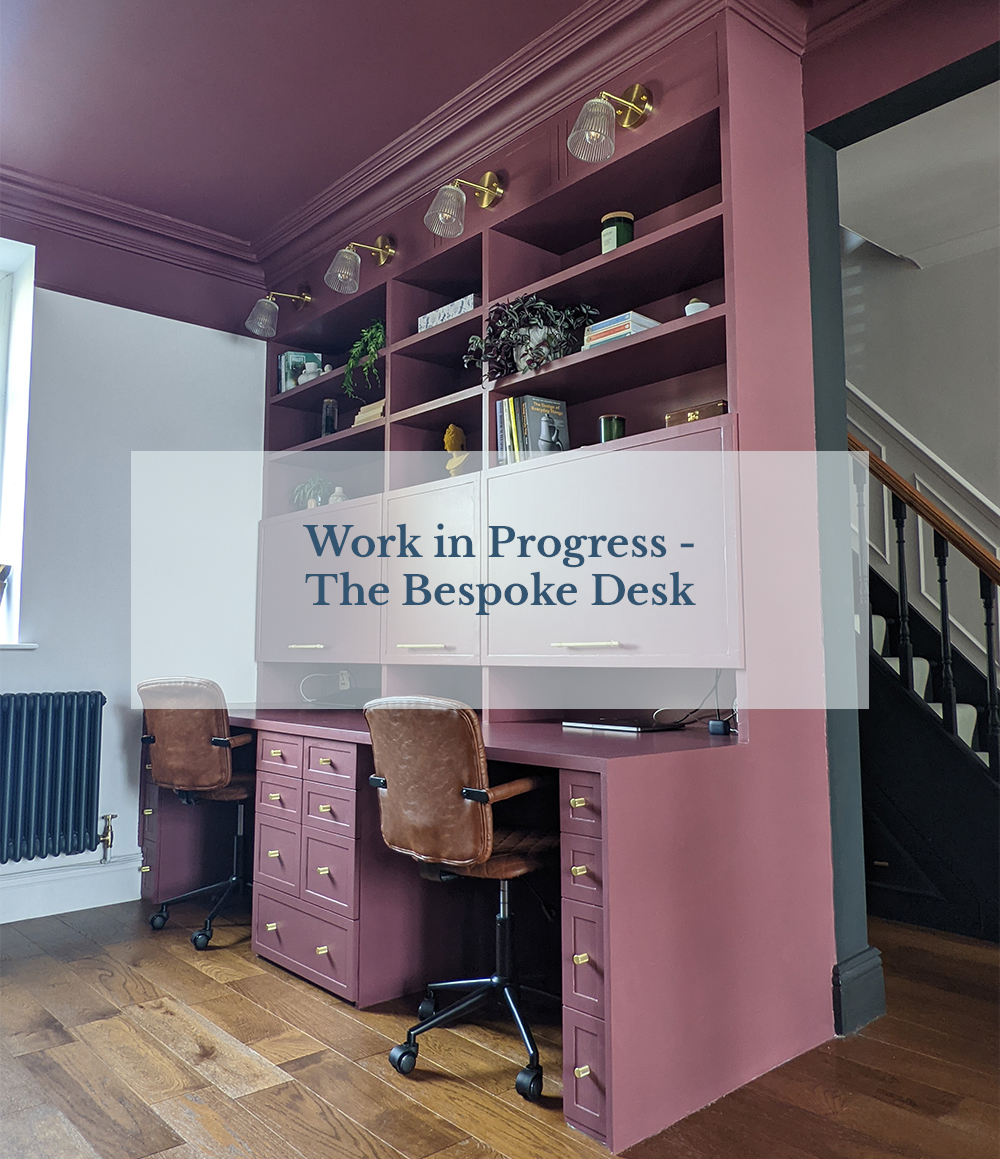
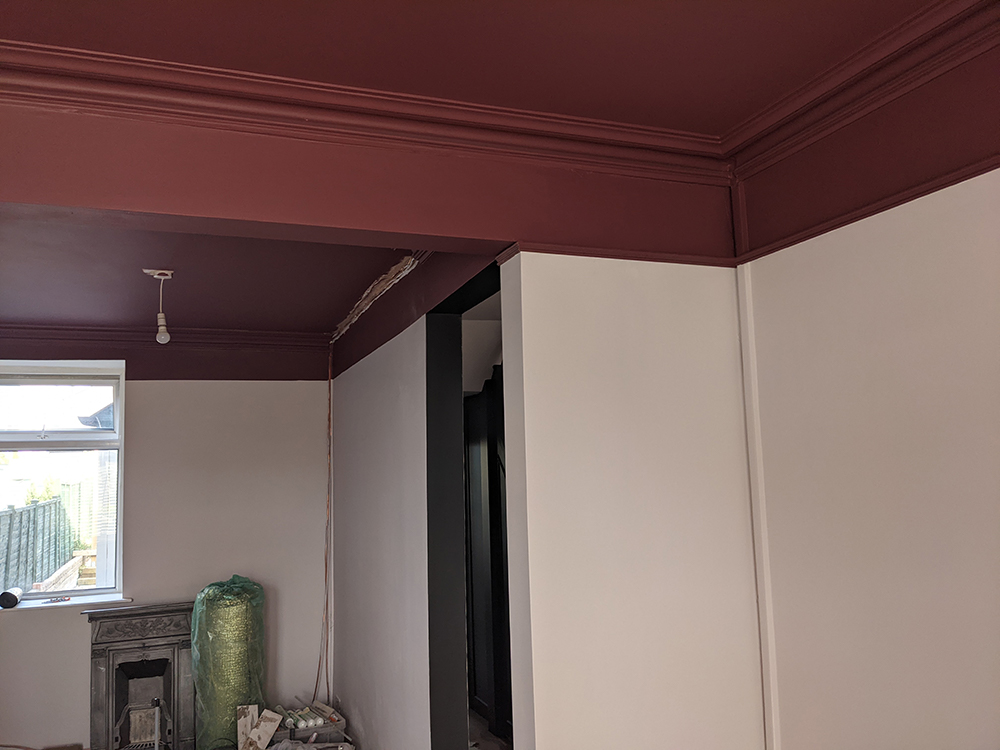
I added some plug sockets which would sit behind the monitors to provide power to them and the laptops. The advantage of having the damp proofing and replastering done was that we could add in extra plug sockets quite easily. I then chose brass handles to complement the brass of the lighting, and the design was pretty much finished. Just the colour scheme to sort out now. The room had been painted blue when the couple moved in, and they hated the colour, so wanted to steer clear of blues. They had already ordered a velvet sofa in a lovely olive green when I first met them, so that had to be taken into account. They wanted the walls to be fairly light in colour, but were open to a bit of drama, and liked the idea of painting the ceiling. This was music to my ears as I think the potential a ceiling has for really adding interest to a scheme is so underused, and as I’ve said before, it really is the fifth wall in a room which can be given a stunning treatment, just like any other wall. We decided to use a gorgeous deep purple with a lot of red in it, as it was warm and inviting, so this could go on the desk itself and the ceiling, and we decided to bring it down the walls to picture rail height. I think it works really well, and makes the room feel warm and inviting without making it too dark. |
||||
 |
||||
 |
||||
|
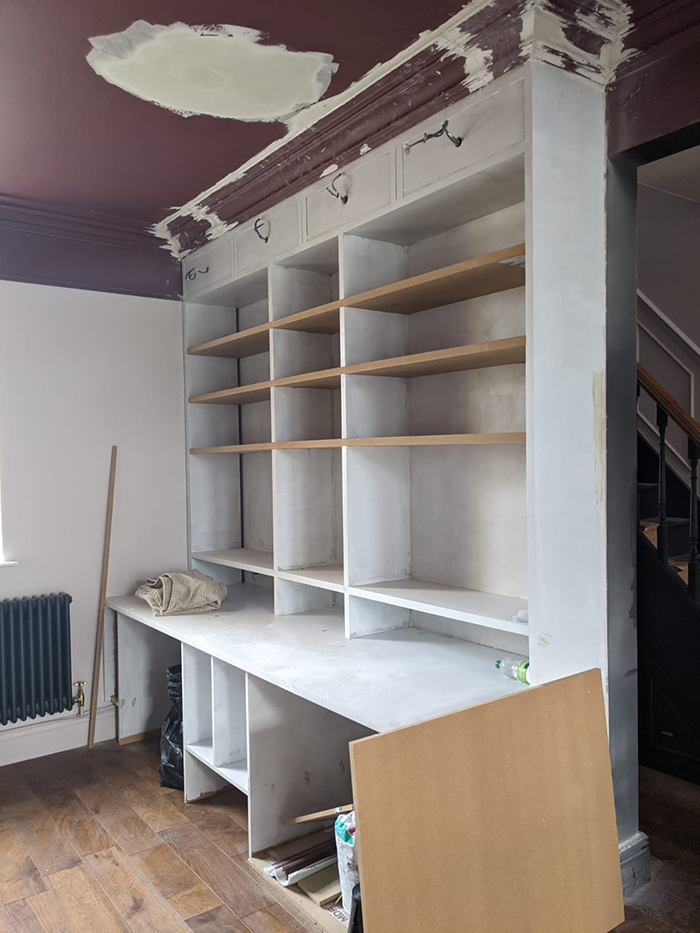
The final direction from me was that the coving which was being replaced in this area of the room be added after the desk had been built, so it would look seamless and like it was meant to be part of the house. Here's the ceiling after the coving was replaced and the ceiling was in the process of being painted: |
||||
 |
||||
|
I’ll leave you with some photos of the desk tasking shape, and the finished desk. I think it all worked out pretty well - what do you think? |
||||
|
Welcome to the design blog, where you'll see posts about anything from the projects we are working on, to the latest fabric and wallpaper collections, and all things interiors related. We love colour, pattern, architecture and old buildings, and we love to share our finds with you.
Happy reading!