Work in Progress - The dormer loft conversion

 |
||
This month on the blog, we are covering our process for choosing tiles. If you are in the middle of a renovation that needs tiles, say, a kitchen or bathroom, it may seem fairly simple to choose them: you go to a local showroom, pick some tiles you like and that work with your intended colour scheme, give the details to your builder, and the job is done. But there are a lot more things to consider when choosing tiles, such as their suitability for intended use, safety, and maintenance. And that's before you begin to think about the decorative element they bring. Tiles perform a very important function within design, so it's worth thinking about the whole picture. We follow a specific process when choosing and specifying tiles, and in a particular order, which we’ll explain here. |
||
|
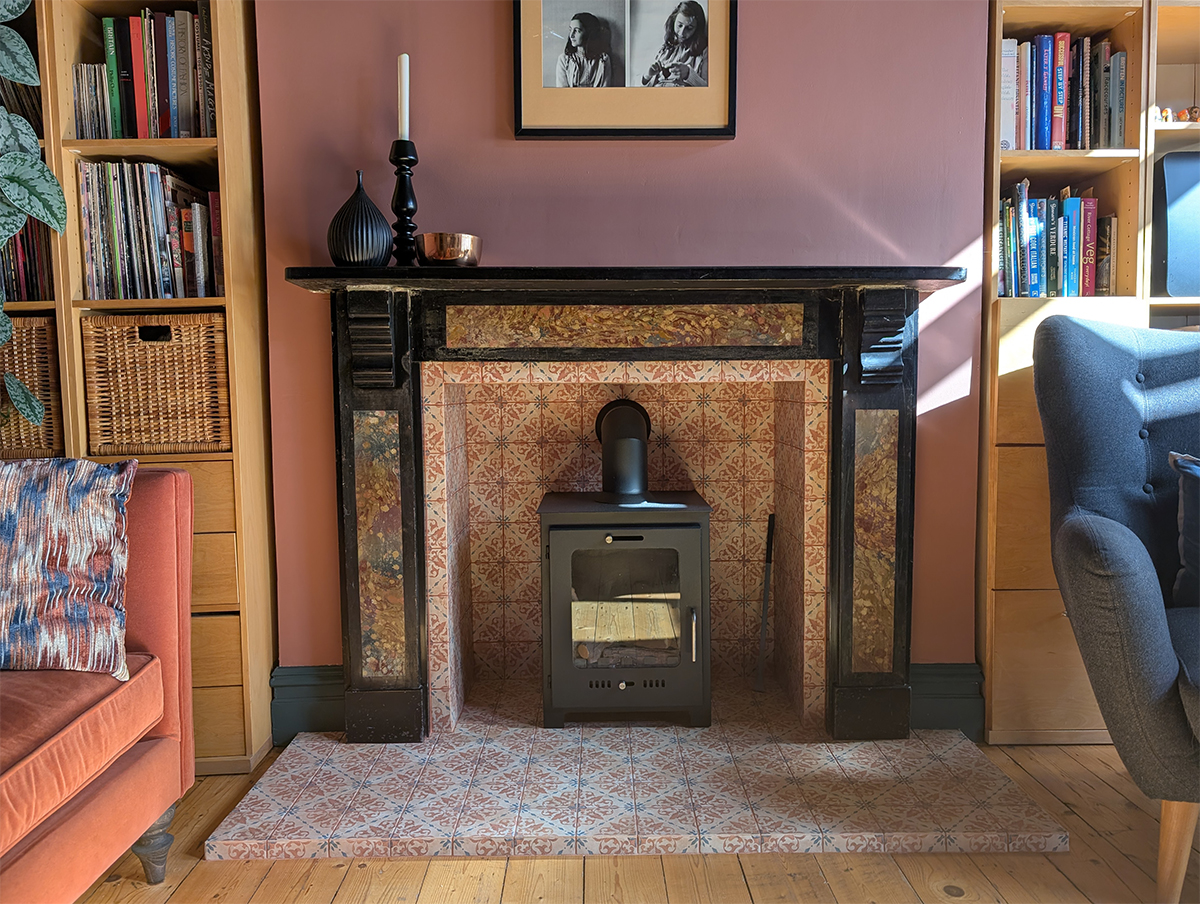
Safety/Suitability The first and most important step when considering using a tile is safety and its suitability for the chosen environment. The tile will need to be heat resistant if used anywhere near a heat source, such as a hob, behind a fireplace or over under floor heating. If the incorrect type of tile is used in one of these areas, it may crack, lose its shape or discolour. Ceramic tiles have a very high heat resistance as they are fired at 1200 degrees C, so they are a good choice for behind a hob. But if you are considering using tiles around a wood burning stove, it's best to choose a porcelain or stone tile, as they are more hardwearing than a ceramic tile and can withstand the cycle of heating and cooling they will endure next to the stove. |
||
 |
||
|
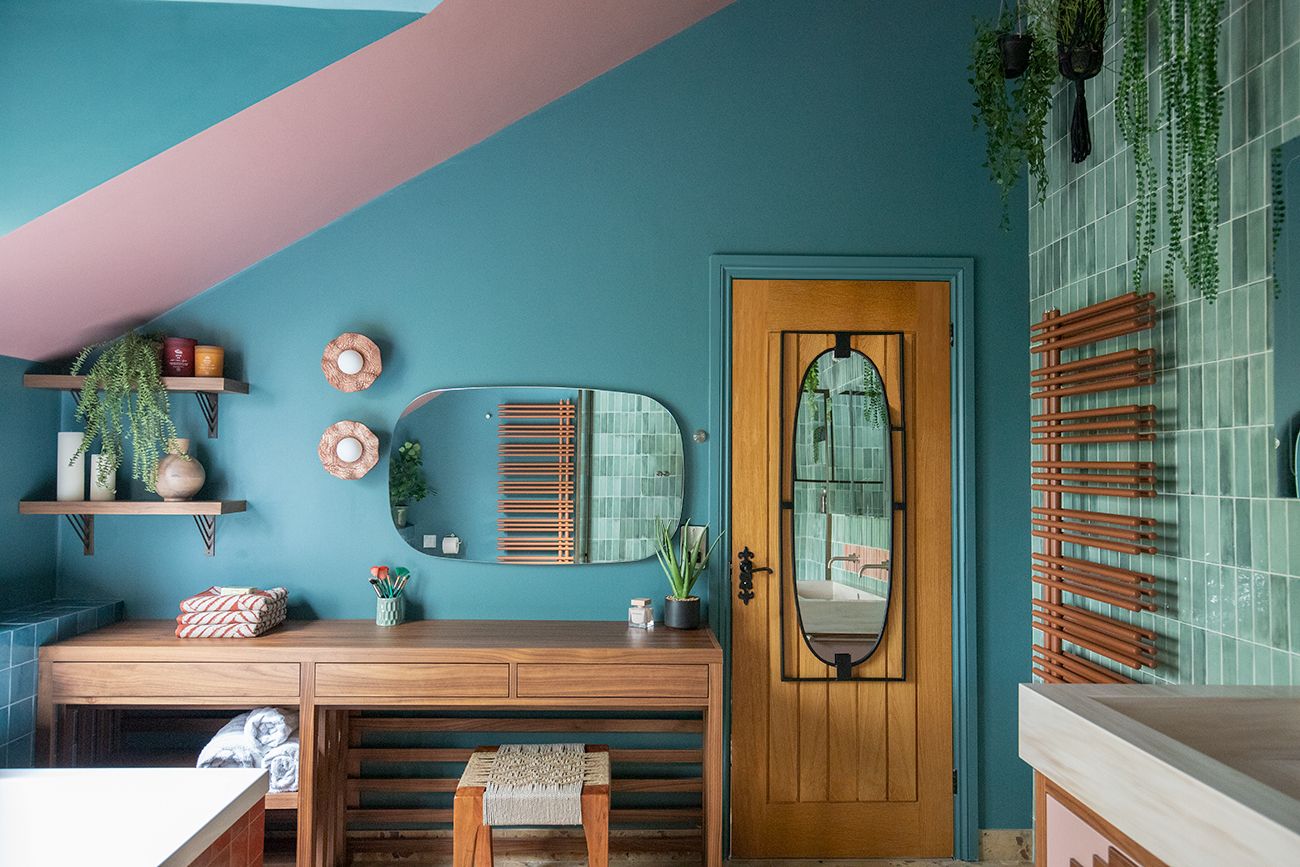
If you are using tiles on a bathroom floor or wetroom (or even outdoors), they will need to have a high slip resistance to avoid falls and accidents. A wet floor is very slippery, so the tile surface will need to have some ‘grip’ to help you stay on your feet. This grip is called slip resistance, and it is measured on a scale of ‘R’ ratings, from R9 being the least slip resistant (suitable for areas like dining rooms, which rarely have water on the floor) to R13, which is used in commercial settings like public swimming pools. If you are having a wetroom installed, choose a tile with a slip rating of R11 or above to make sure it is safe. In the project below, we chose an R11 rated tile suitable for use with underfloor heating to cover all the bases. It feels lightly textured, and not rough in any way, but it is perfectly safe for walking on with wet feet. |
||
|
Laying pattern Once we have considered the suitability of the tile we would like to use, we then think about the laying pattern. You can lay tiles in hundreds of ways, and you can be as creative as you like, as long as the pattern is repeatable and works with the size of your chosen tile. The starting point for us is to think about the overall effect the pattern will have on the room. Do we want the room to be vibrant and colourful, or would we like to generate a sense of calm? The laying pattern will greatly influence that, along with the tile choice, of course. |
||
 |
||
|
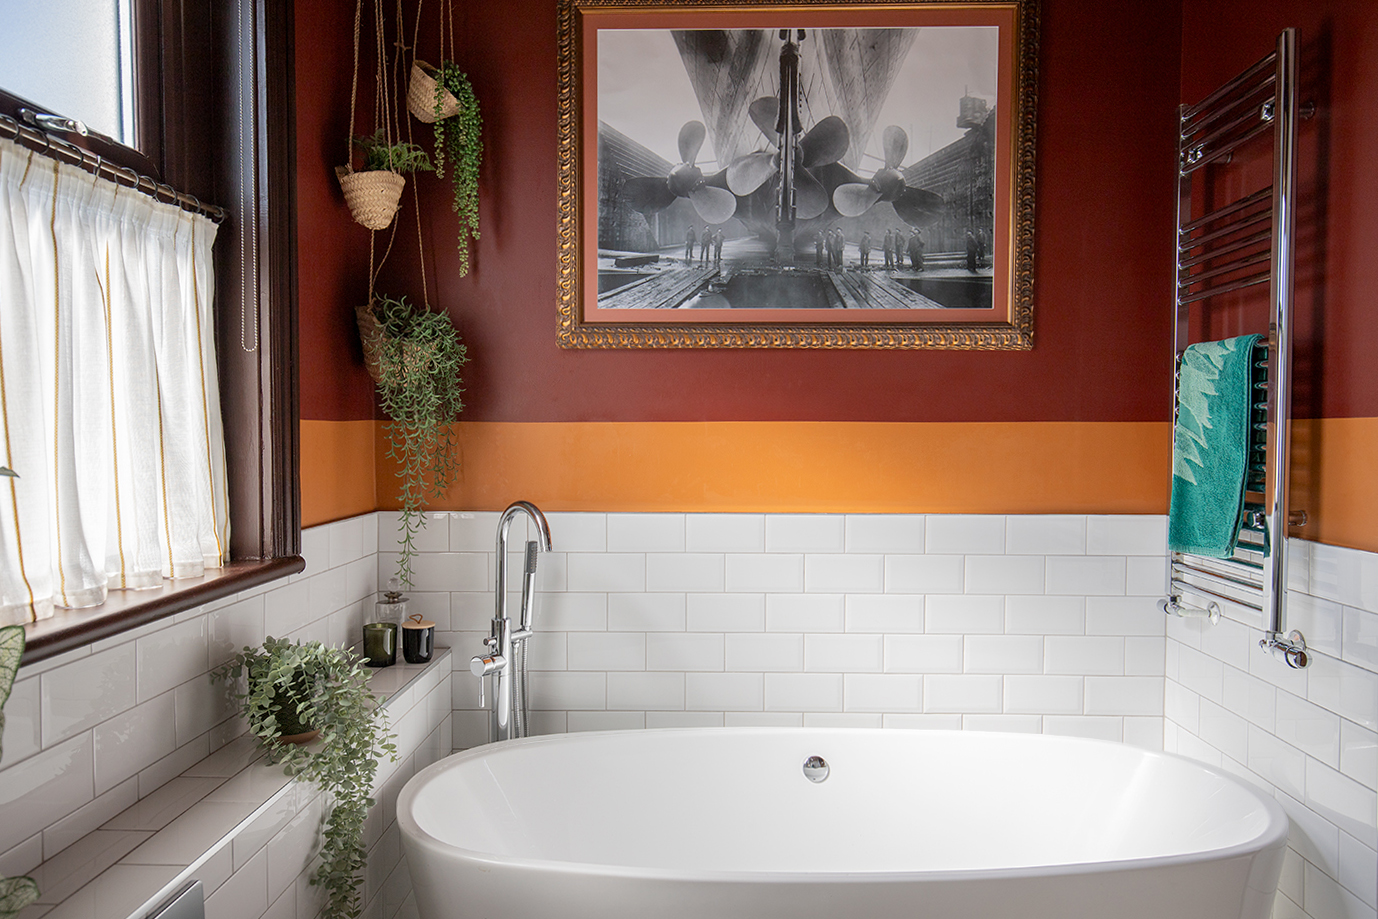
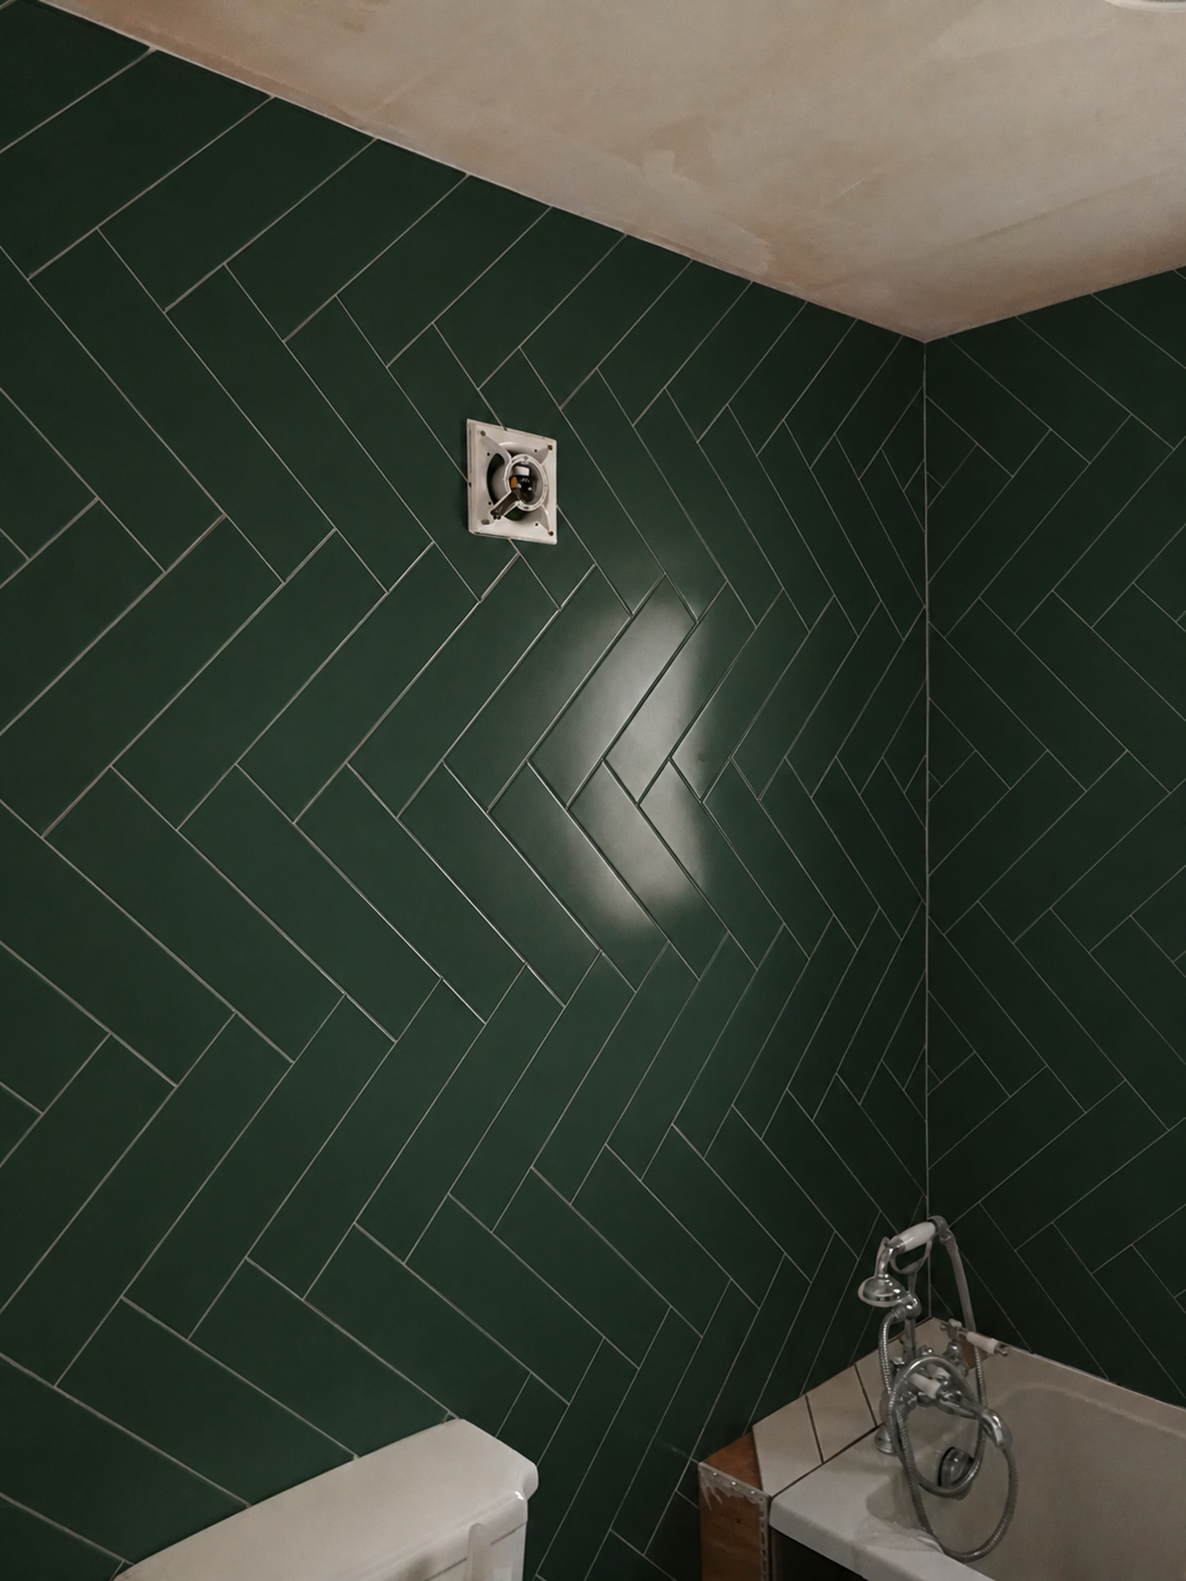
In this project, we chose a brick bond laying pattern (sometimes called stretcher bond), which is often used and easy to install. It evokes the Victorian era, when this style was used in the London underground stations, and is interesting enough to be stylish, but not so busy that it isn’t restful to the eye. The white colour chosen here lifts the deep paint colours used on the walls, and the laying pattern is suitable for the period property it is in. |
||
 |
||
|
|
||
 |
||
|
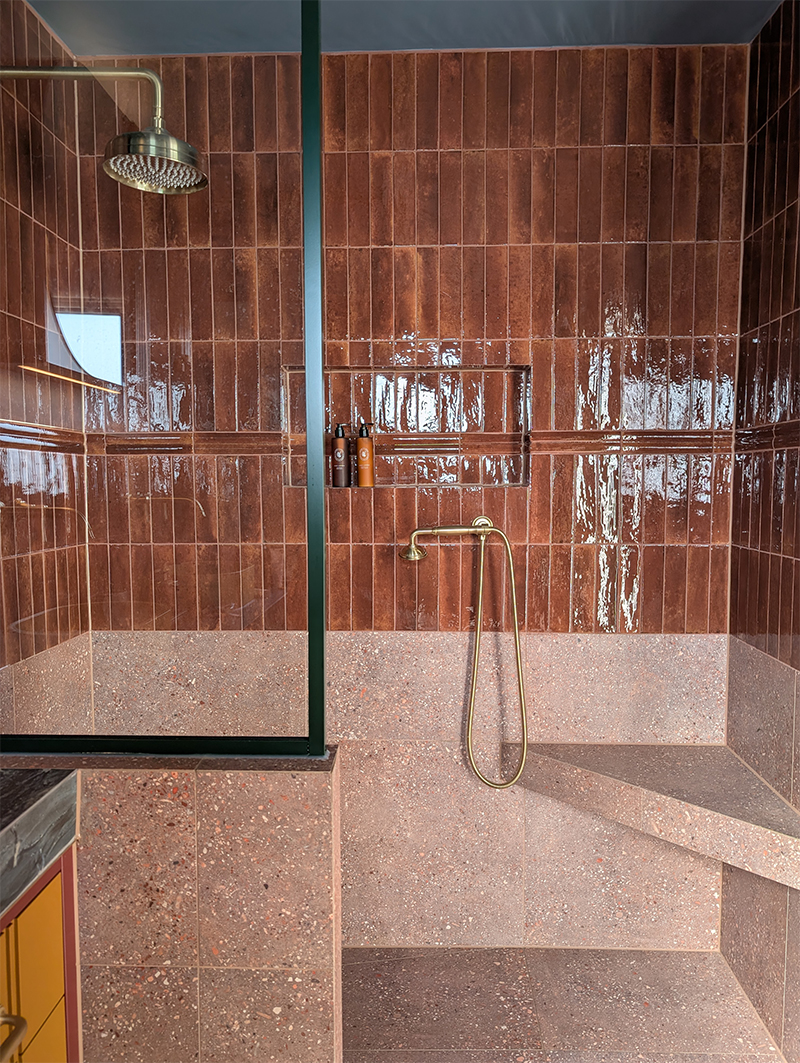
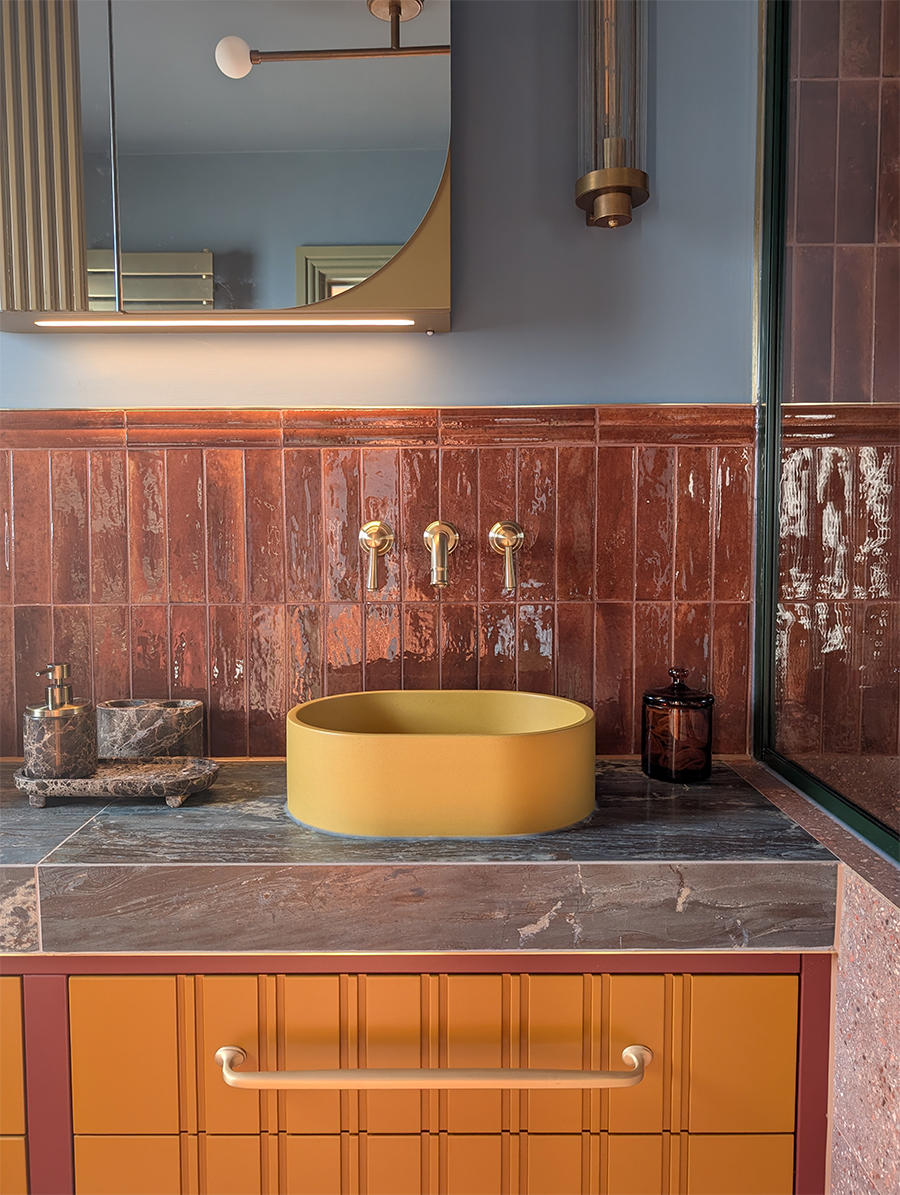
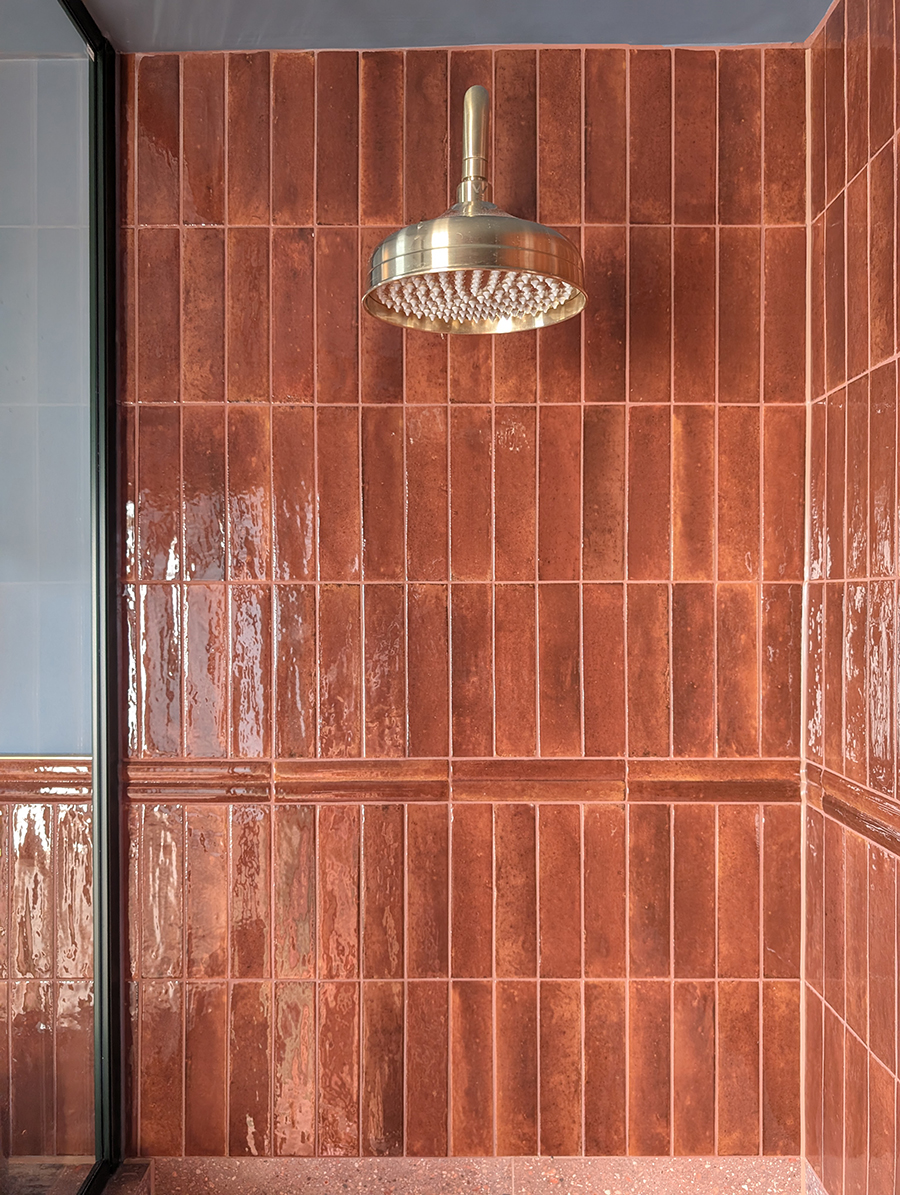
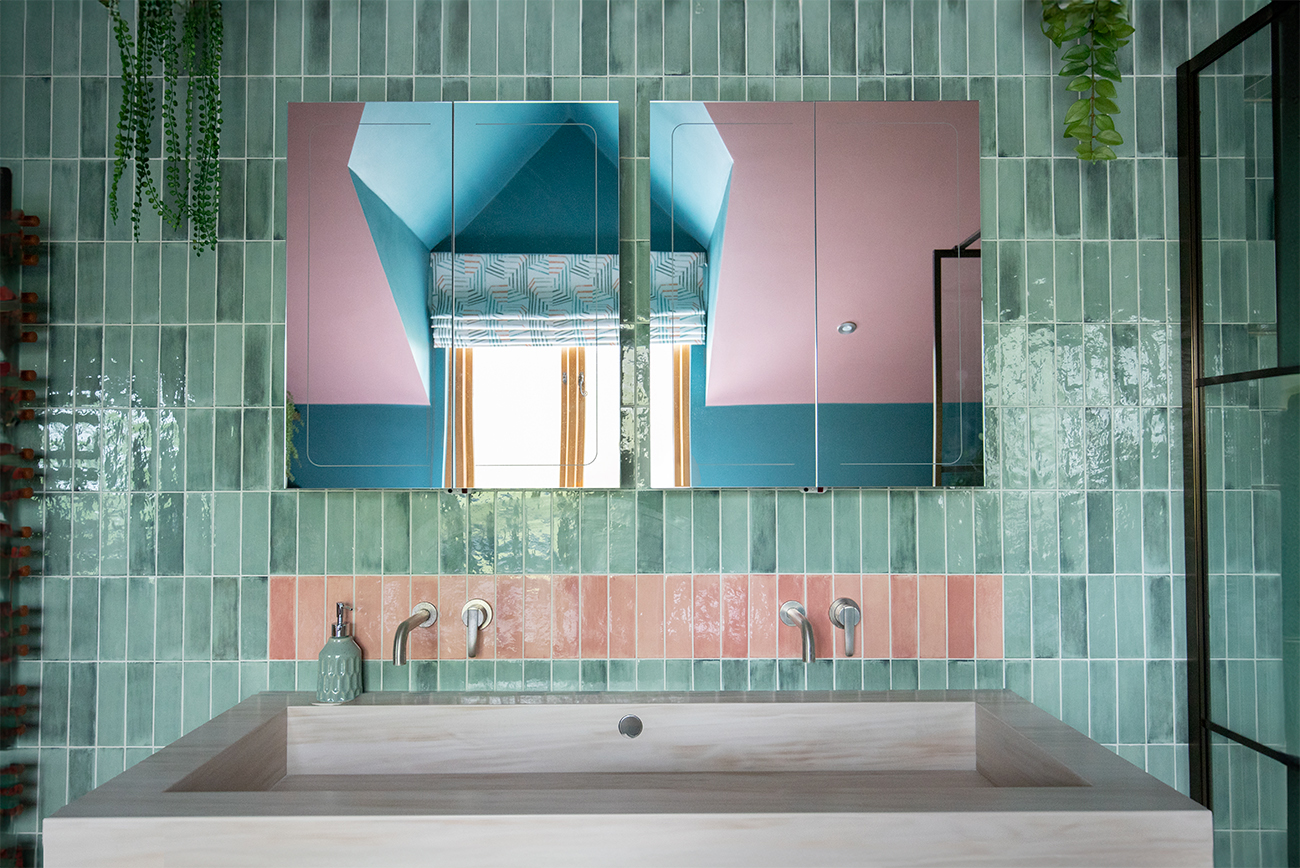
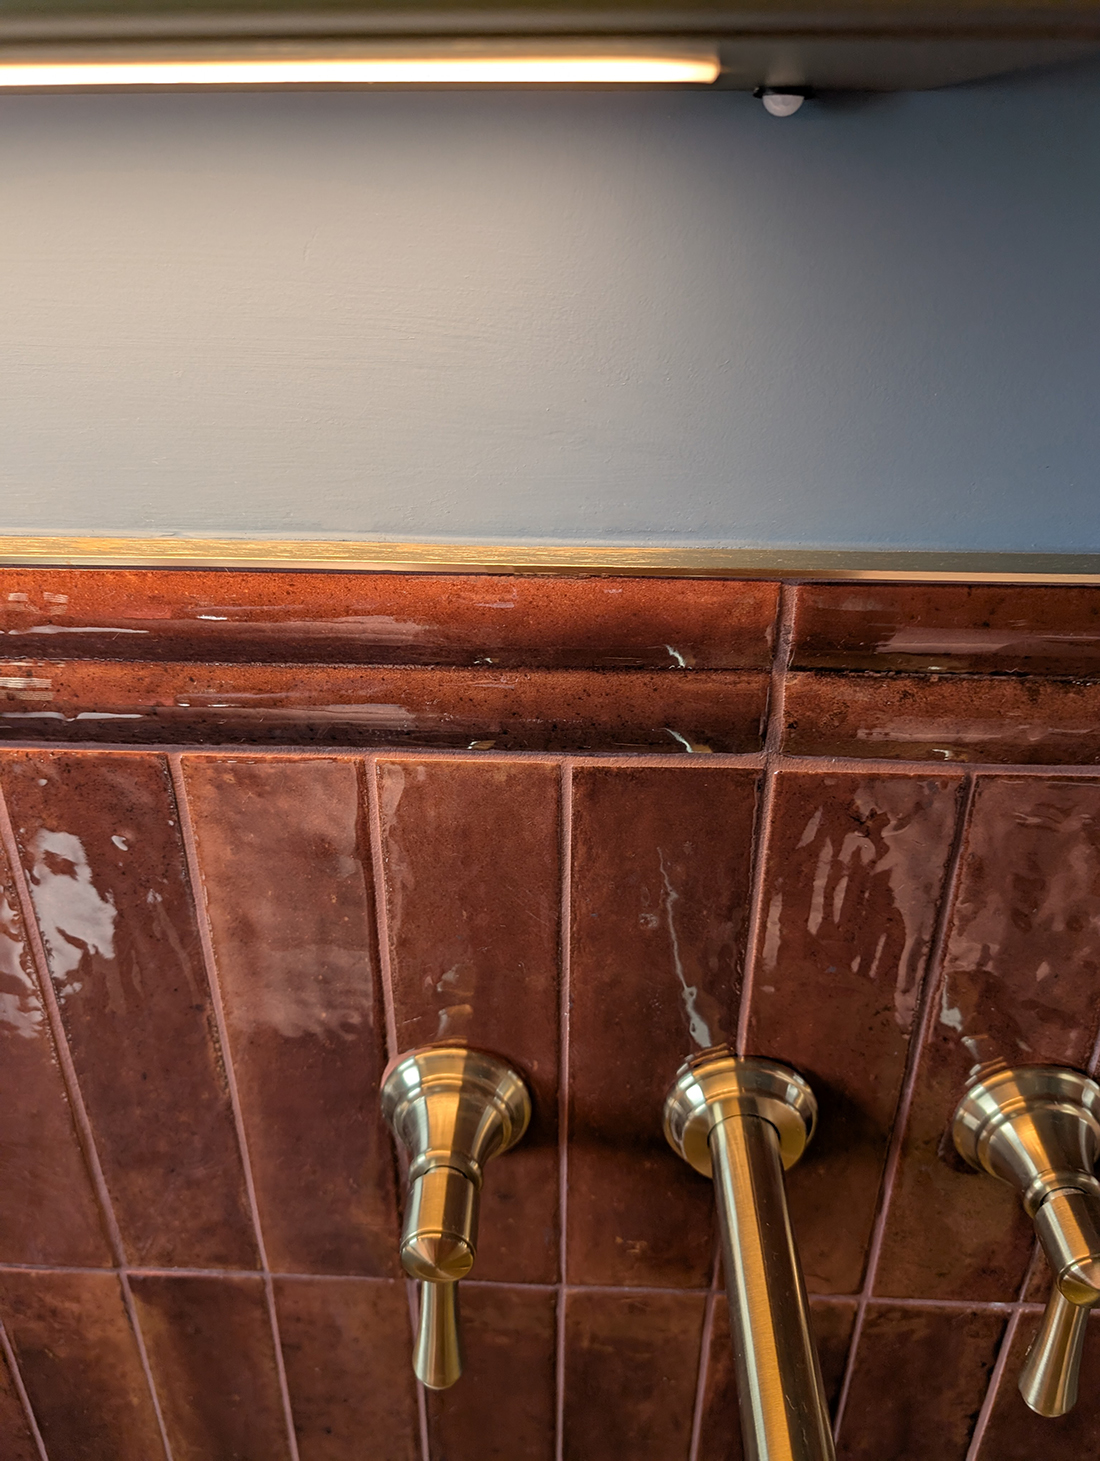
In this project, we used a linear square pattern, which involves stacking the tiles vertically, one on top of the other. This style has been popular in the past few years because it is simple and calming, but colour can be used to add interest. As you can see, we chose to add one row of pink tiles above the bespoke basin, emphasising the effect of the wall mounted taps. It took a lot of planning to get everything to line up perfectly, but the effect is stunning. Tile layout Another very important step, which is often overlooked and left up to the tiler, is the tile layout or setting out. We know the pattern we will use for our tiles, but what about the sight lines in the room and where to start or stop tiling? You can see in the bathroom below that we have taken the rust coloured tile all the way to the ceiling in the shower area, which makes logical sense, but then we have continued the line of the border tile along the tops of the sink area to act as a splashback. A design detail which enhances the visual appeal of the sinks and is pleasing to the eye. Keeping that line around the room also increases the feeling of space in what is a smaller en suite bathroom. |
||
|
||
|
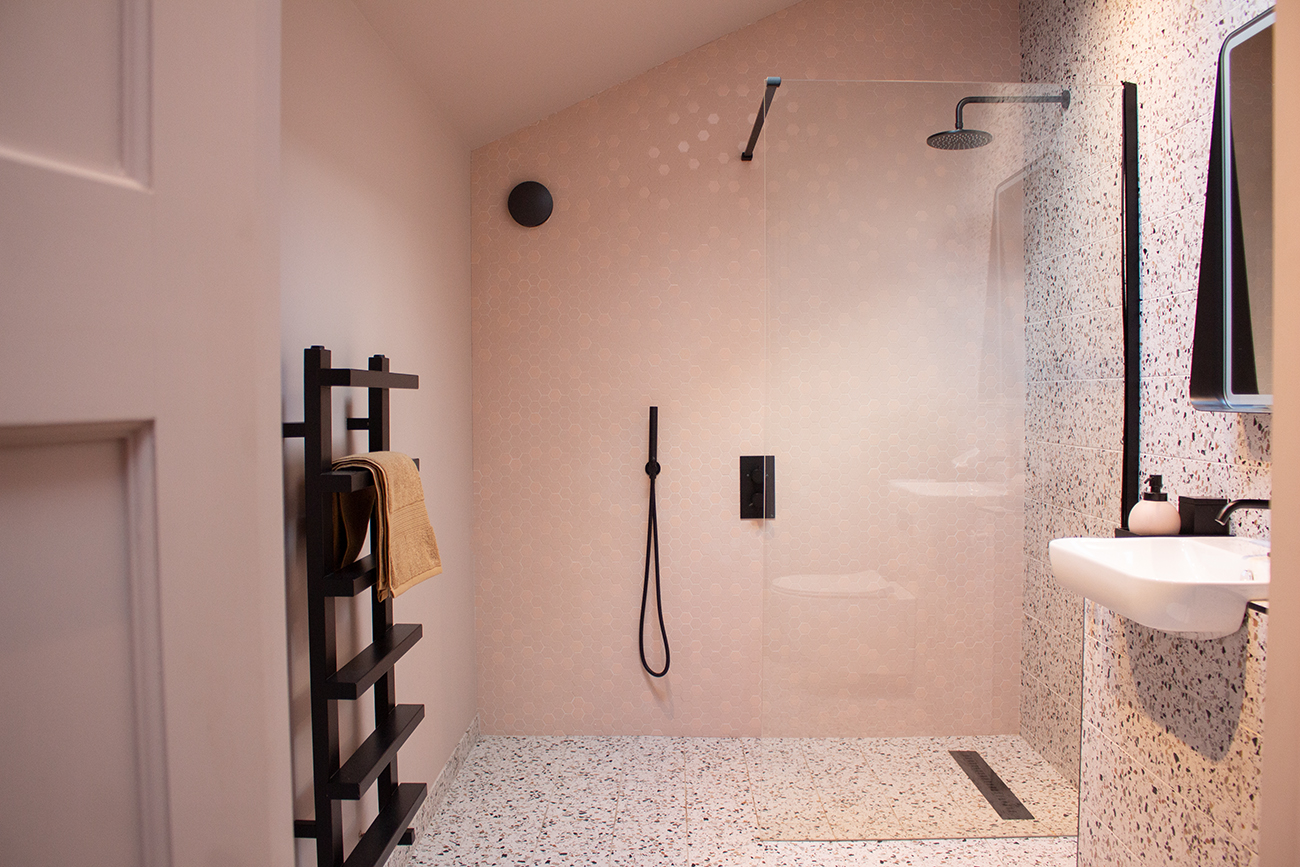
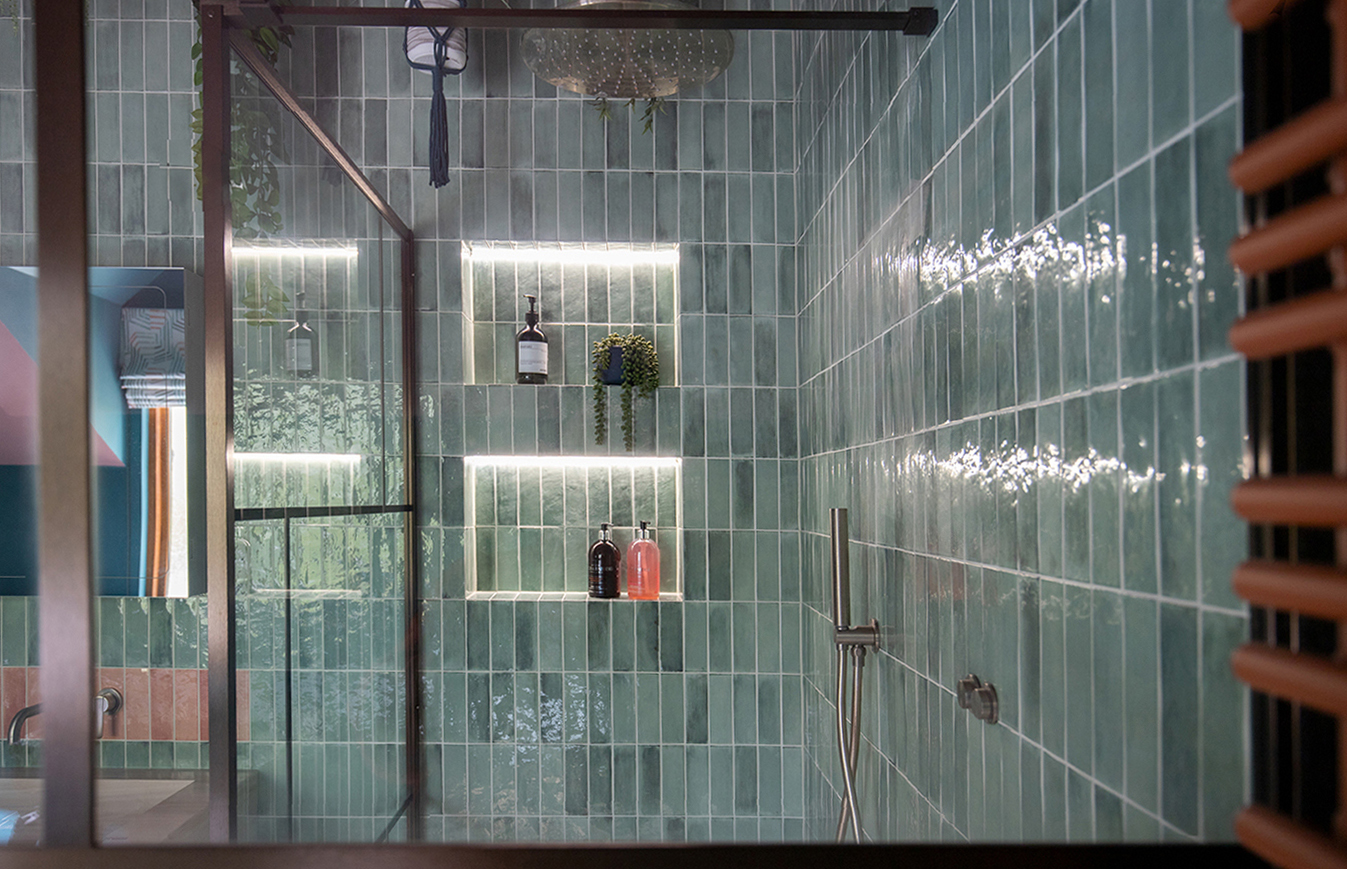
Grout & Silicone Once the tile layout is decided, we move on to the grout and silicone. There are almost as many grout and silicone colours as there are tiles, and they can be used to contrast with the tiles, to emphasise the pattern, or to blend perfectly to create a harmonious scheme. In the bathroom below, we chose a medium-scale hexagonal mosaic tile for the shower wall, which is quite visually busy, so we opted for a matching grout to make the wall look almost seamless. |
||
 |
||
|
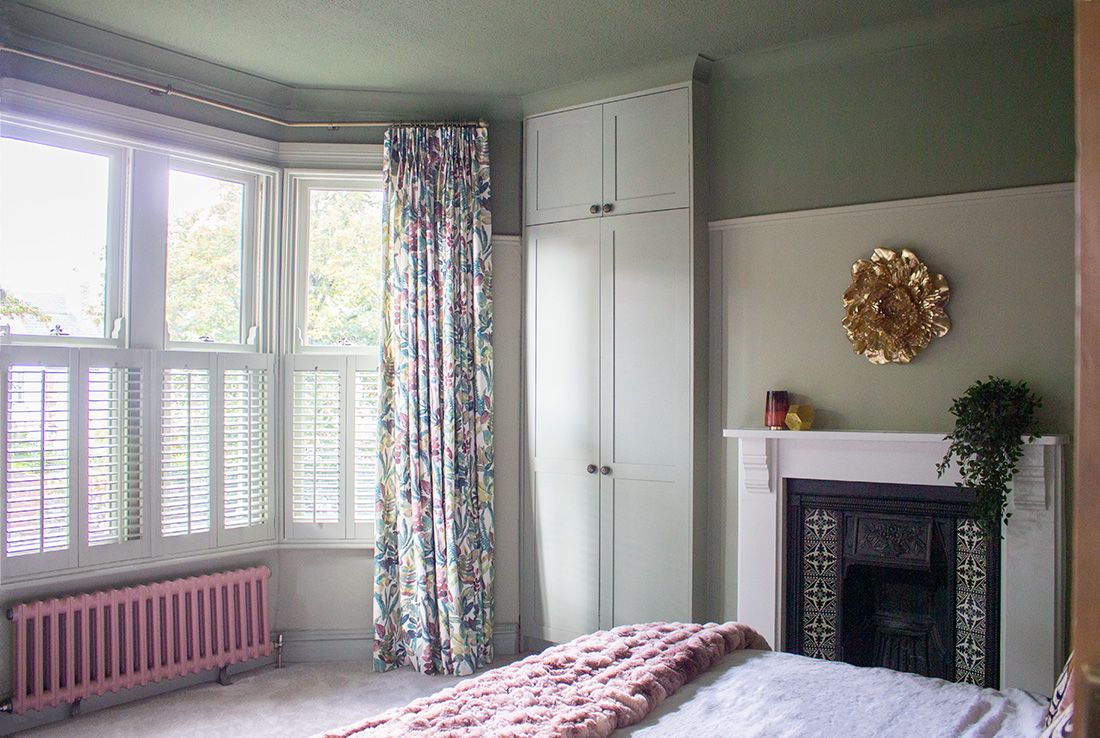
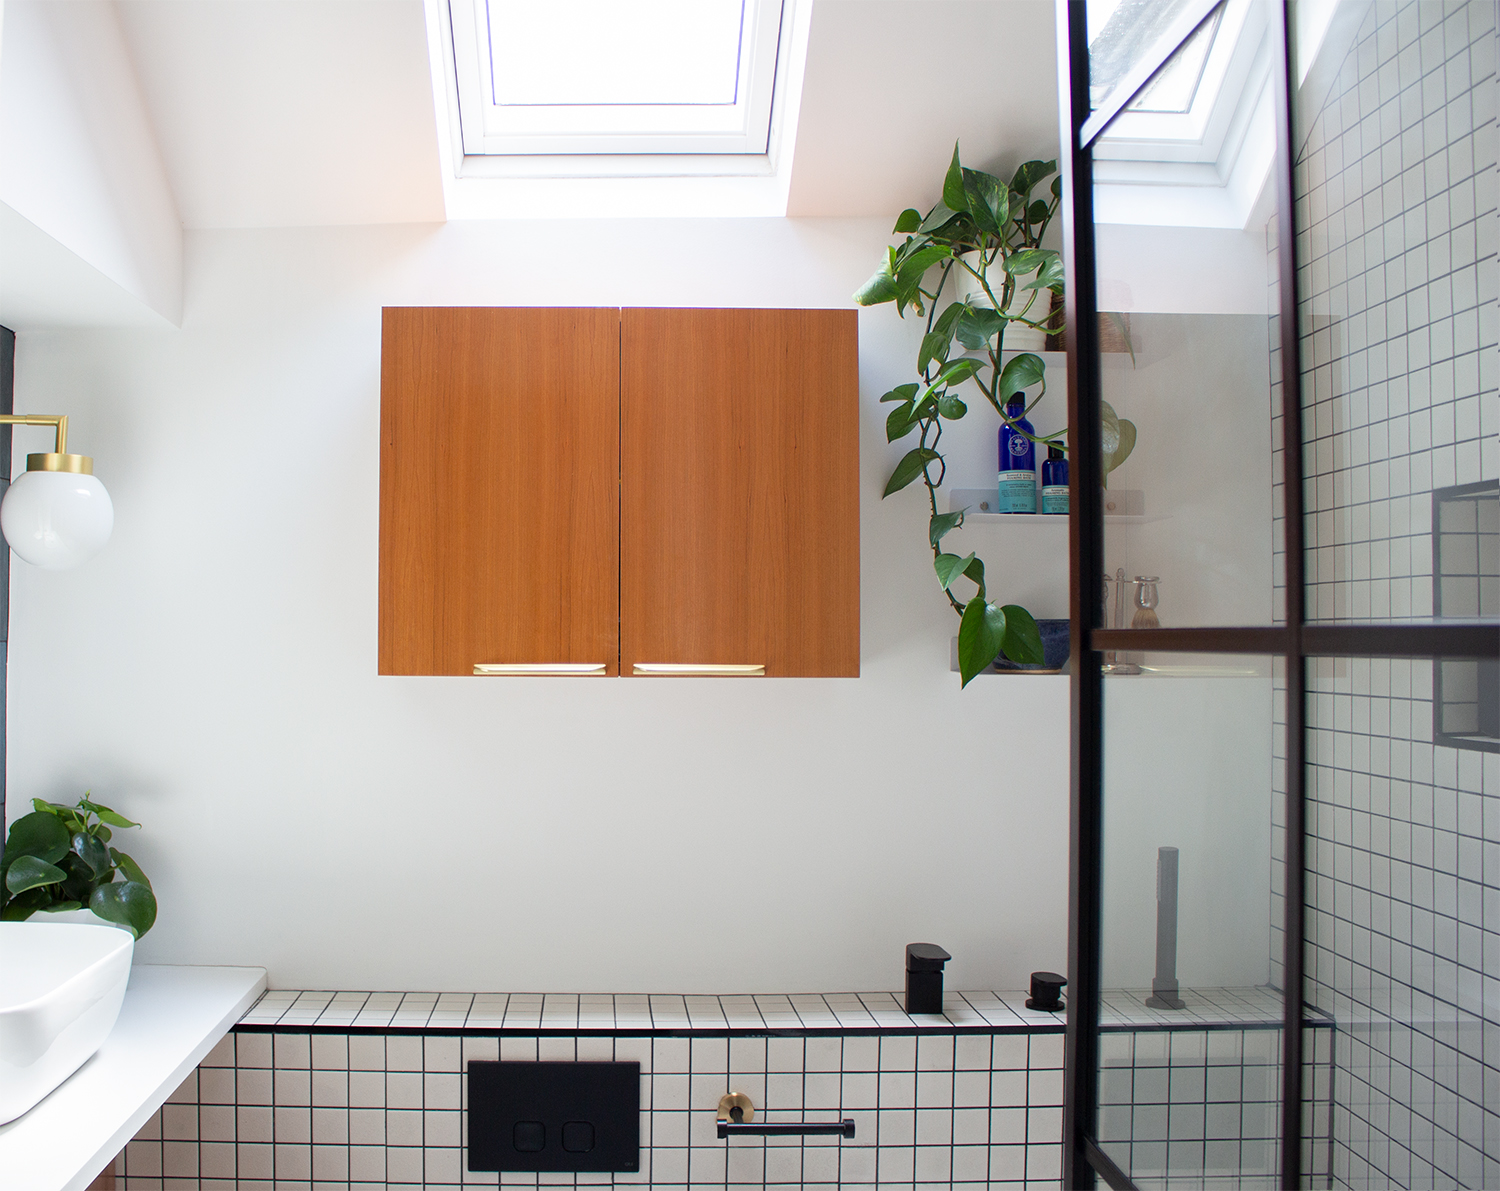
In another bathroom project, we deliberately used a high contrast black grout and silicone with an off white tile, to emphasise the grid shape of the tile, and to echo the lines of the Crittall style shower screen. |
||
 |
||
|
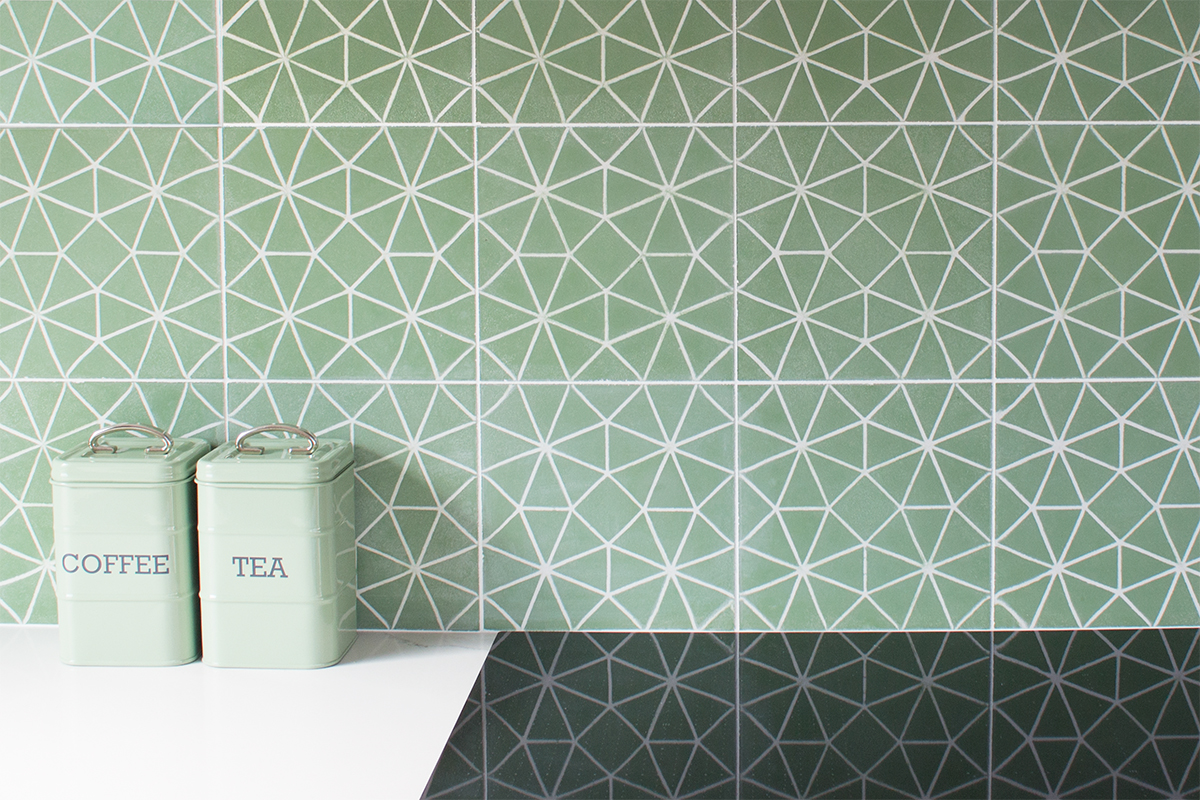
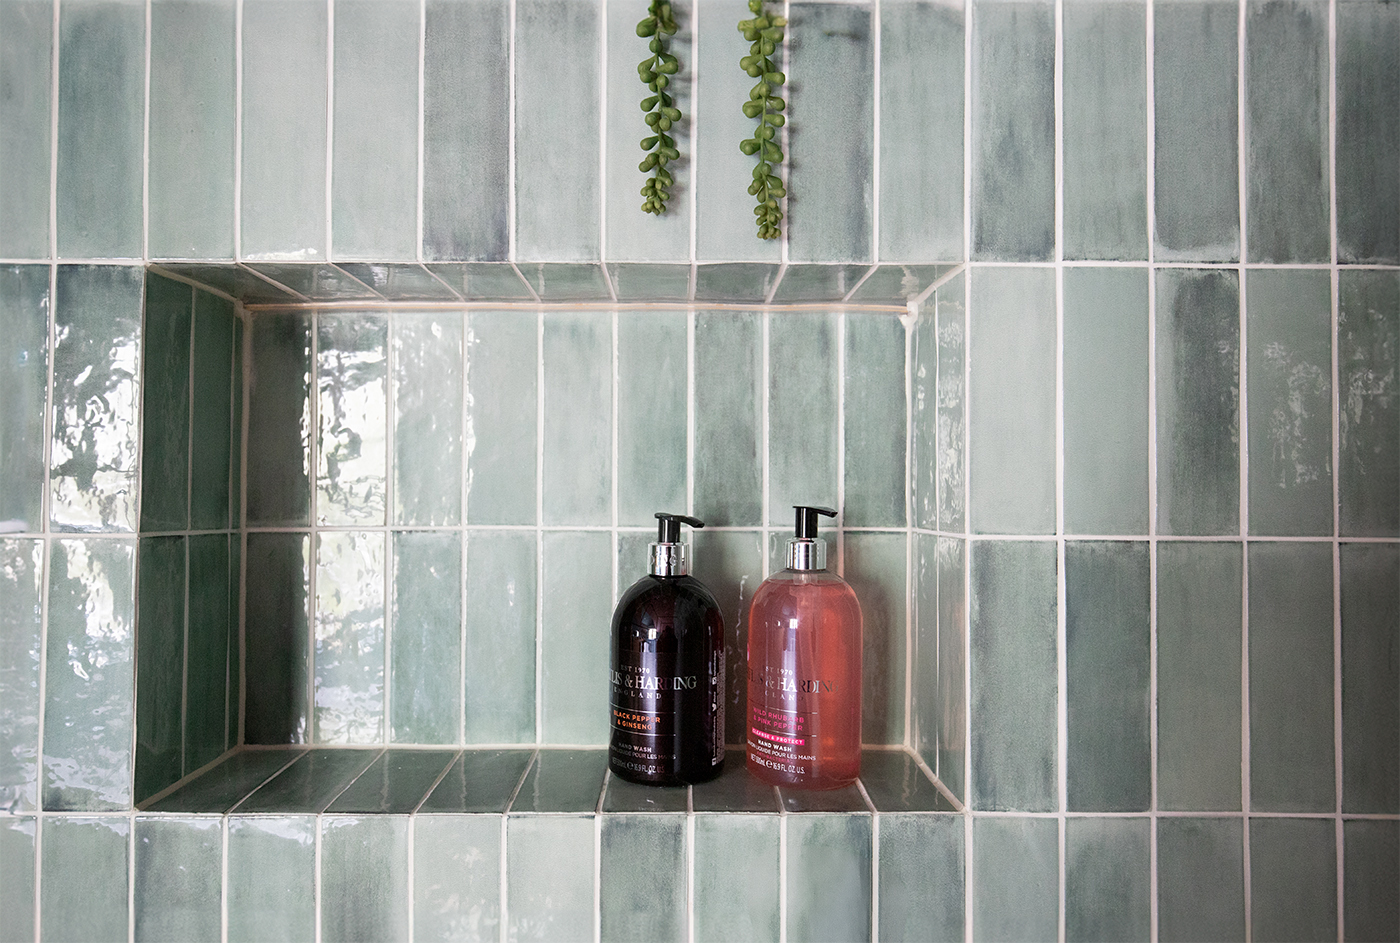
Of course, you don’t have to follow a uniform approach when it comes to grout and sealant. You can get creative and mix and match to highlight a particular area of the tiling. In the bathroom below, we chose a grout colour which matches the lighter green tile perfectly, but then continued using it with the darker green tile, which draws the eye to the tiled area above the bath. |
||
 |
||
|
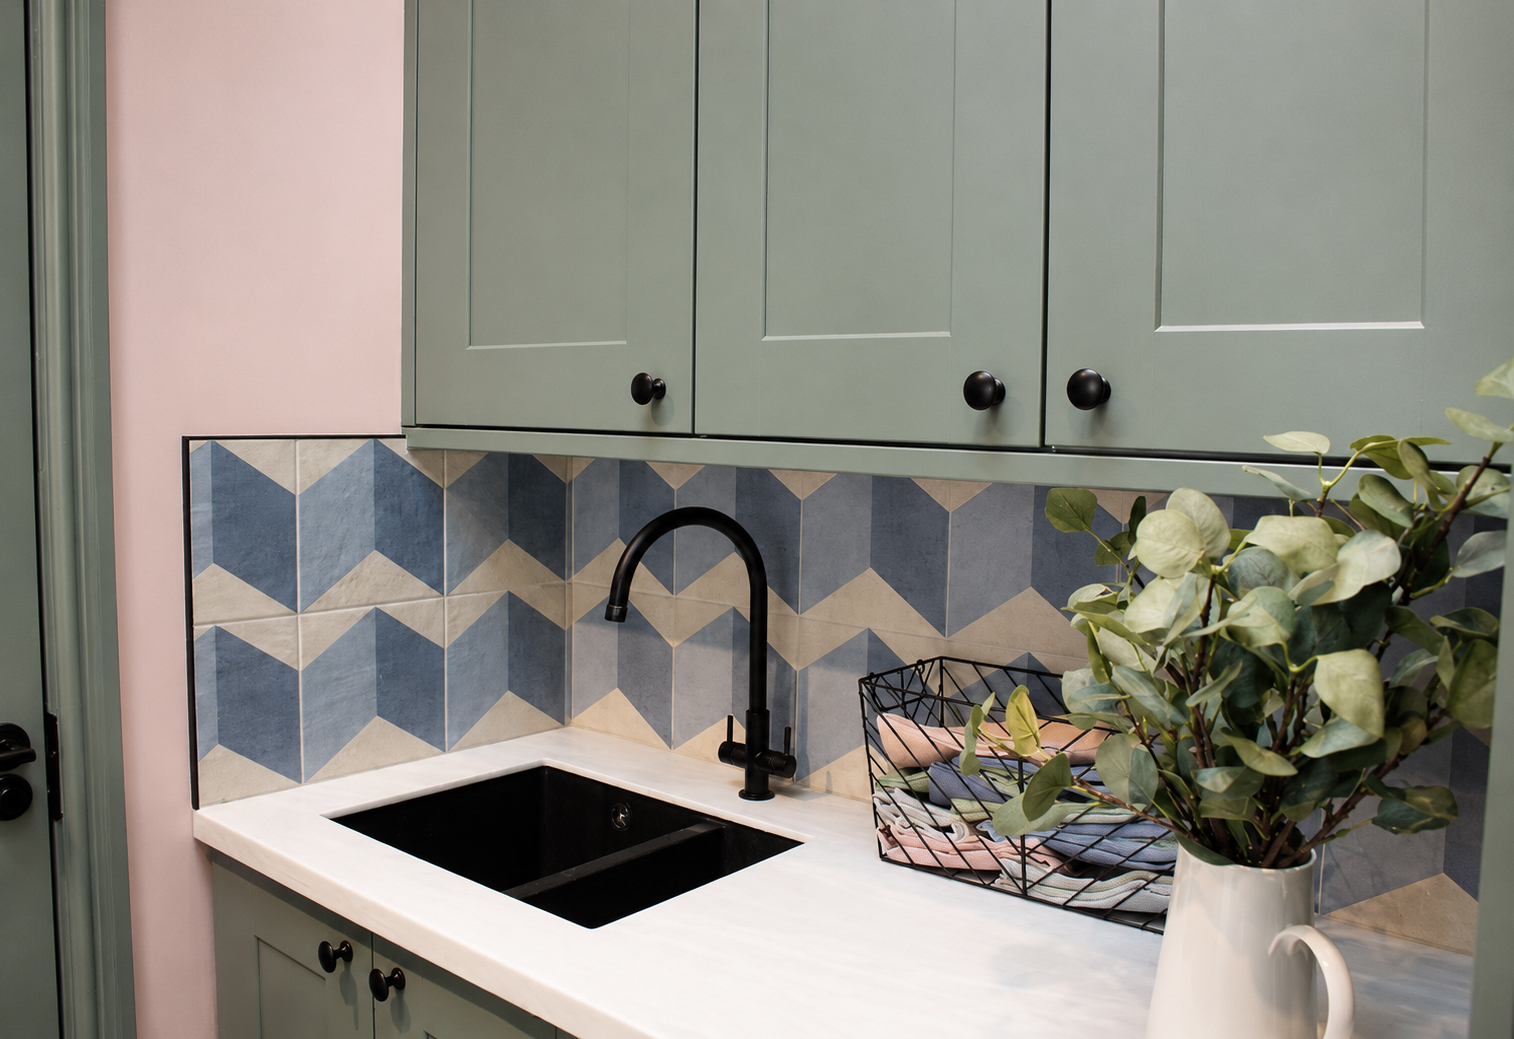
Tile trim/Mitring Choosing and using tile trim is one of those things which can make or break a room. The edges of most tiles are raw and unglazed, meaning the colour doesn’t continue to the edges. These raw edges have to be protected and finished off neatly, so we generally use tile trim to do this. There are many coloured tile trims available, from blue to black to bronze, so, much like with grout, you can choose to contrast or enhance your tiling with it. In the utility room below, we picked a black metal trim to give a distinct edge to the blue geometric tiles, and to work with the black handles, sink and tap. |
||
 |
||
|
As you’ve seen in the en suite with the rust coloured tiles, we used a brushed brass trim to tone with the brass bathroom fixtures, which creates a pleasing line and finishes off the tiles nicely. |
||
 |
||
|
But there are times when it's best not to use tile trim at all. If you are using tiles which already have a finished edge, you don’t need it, and can let the tiles' beauty speak for itself. You can also choose to ‘mitre’ the edges when cutting tiles, when they join each other (for example, when creating a shower niche for bottle storage). In this bathroom, we didn’t use any tile trim at all, and cut the edges of the tiles at a 45 degree angle so they would meet neatly. Coupled with the LED lights, the effect is stunning. |
||
 |
||
 |
||
|
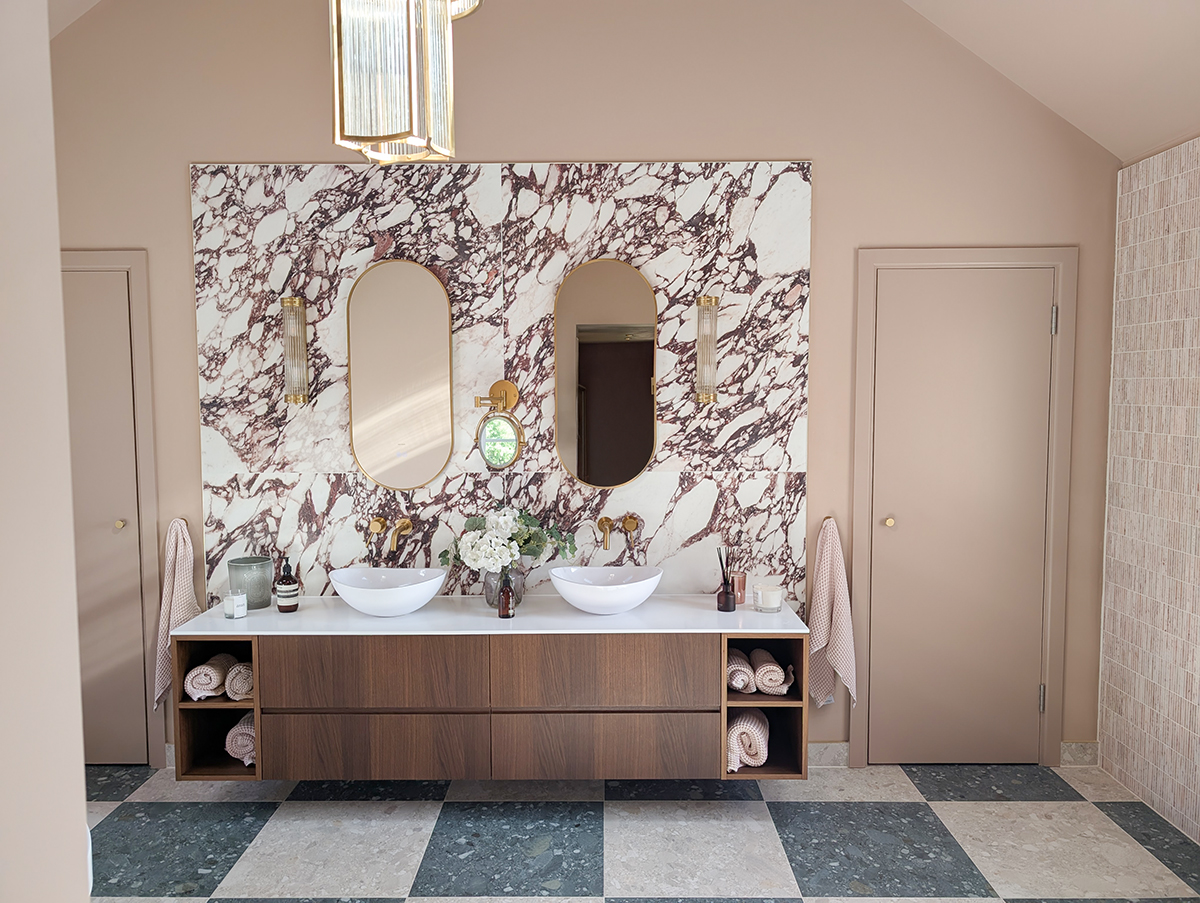
Cleaning & Maintenance The final thing to consider when choosing tiles is the cleaning and maintenance of them. If we choose a natural stone, it will need sealing to make sure it doesn’t absorb water and oils (this usually needs to be done before it is installed). Depending on the type of stone, this will need to be carried out periodically to keep it protected and looking its best. Natural stone needs a pH neutral cleaner to prevent damage, and using abrasive cleaning products is a no no. Ceramic and porcelain tiles are easier to care for, so when choosing a tile, it's best to consider how much time you will want to spend on their upkeep. In this large en suite, we chose large format porcelain tiles that look very much like marble, as that was the look the clients wanted. We knew the tiles would be installed behind the sinks and would be splashed with water daily, so with these tiles, we have the best of all worlds - durability and good looks, with little maintenance. |
||
 |
||
|
Once these steps have been followed and the tiles have been chosen, we add 10% to the number of tiles our tiler says we need to ensure we have enough to cover any breakages or cuts that don’t quite work. We order the tiles to be delivered to the site, just before they are needed, which minimises the risk of damage whilst they are being handled or moved around on site. The tiles are usually needed just after the first fix of plumbing has happened (the part when the pipework for taps etc has been installed), so we make sure they are delivered in time, ready for sealing or any prep that is needed. Having worked out all the details listed above before the tiler arrives saves time and keeps his quote down, as we aren’t spending time working out the laying pattern or choosing a grout colour once he’s there. There are so many colours, shapes and patterns of tiles available that it really is possible to do almost anything with tiles. They don’t have to be kept to the bathroom or kitchen either; they can also be used in unusual places, such as in the living room as a decorative feature, or even on a headboard. Once you know the basics, you can do something unexpected and really change the outcome of the whole room. |
Welcome to the design blog, where you'll see posts about anything from the projects we are working on, to the latest fabric and wallpaper collections, and all things interiors related. We love colour, pattern, architecture and old buildings, and we love to share our finds with you.
Happy reading!