Our Renovation Plan Review service explained

 |
||
|
Welcome to the next instalment of our mini series covering a part of our process from start to finish. This month, we are looking at lighting and electrical installations, which are a pretty essential part of any building. I think it's safe to say that we’d all be lost without lights and electrical power, but how you use them and place them in your home can have a huge impact on how it functions and feels. The most common mistake I see when people are preparing for a renovation is to leave the planning for their lighting and electrical to the end, or to not plan it at all. There’s nothing worse than going through all the stress and mess of a renovation, only to find that there isn’t a plug socket handy for that lovely reading lamp you bought to go next to your new sofa, or that you don’t have enough lighting in your kitchen. In order to avoid this scenario, when we are working with clients, we plan the lighting and electrical at the same time as we are designing the space. It makes absolute sense to do this whilst we are thinking about how our clients will live, move around, work in and use their homes once the renovation is over. We need to know exactly where the furniture will be going, to plan the kitchen, and to settle on the bathroom layout before we think about lights and plug sockets. As with any design, we apply three principles when planning any lighting and electrical: function, usability, and mood. Put simply, lights are needed to help you see in the dark, the switches need to be within easy reach, and the lighting needs to set the tone for the room it is being used in. |
||
 |
||
|
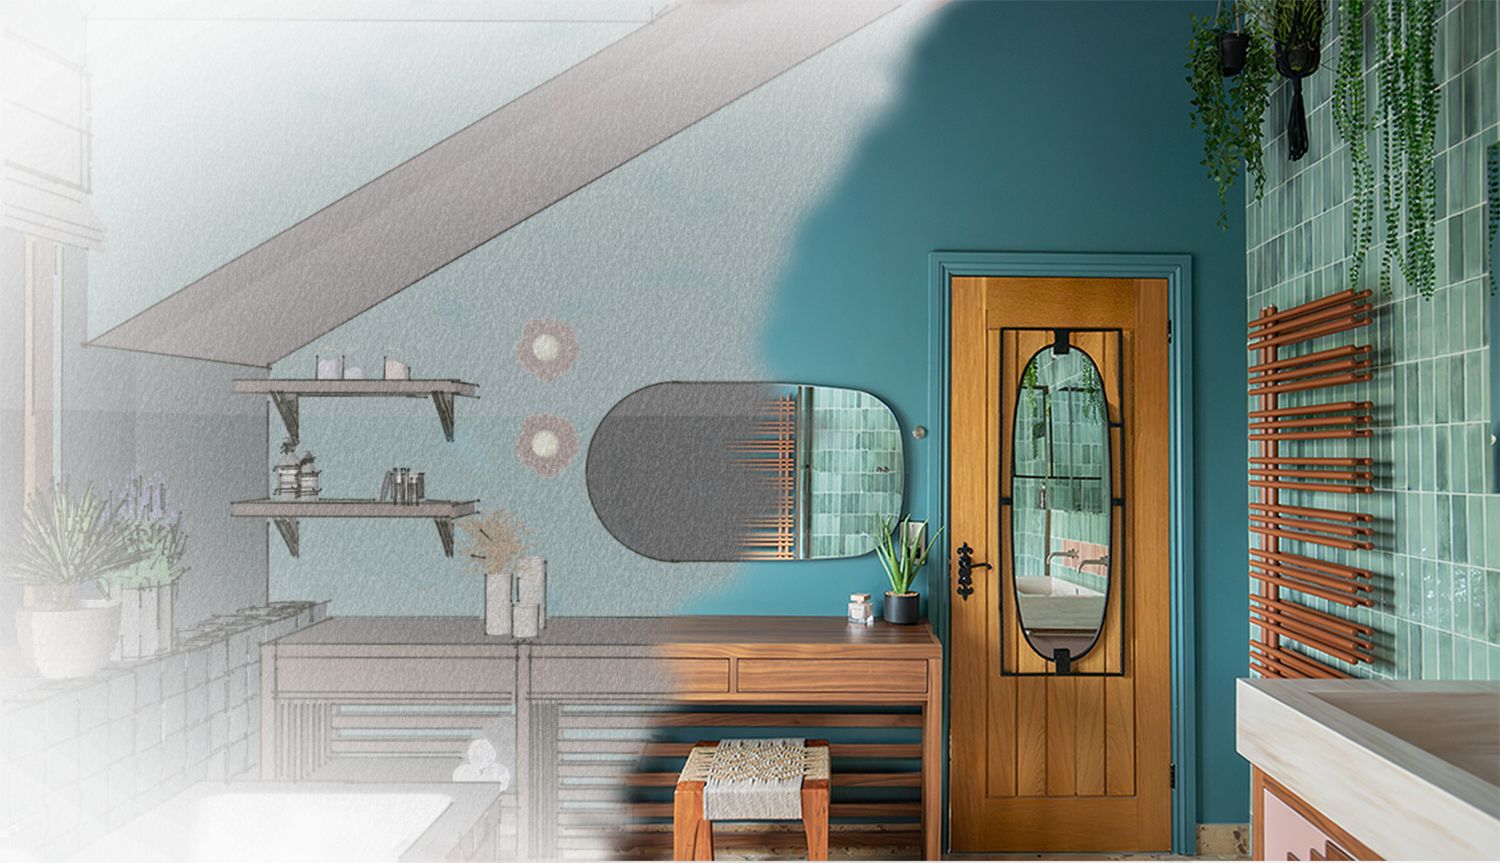
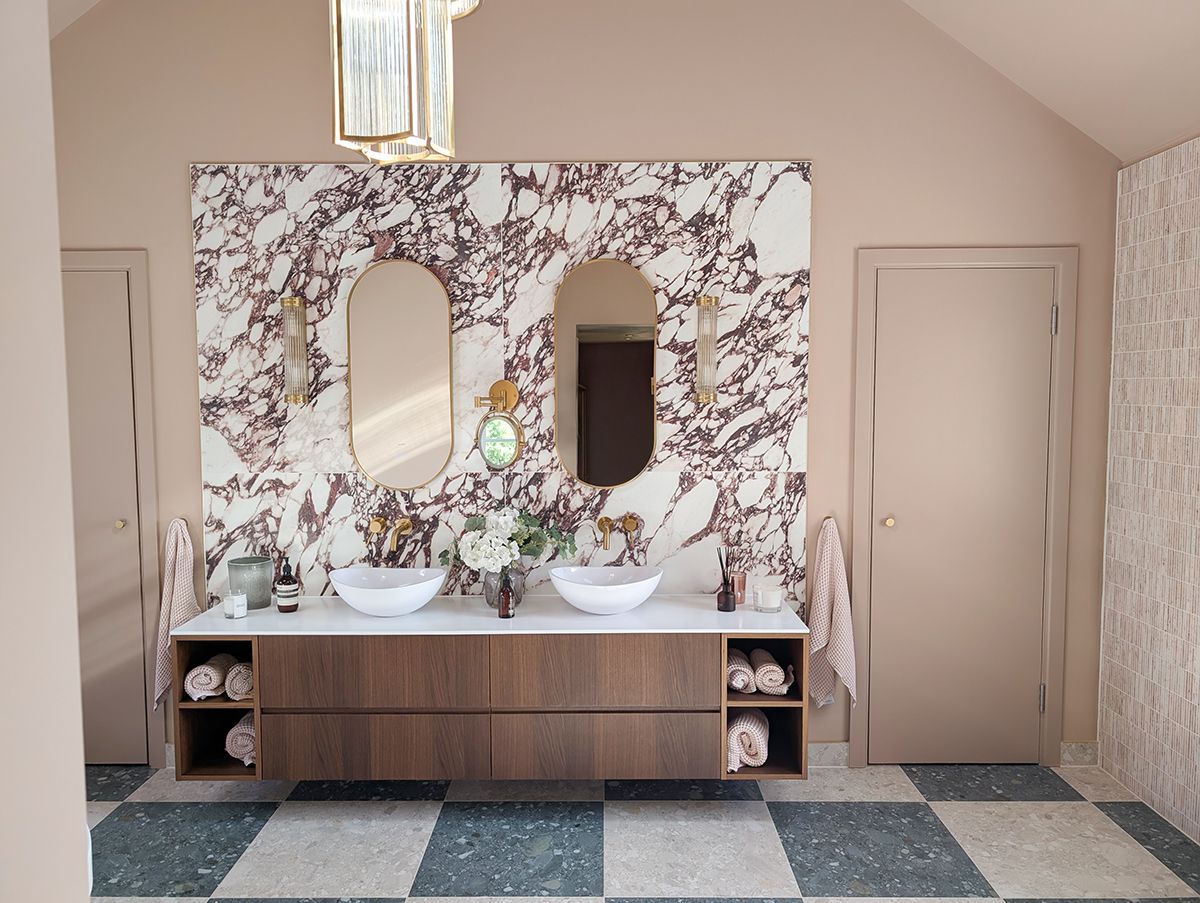
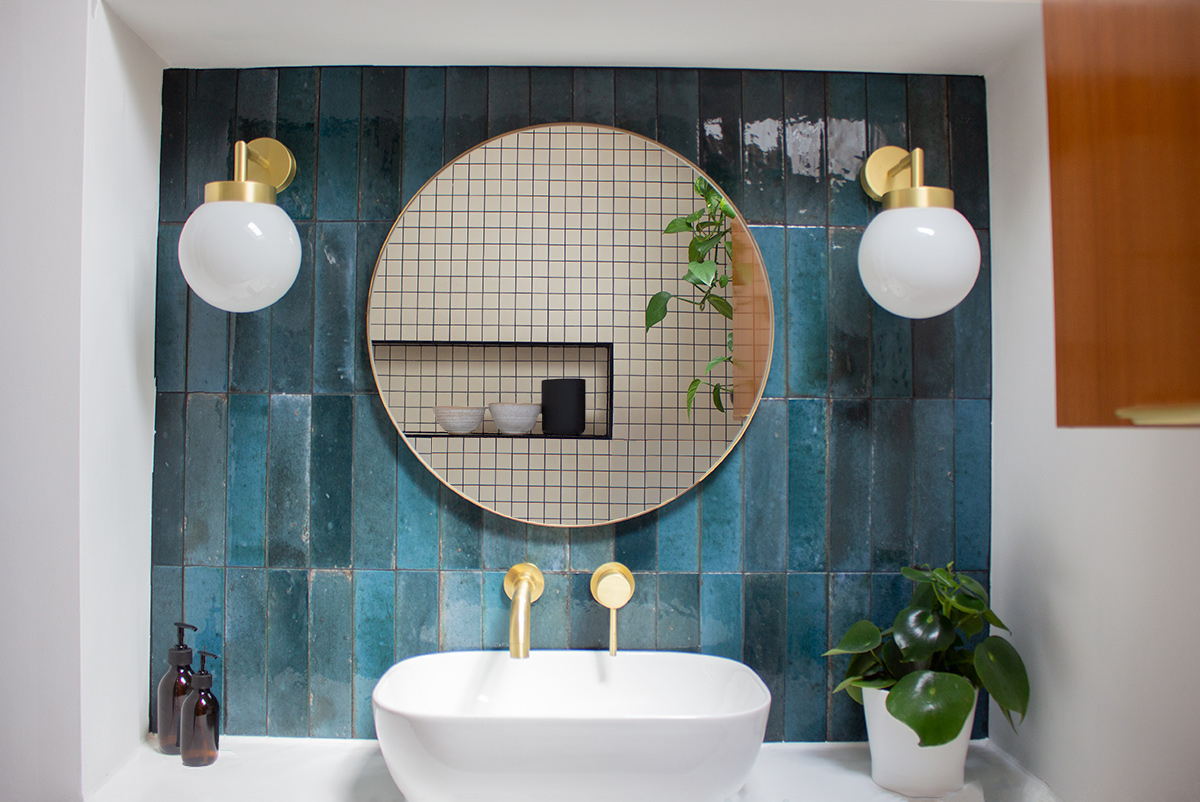
For example, when working on this design, we needed to decide where the bathroom cabinet would be hung so we could plan the lighting for that area. In this bathroom project, we opted for two wall lights on either side of the mirror to provide even lighting when using the mirror and sink. This lighting arrangement is practical, great for applying makeup and is pleasing to the eye. The opaque glass fittings also mean that our clients aren’t greeted by the glare of a bare bulb first thing in the morning. Let’s take a look at our design of a recent project for a shared lobby in a large block of apartments, as it had more complicated lighting requirements. |
||
 |
||
|
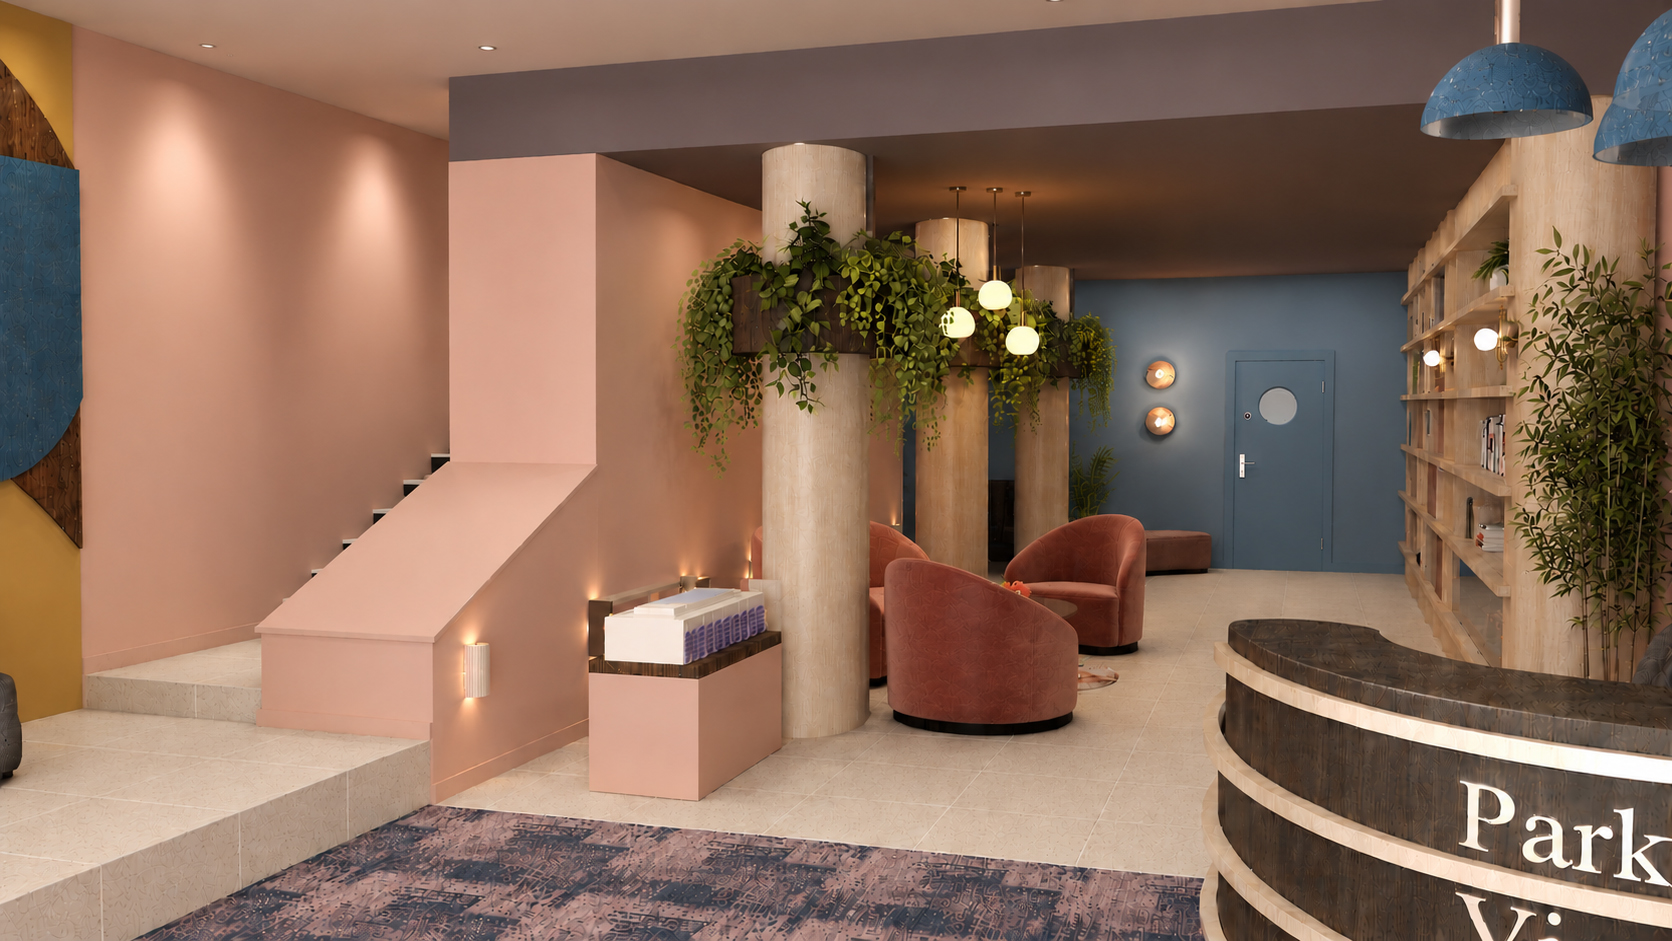
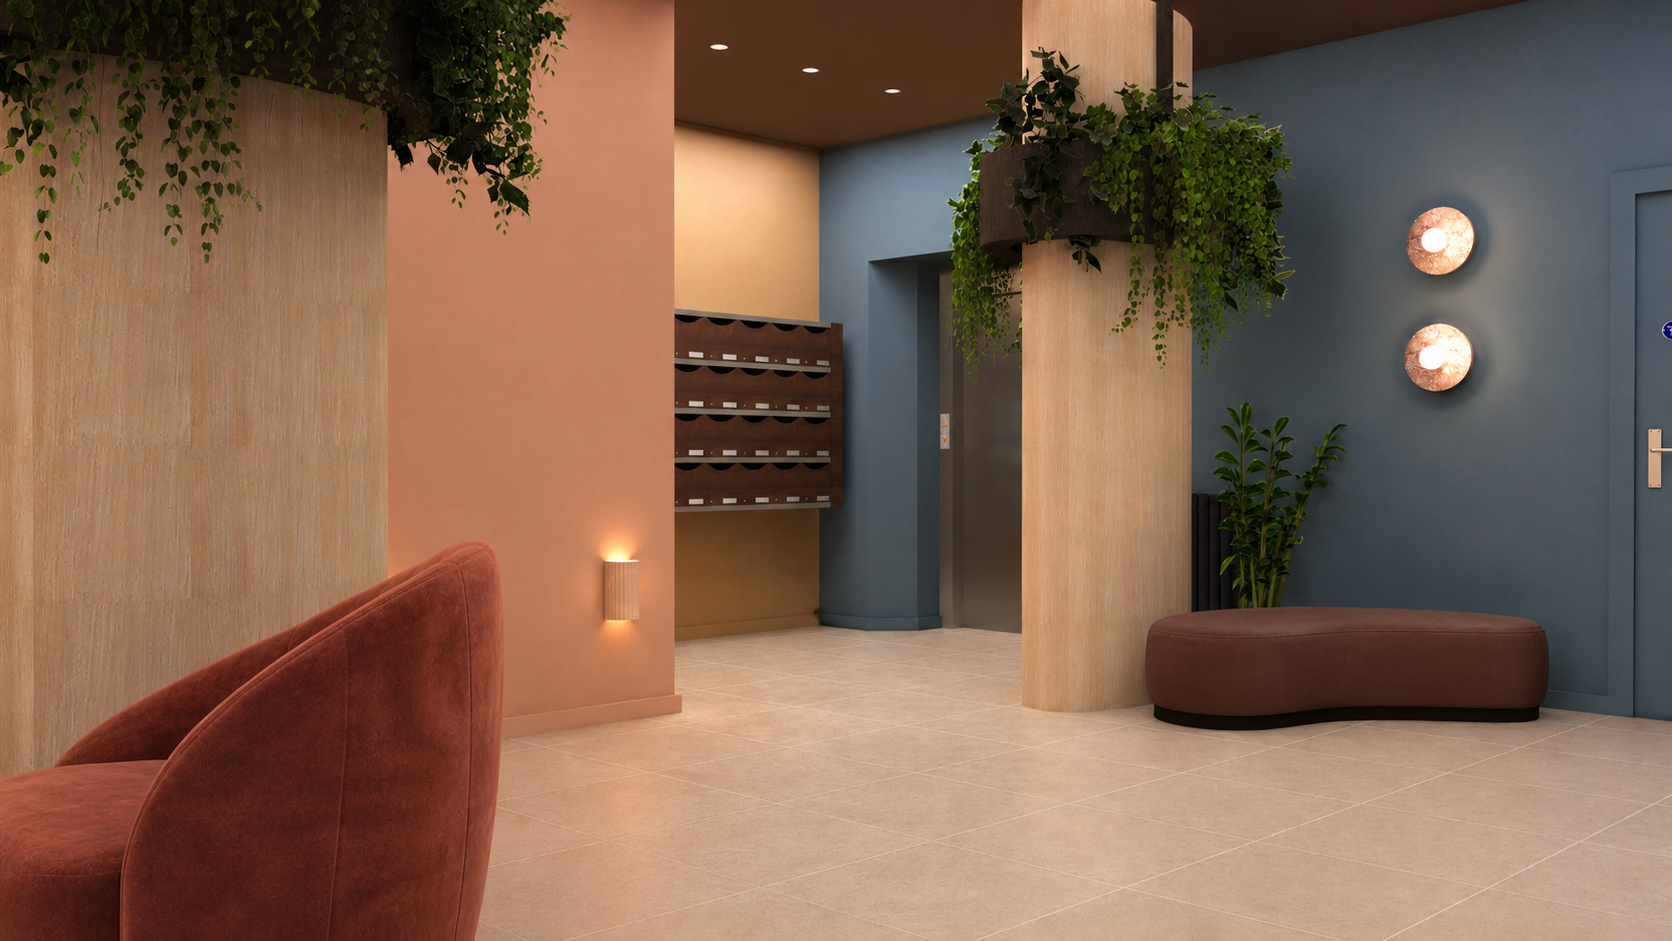
This space was tricky to plan as it had to perform lots of functions for the residents. They needed a reception desk area for the concierge, some seating for visitors whilst they waited for residents to come to greet them, some relaxed seating for residents to gather together, somewhere to store parcels, and enough space to move freely through the lobby. Whilst we were designing solutions to these problems, we used lighting to zone areas, set the mood, and provide function for the working area. Over the seating area, we added three softly glowing pendant lights to anchor the furniture in a large space and mark it as a place to gather. The lighting draws you in, invites you to linger, and helps create a feeling of belonging and ease for the residents. We also added discrete lighting along the walkway to make sure that the space was brightly lit enough for residents to walk safely through to the lift at the back, whilst the covered bulbs meant the light isn’t harsh or obtrusive. You can see that we included three pendants over the concierge desk, which adds another decorative feature, but more importantly, it lights up the working space so the concierge can see what he’s doing. On the back wall of the lobby, we placed two statement wall lights, which perform two functions: to light the seating area by the lift, which has been put there to give the more mature residents somewhere to sit whilst waiting; and to draw the eye into the back of the lobby space, inviting people to move through to the entrance to the lift. |
||
 |
||
|
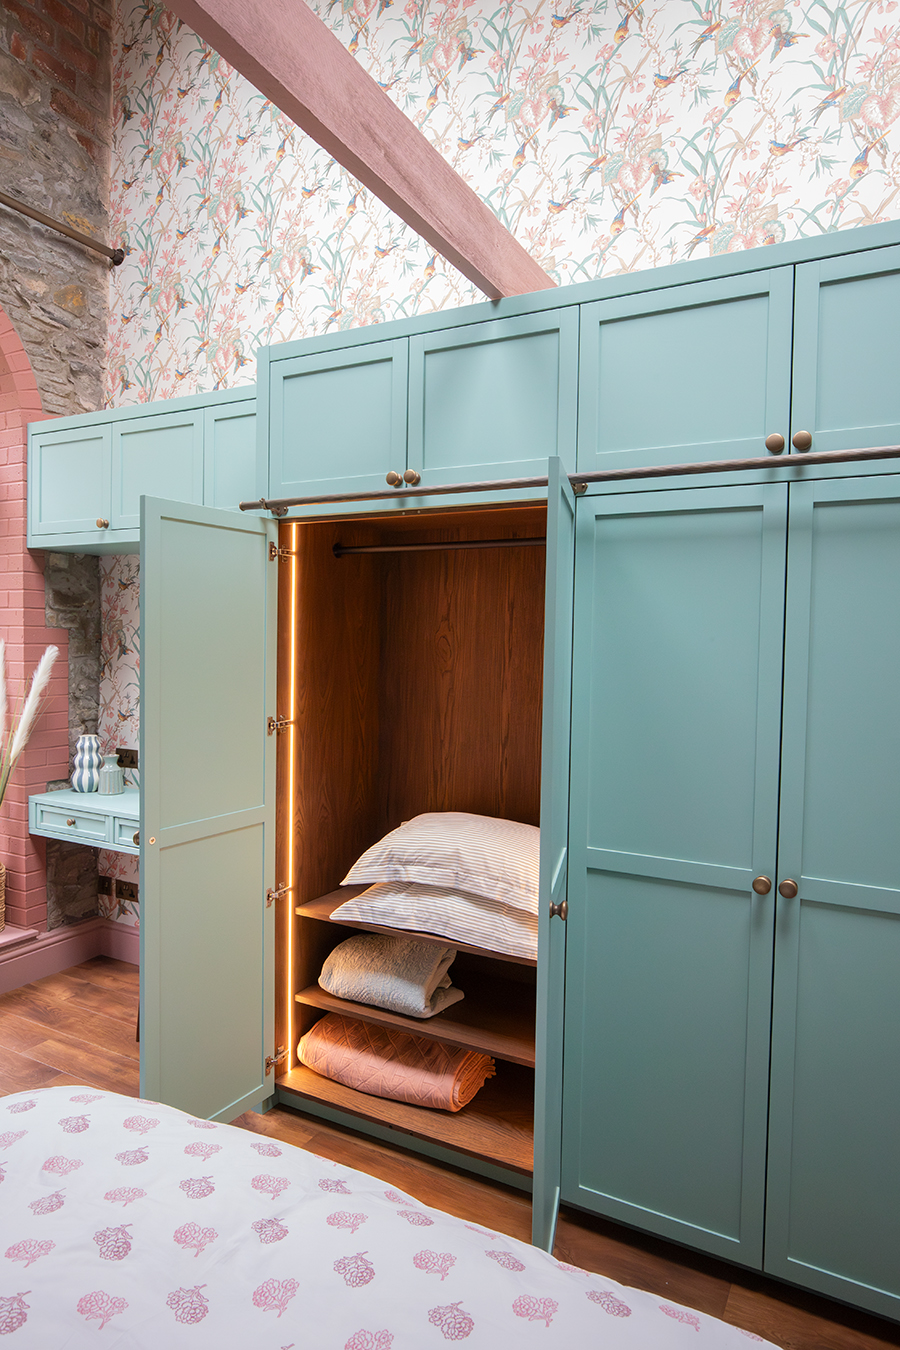
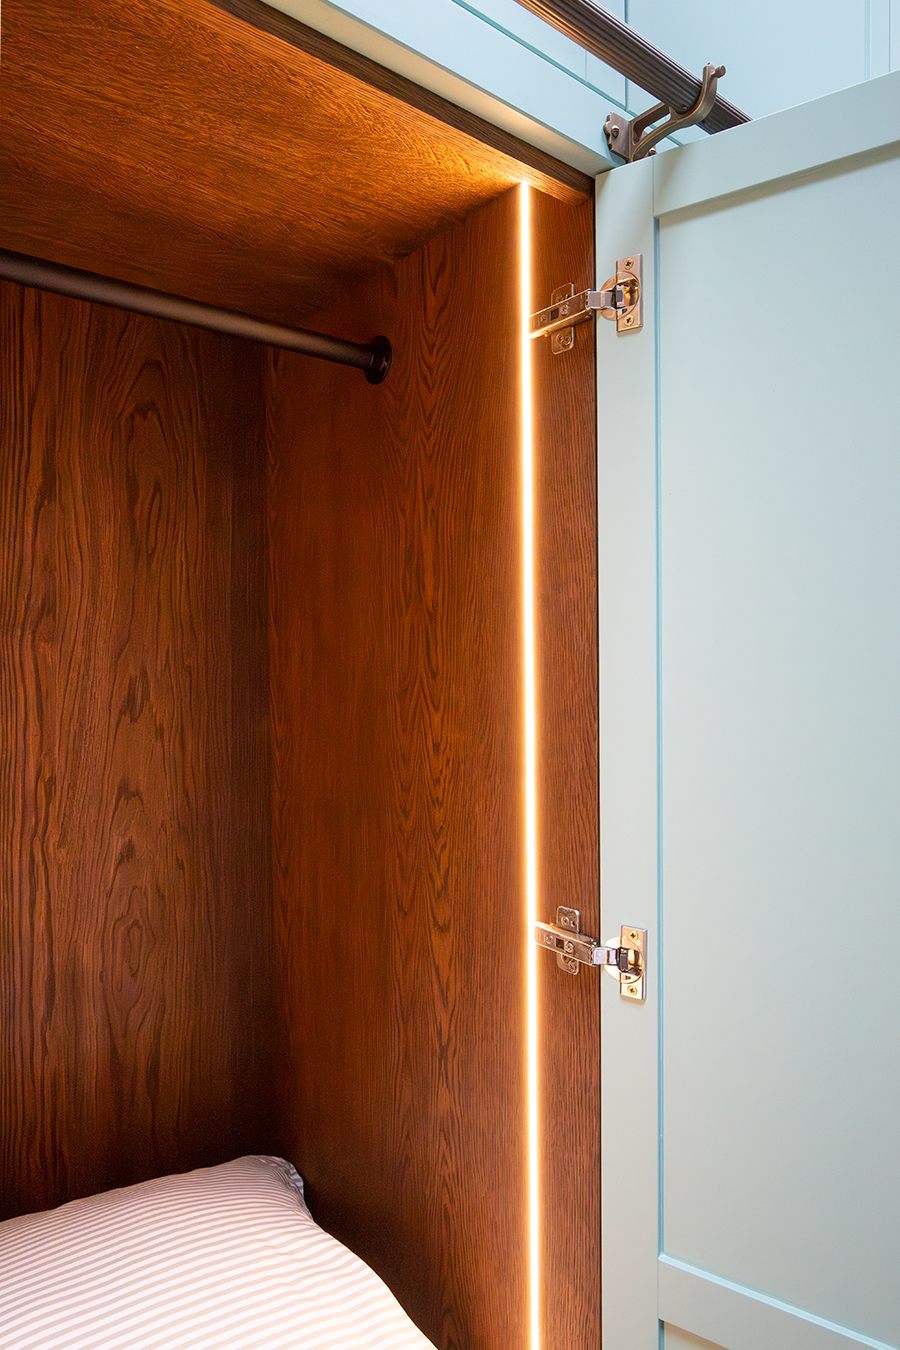
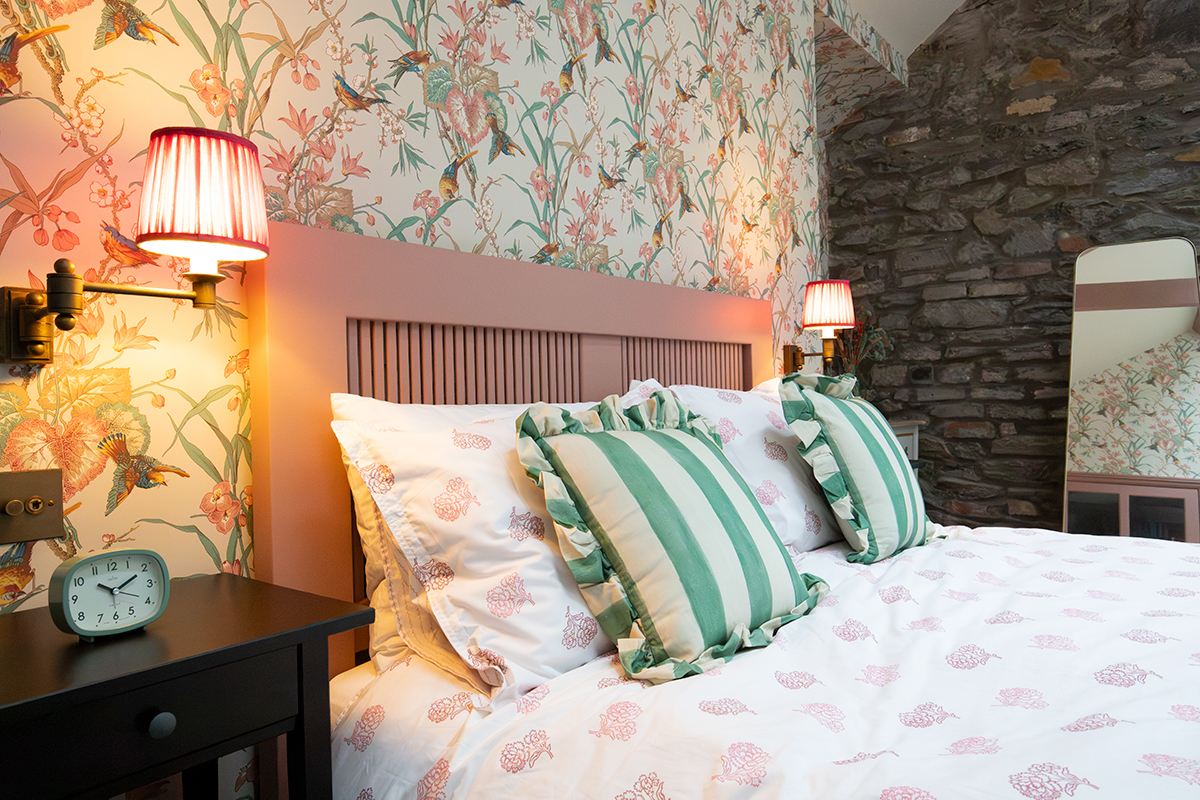
When placing light fittings, it's important to think about the function they will provide, but it's equally important to think about the mood they will create. A soft fabric lampshade will diffuse the light coming from the bulb and create a beautiful atmospheric glow, perfect for relaxing in a bedroom, and an LED strip will provide good, even light for finding items in a wardrobe or for displaying items on shelves. |
||
 |
||
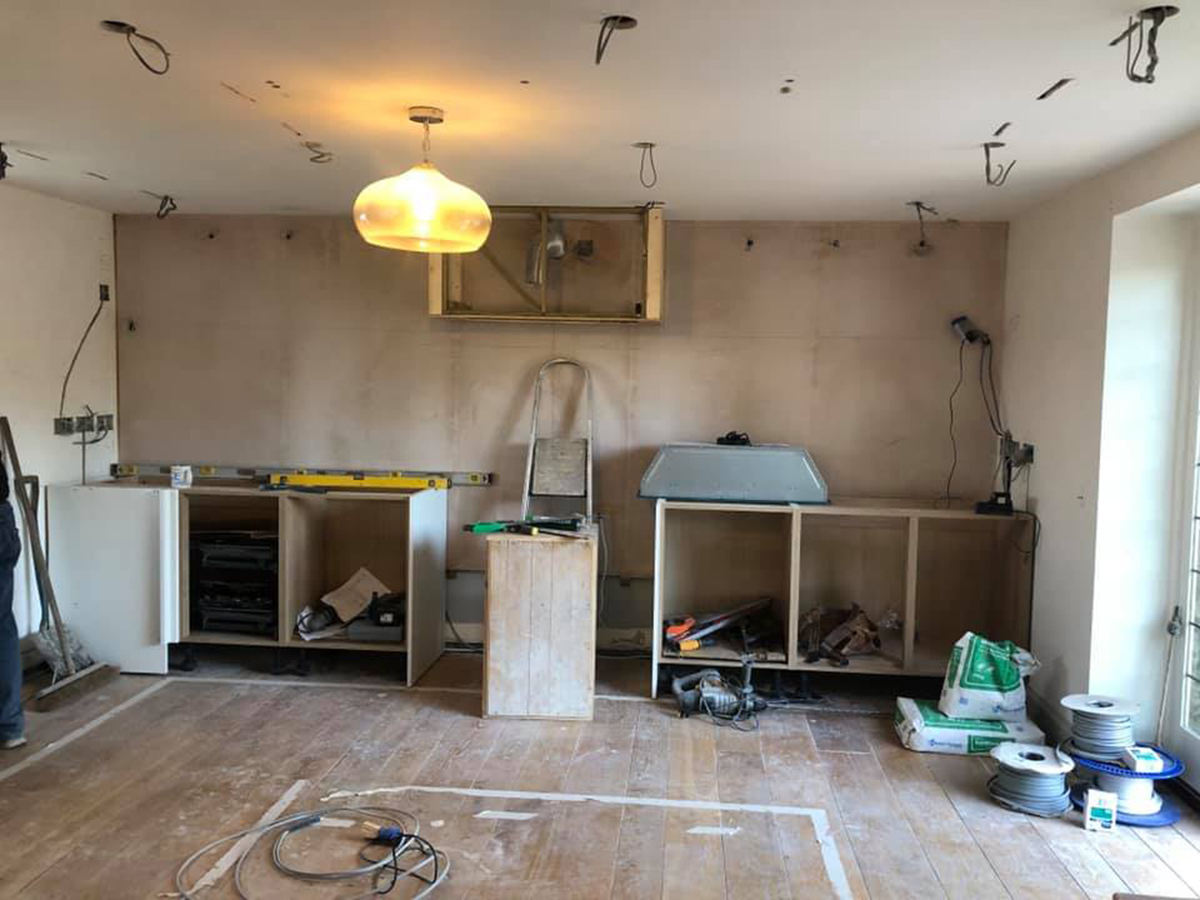
Once a light fitting has been chosen, you then have to consider how it will be controlled. Would you like all your lighting to be automated or smart? Is it important that you can set a schedule for your home’s lighting, or control it from an app? Do you want a bedside light that you can turn off by the bed and also by the door? These things need to be planned long before an electrician arrives to do the work. Right at the beginning, your builder will need to know how many plug sockets and switches you plan to have in each room so he can price the work correctly. The beauty of designing the lighting and electrical layouts at the same time as designing the room is that you can present these plans to your builder, and he can quote for them at the same time as quoting for the rest of the build. Often, the builder will have allowed a certain number of plug sockets per room (the standard is four to six) and for one central light fitting and a switch. If you know before work starts that you would like additional sockets and lighting, this can be priced at the beginning, helping you to keep control of your costs. When work is underway, the electrician will need to know exactly where you would like your lighting, switches and sockets so that he can run the cables for them. This is called the first fix, and generally happens towards the beginning of the build, before all the walls are boarded and plastered. In the kitchen from our Modern Country Renovation project, we had lots of lighting on different circuits to allow our clients to create the perfect mood at any time of day. Here’s an in progress photo showing all the cabling for the first fix: |
||
 |
||
|
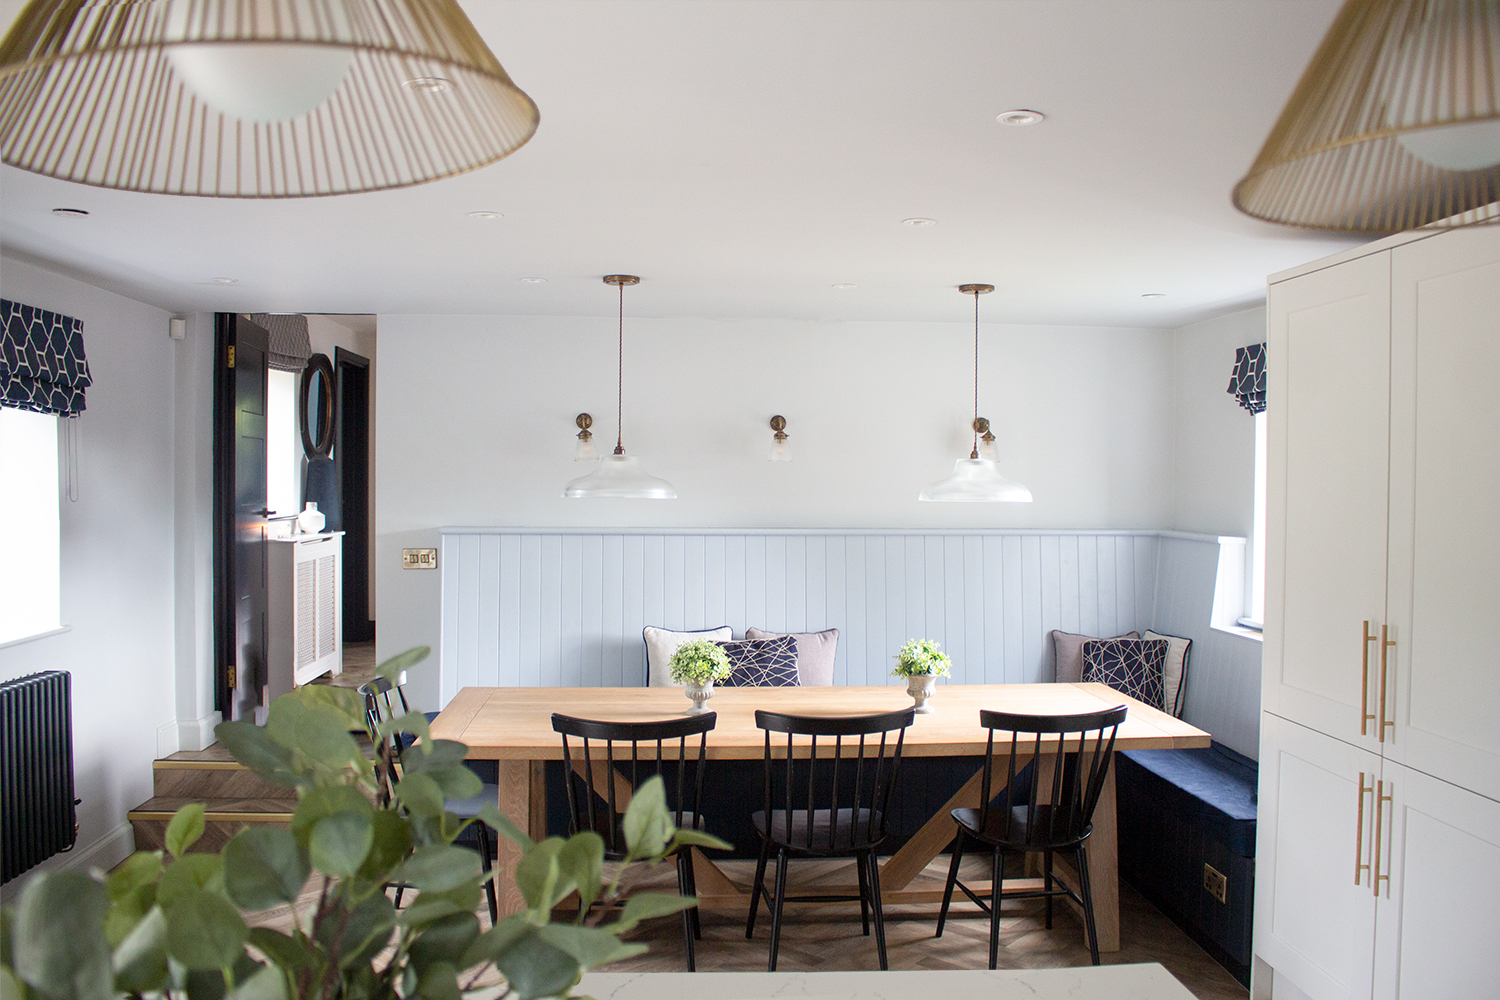
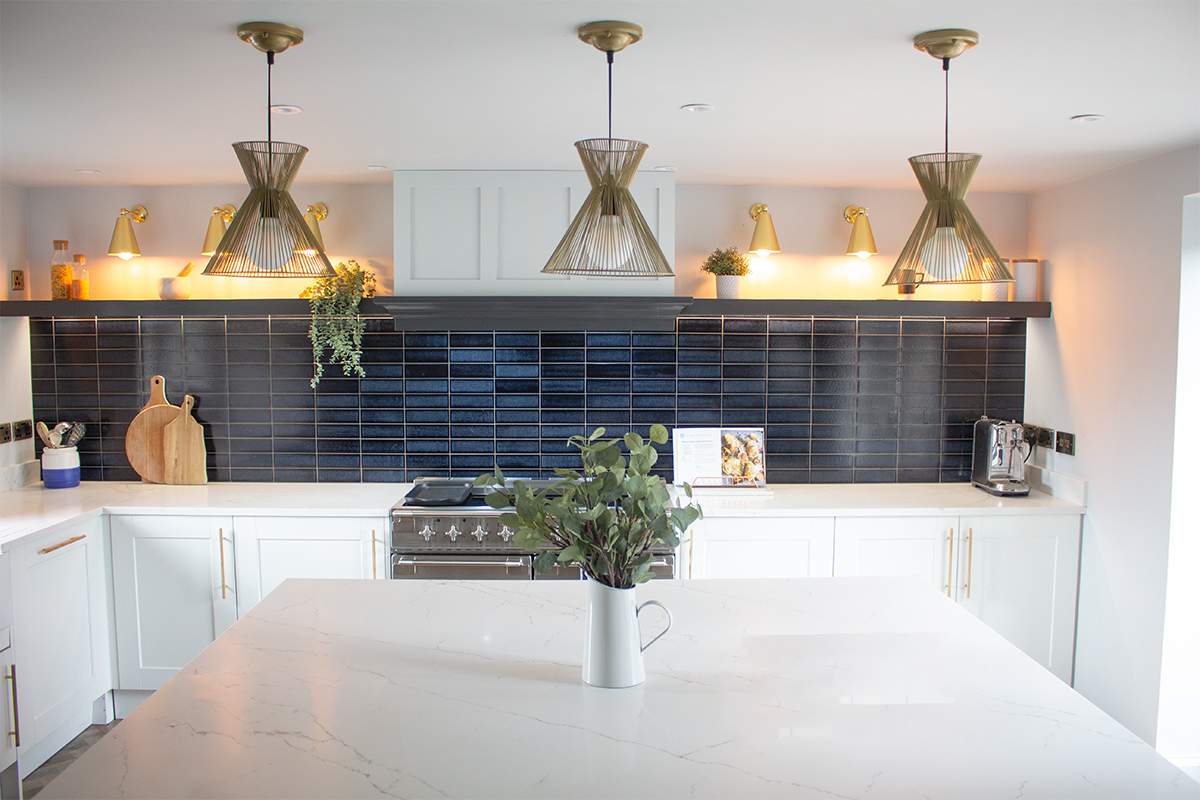
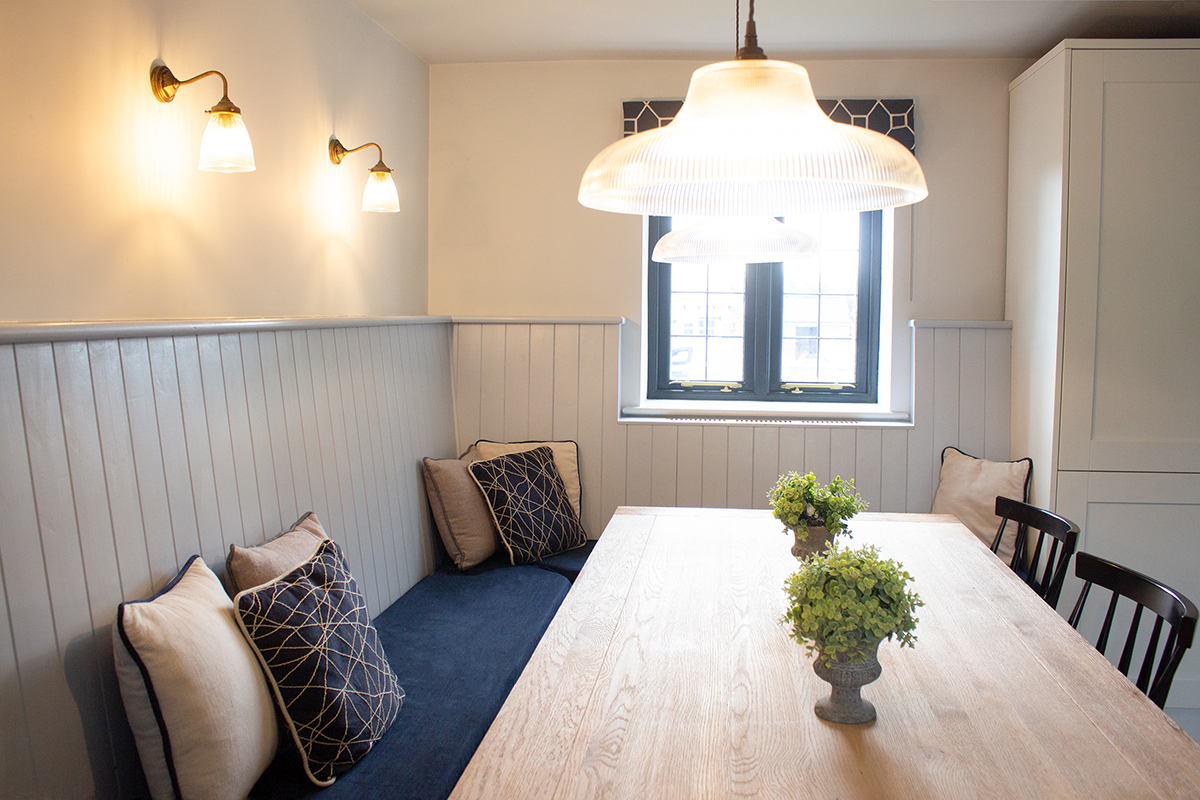
We had chosen wall lights for above the shelving to add decoration and a soft glow, LED strips under the shelving to make sure there were no shadows on the worktop, three pendants over the island for task lighting, a light in the bespoke cooker hood to illuminate the hob, wall lights above the banquette seating for a relaxed dinner vibe, two pendants over the table for more everyday dining and spots on the ceiling for general coverage. That’s quite a lot of lighting, but it was necessary in this large open plan space to make sure there was good lighting coverage and to zone different areas. It’s lovely to be able to switch off the lighting over the sink when you are having a cosy dinner, so you can’t see the washing up that’s waiting for you! |
||
 |
||
 |
||
|
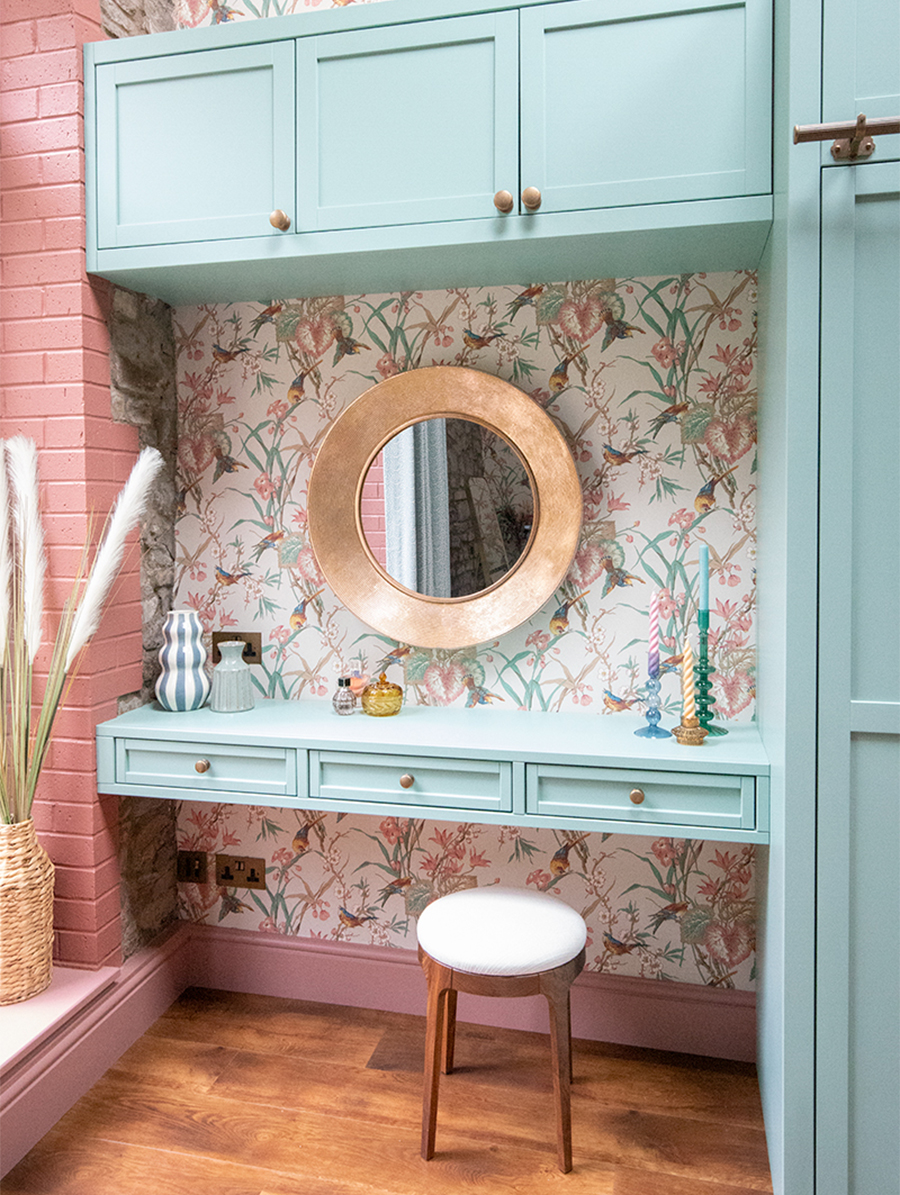
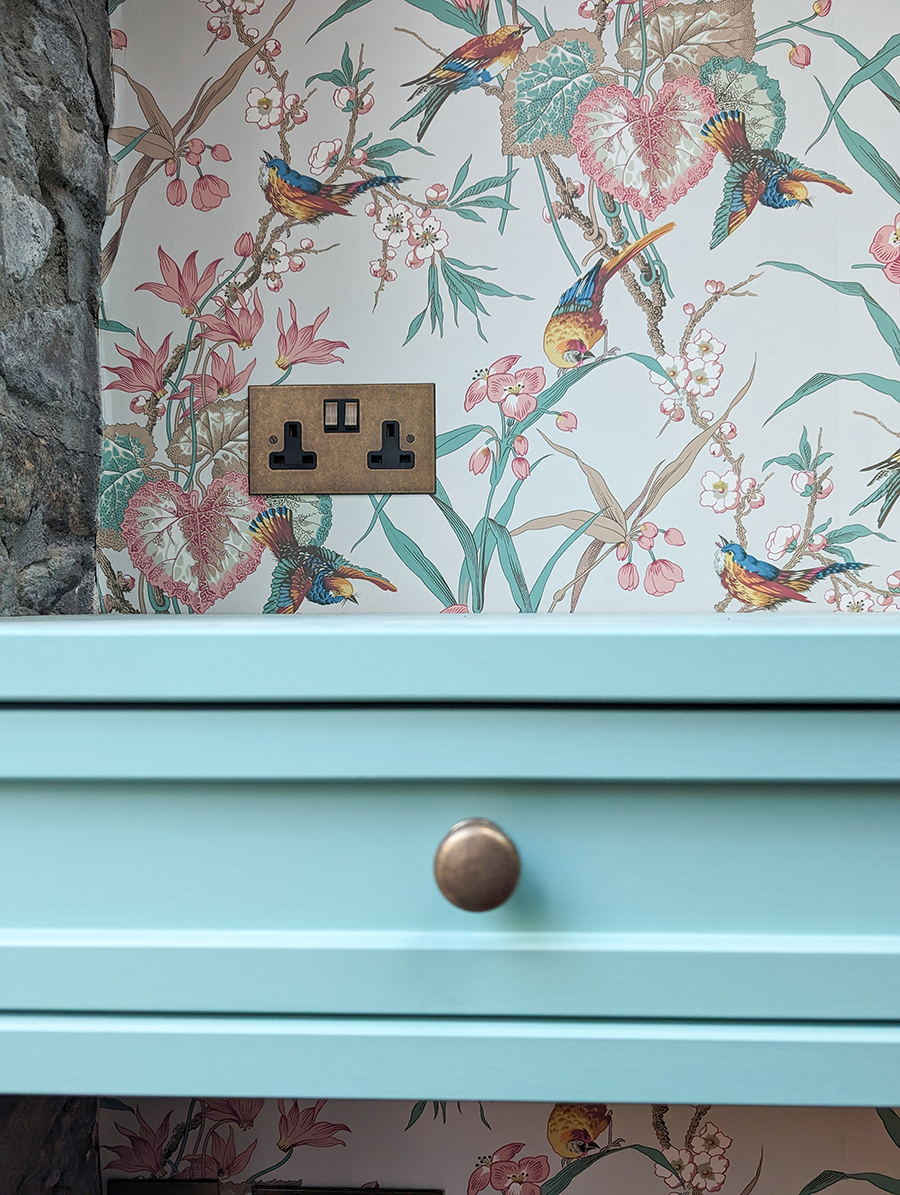
It's also important to consider plug socket placements along with your lighting. You might like some sockets in your kitchen island, so people sitting on the bar stools can charge their phones, and it's handy to have sockets by your bed, along with your bedside lamps. Consider the furniture placement too - in our Romantic Hillside Cottage project, we placed a plug socket above the built in dressing table so that our clients could use their hairdryer without having the cord dangling over the edge of the table and getting in the way. |
||
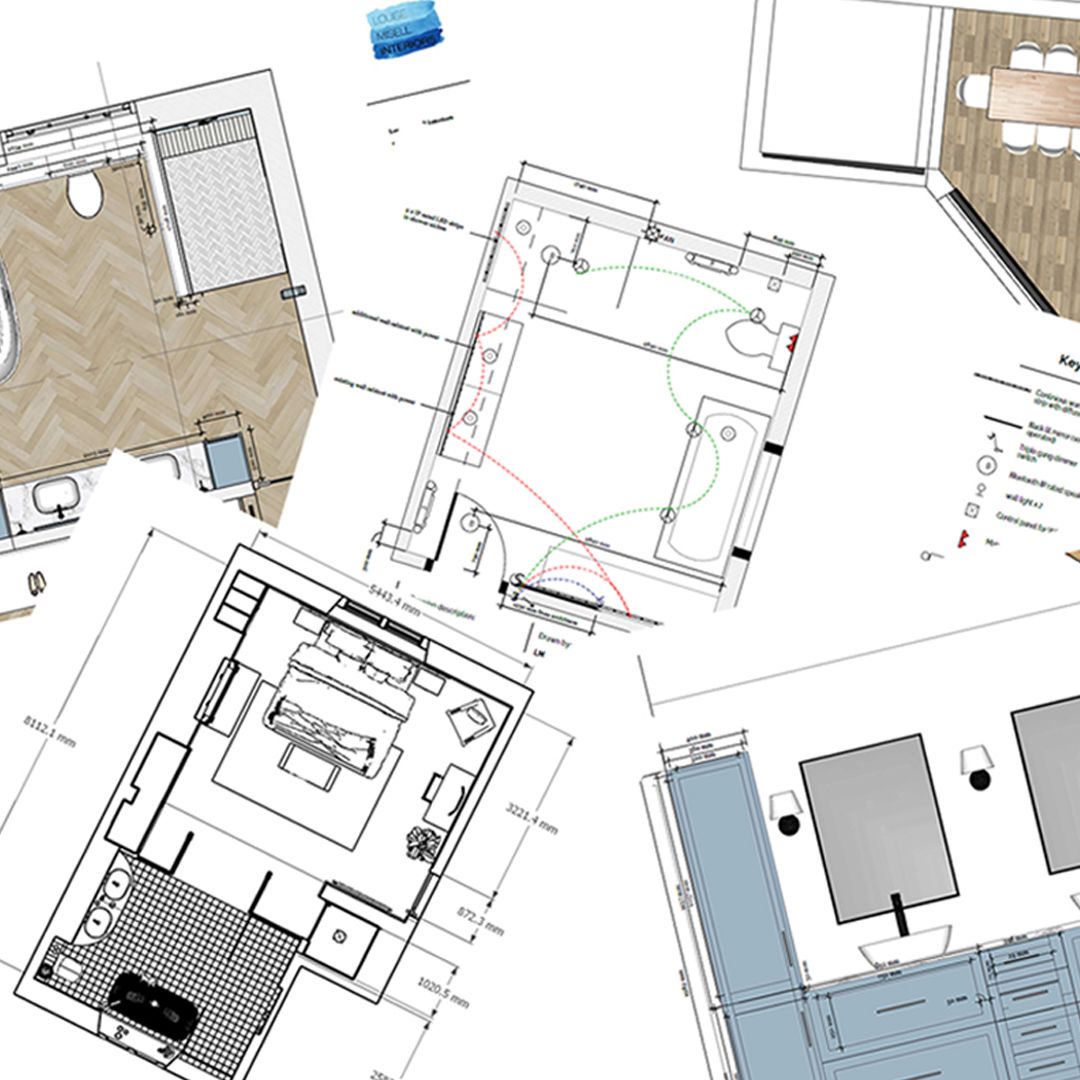
When we are bringing our designs to life, we provide electrical plans and drawings so that the electrician can follow them, but we also make sure we walk through the plans with him in the space before work begins. We don’t want any misunderstandings when the crucial first fix stage is being completed, such as a missing cable or a cable in the wrong place. We discuss switching requirements, so that the cabling is not only in the right place but also performs the required function. If we are using two-way light switches, so that a light can be operated from two switches at different locations in the room, then the electrician needs to know this at the first fix stage. The second fix part of the process (installing the face plates of the sockets & switches and installing the light fittings) happens towards the end of a renovation, once all the messy work has been done, the decorating is finished, and the flooring has been laid. The reason for this is that we don’t want to risk the beautiful fittings and fixtures being damaged by any of the trades working in the area. We also make sure we are there for the second fix stage, so that we can tell the electrician exactly which height we’d like the pendant light and wall lights etc. After all the hard work up to this point, it would be upsetting to have something go wrong at this stage. Imagine if the pendant light is hung too low and you keep hitting your head on it? In summary, our process is: design the lighting and electrical around our client’s lifestyles, communicate the plans to the clients and the electrician, oversee the first and second fix installation, and sign off when the work is finished, and everyone is happy. When all the work is complete, it's lovely to see the lights emitting a soft glow in the finished space, with the plug sockets and switches in just the right place, with the perfect finishes chosen for the room. But by far the best feeling is when our clients tell us they find their new spaces easy to use, well lit, and with everything just as they want it to be. |

Welcome to the design blog, where you'll see posts about anything from the projects we are working on, to the latest fabric and wallpaper collections, and all things interiors related. We love colour, pattern, architecture and old buildings, and we love to share our finds with you.
Happy reading!